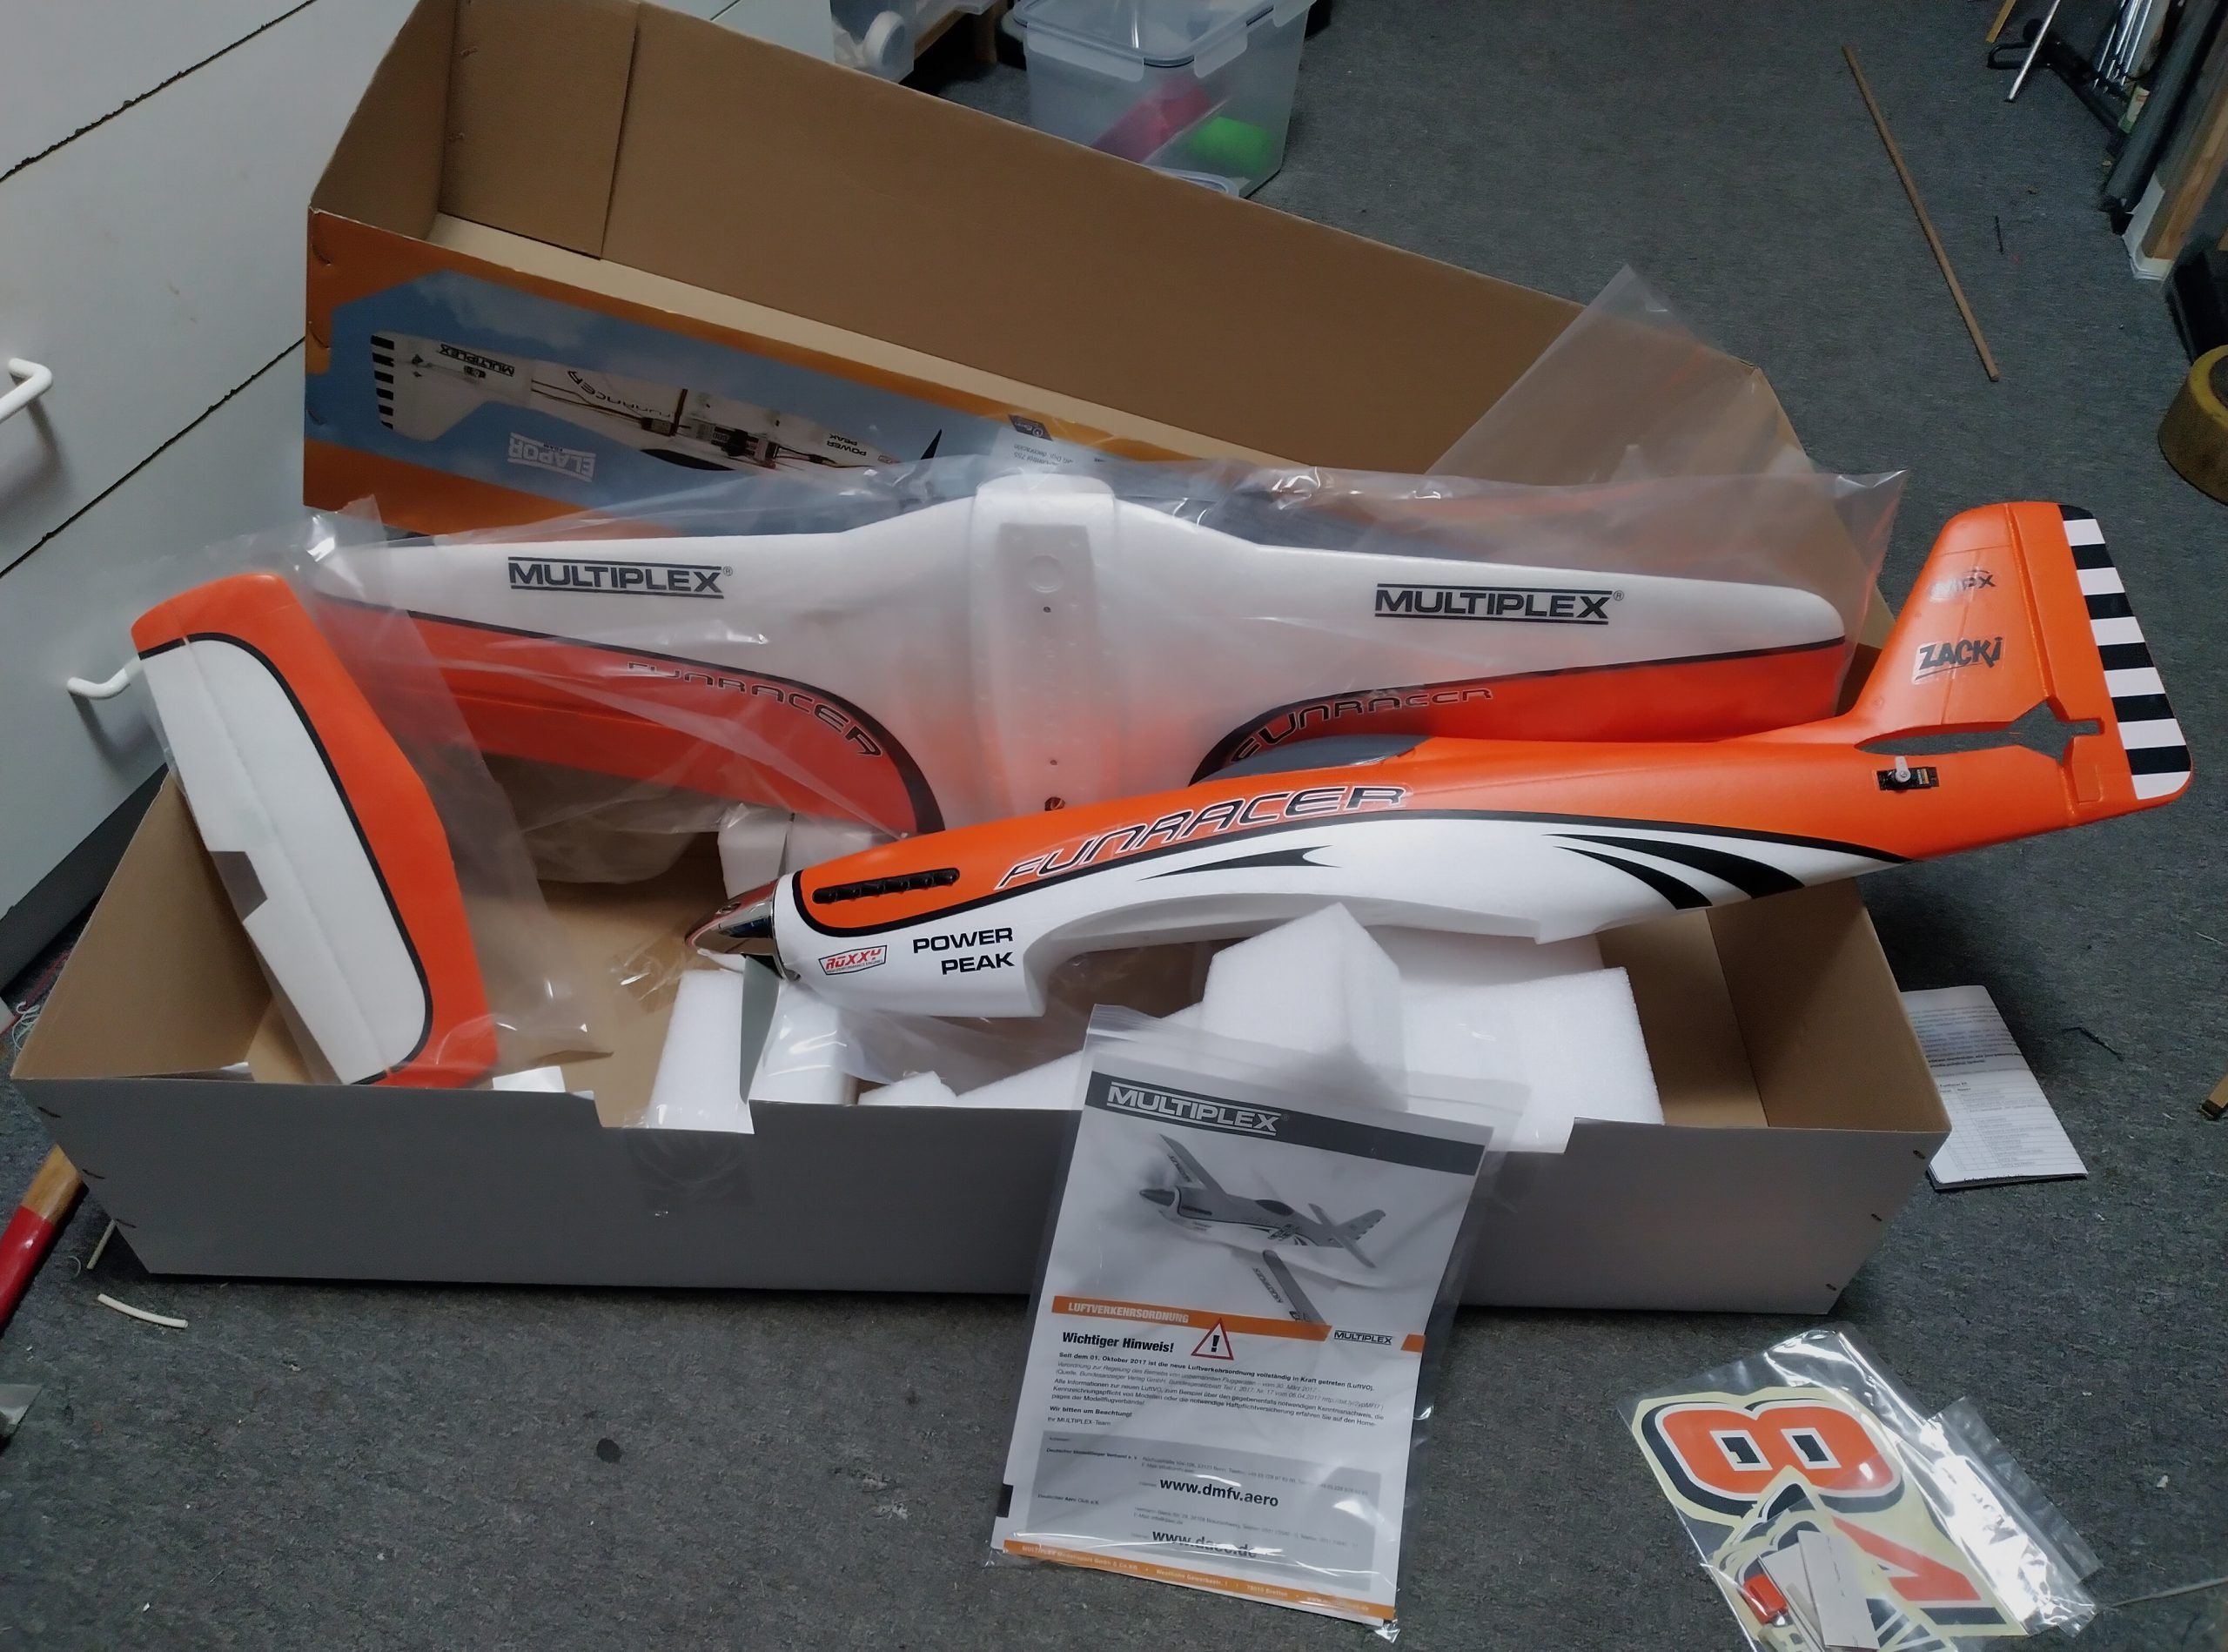
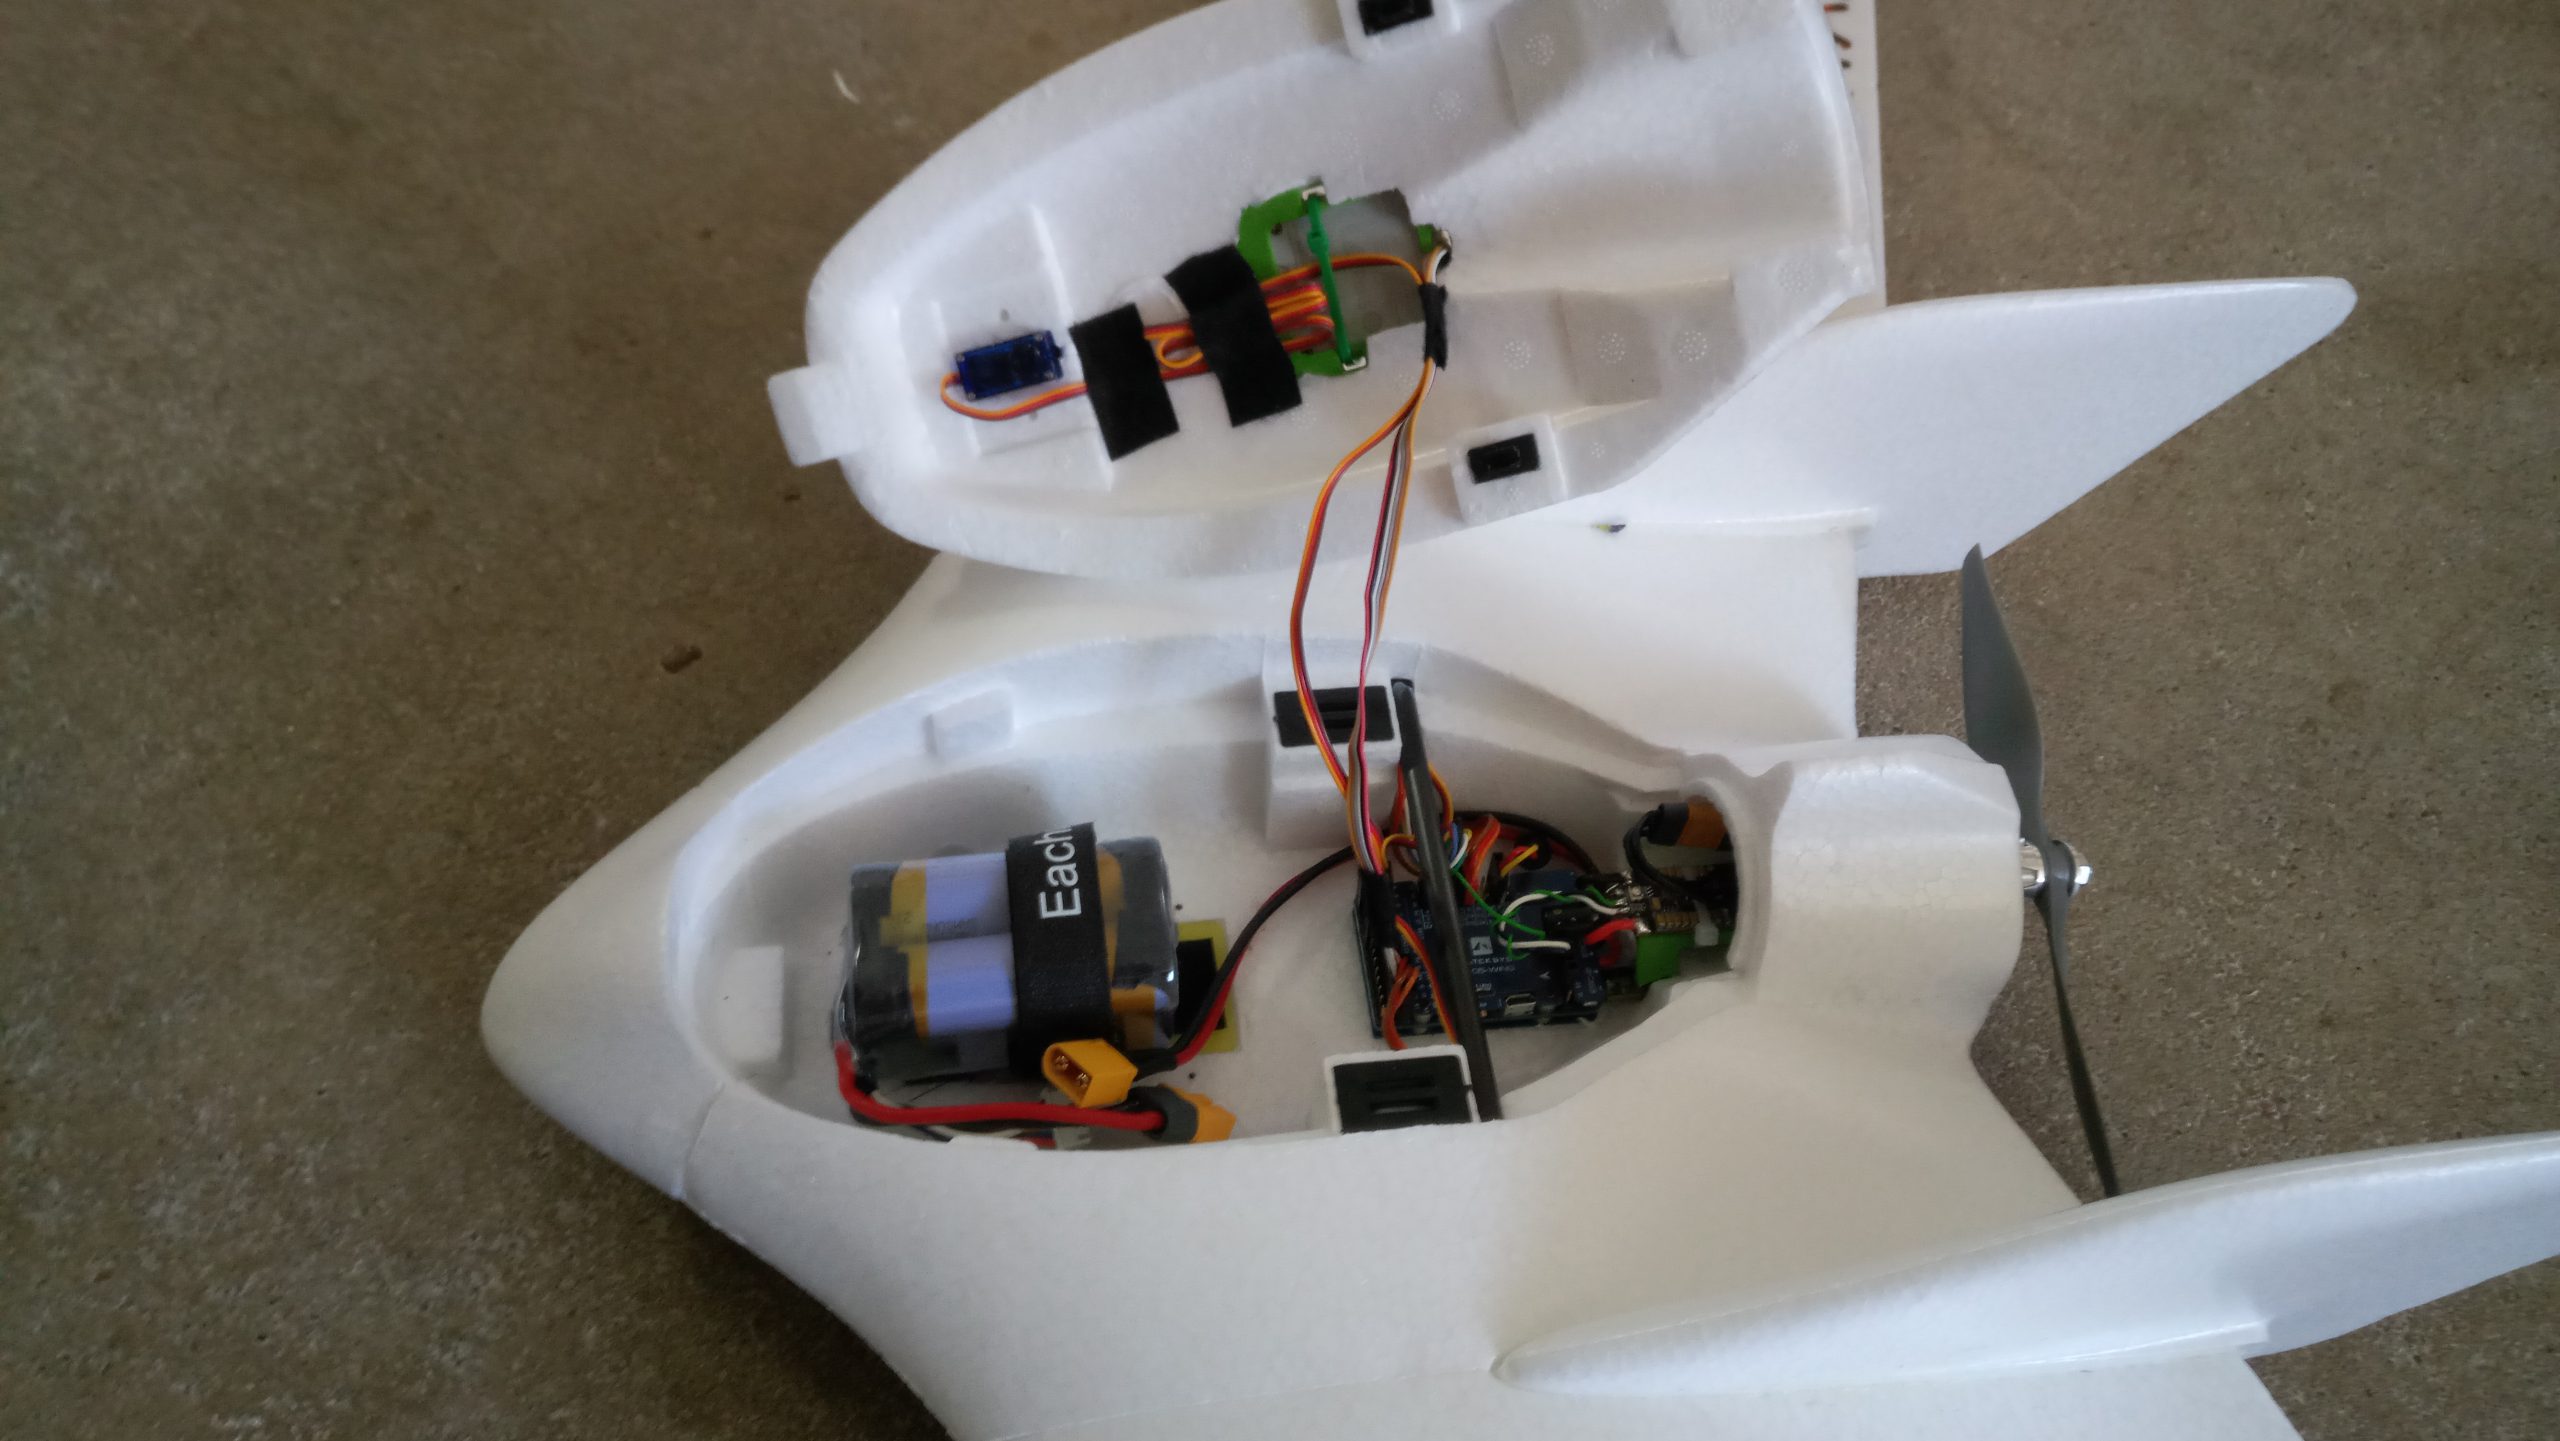
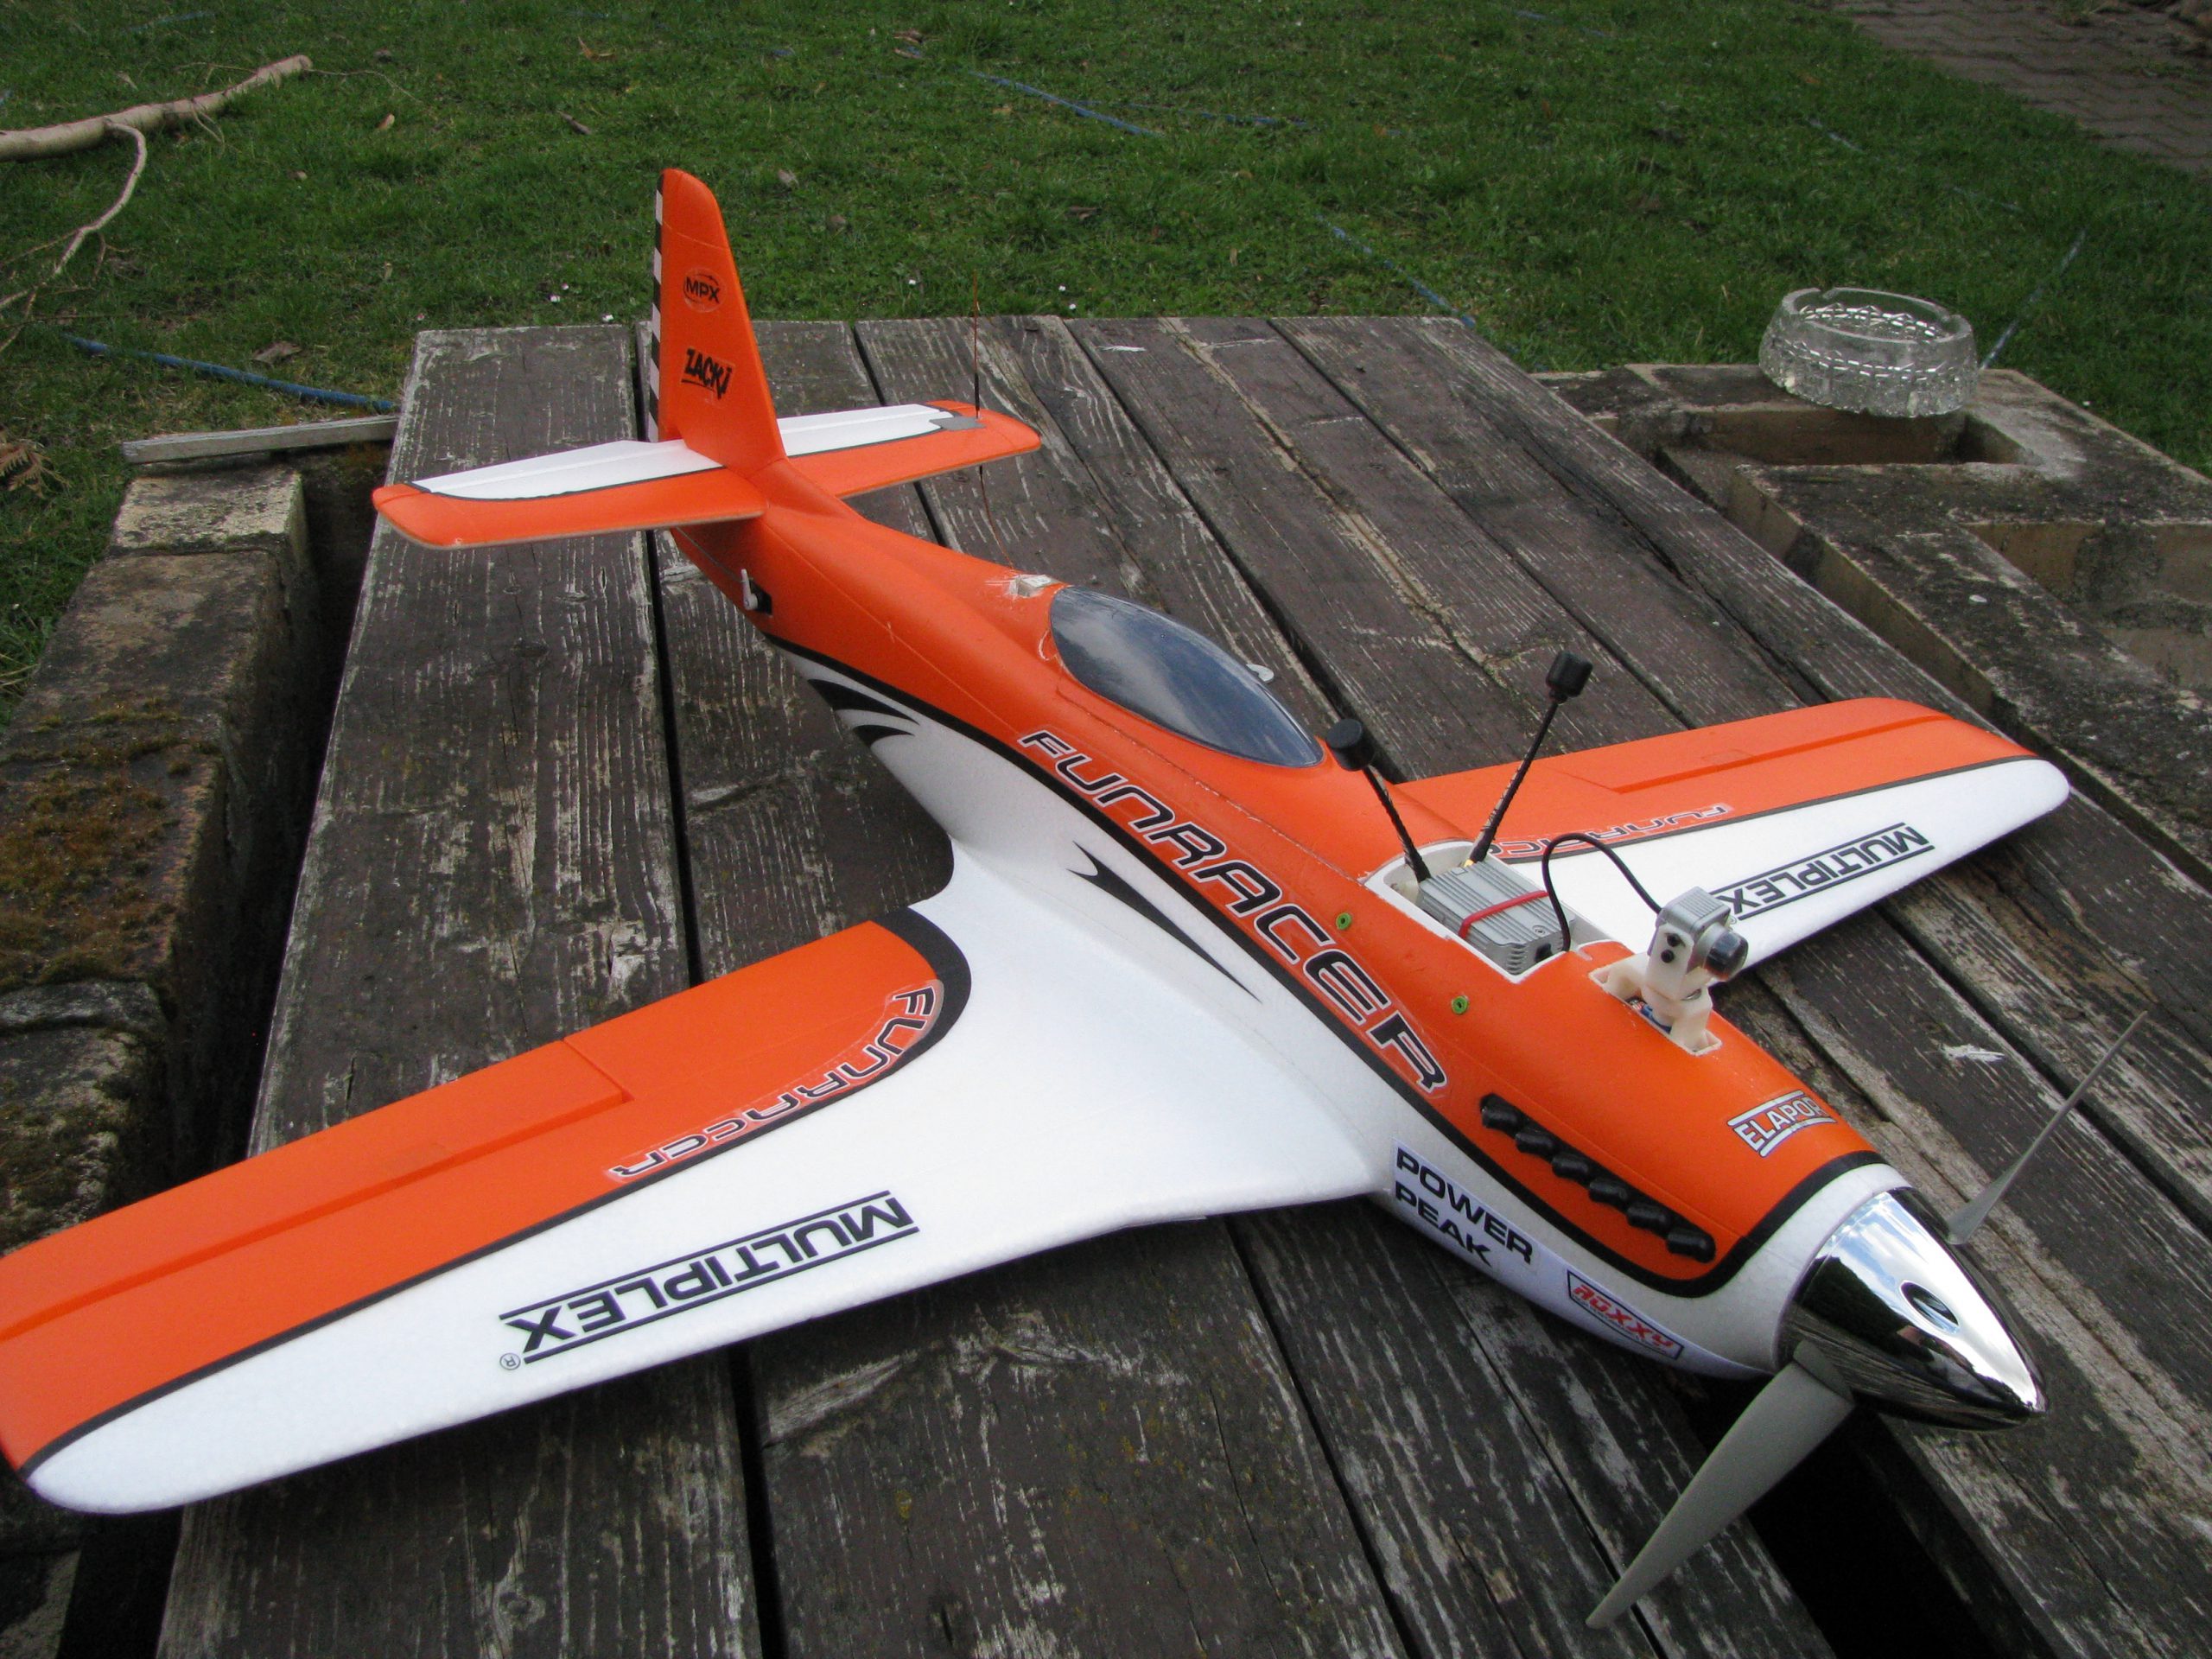
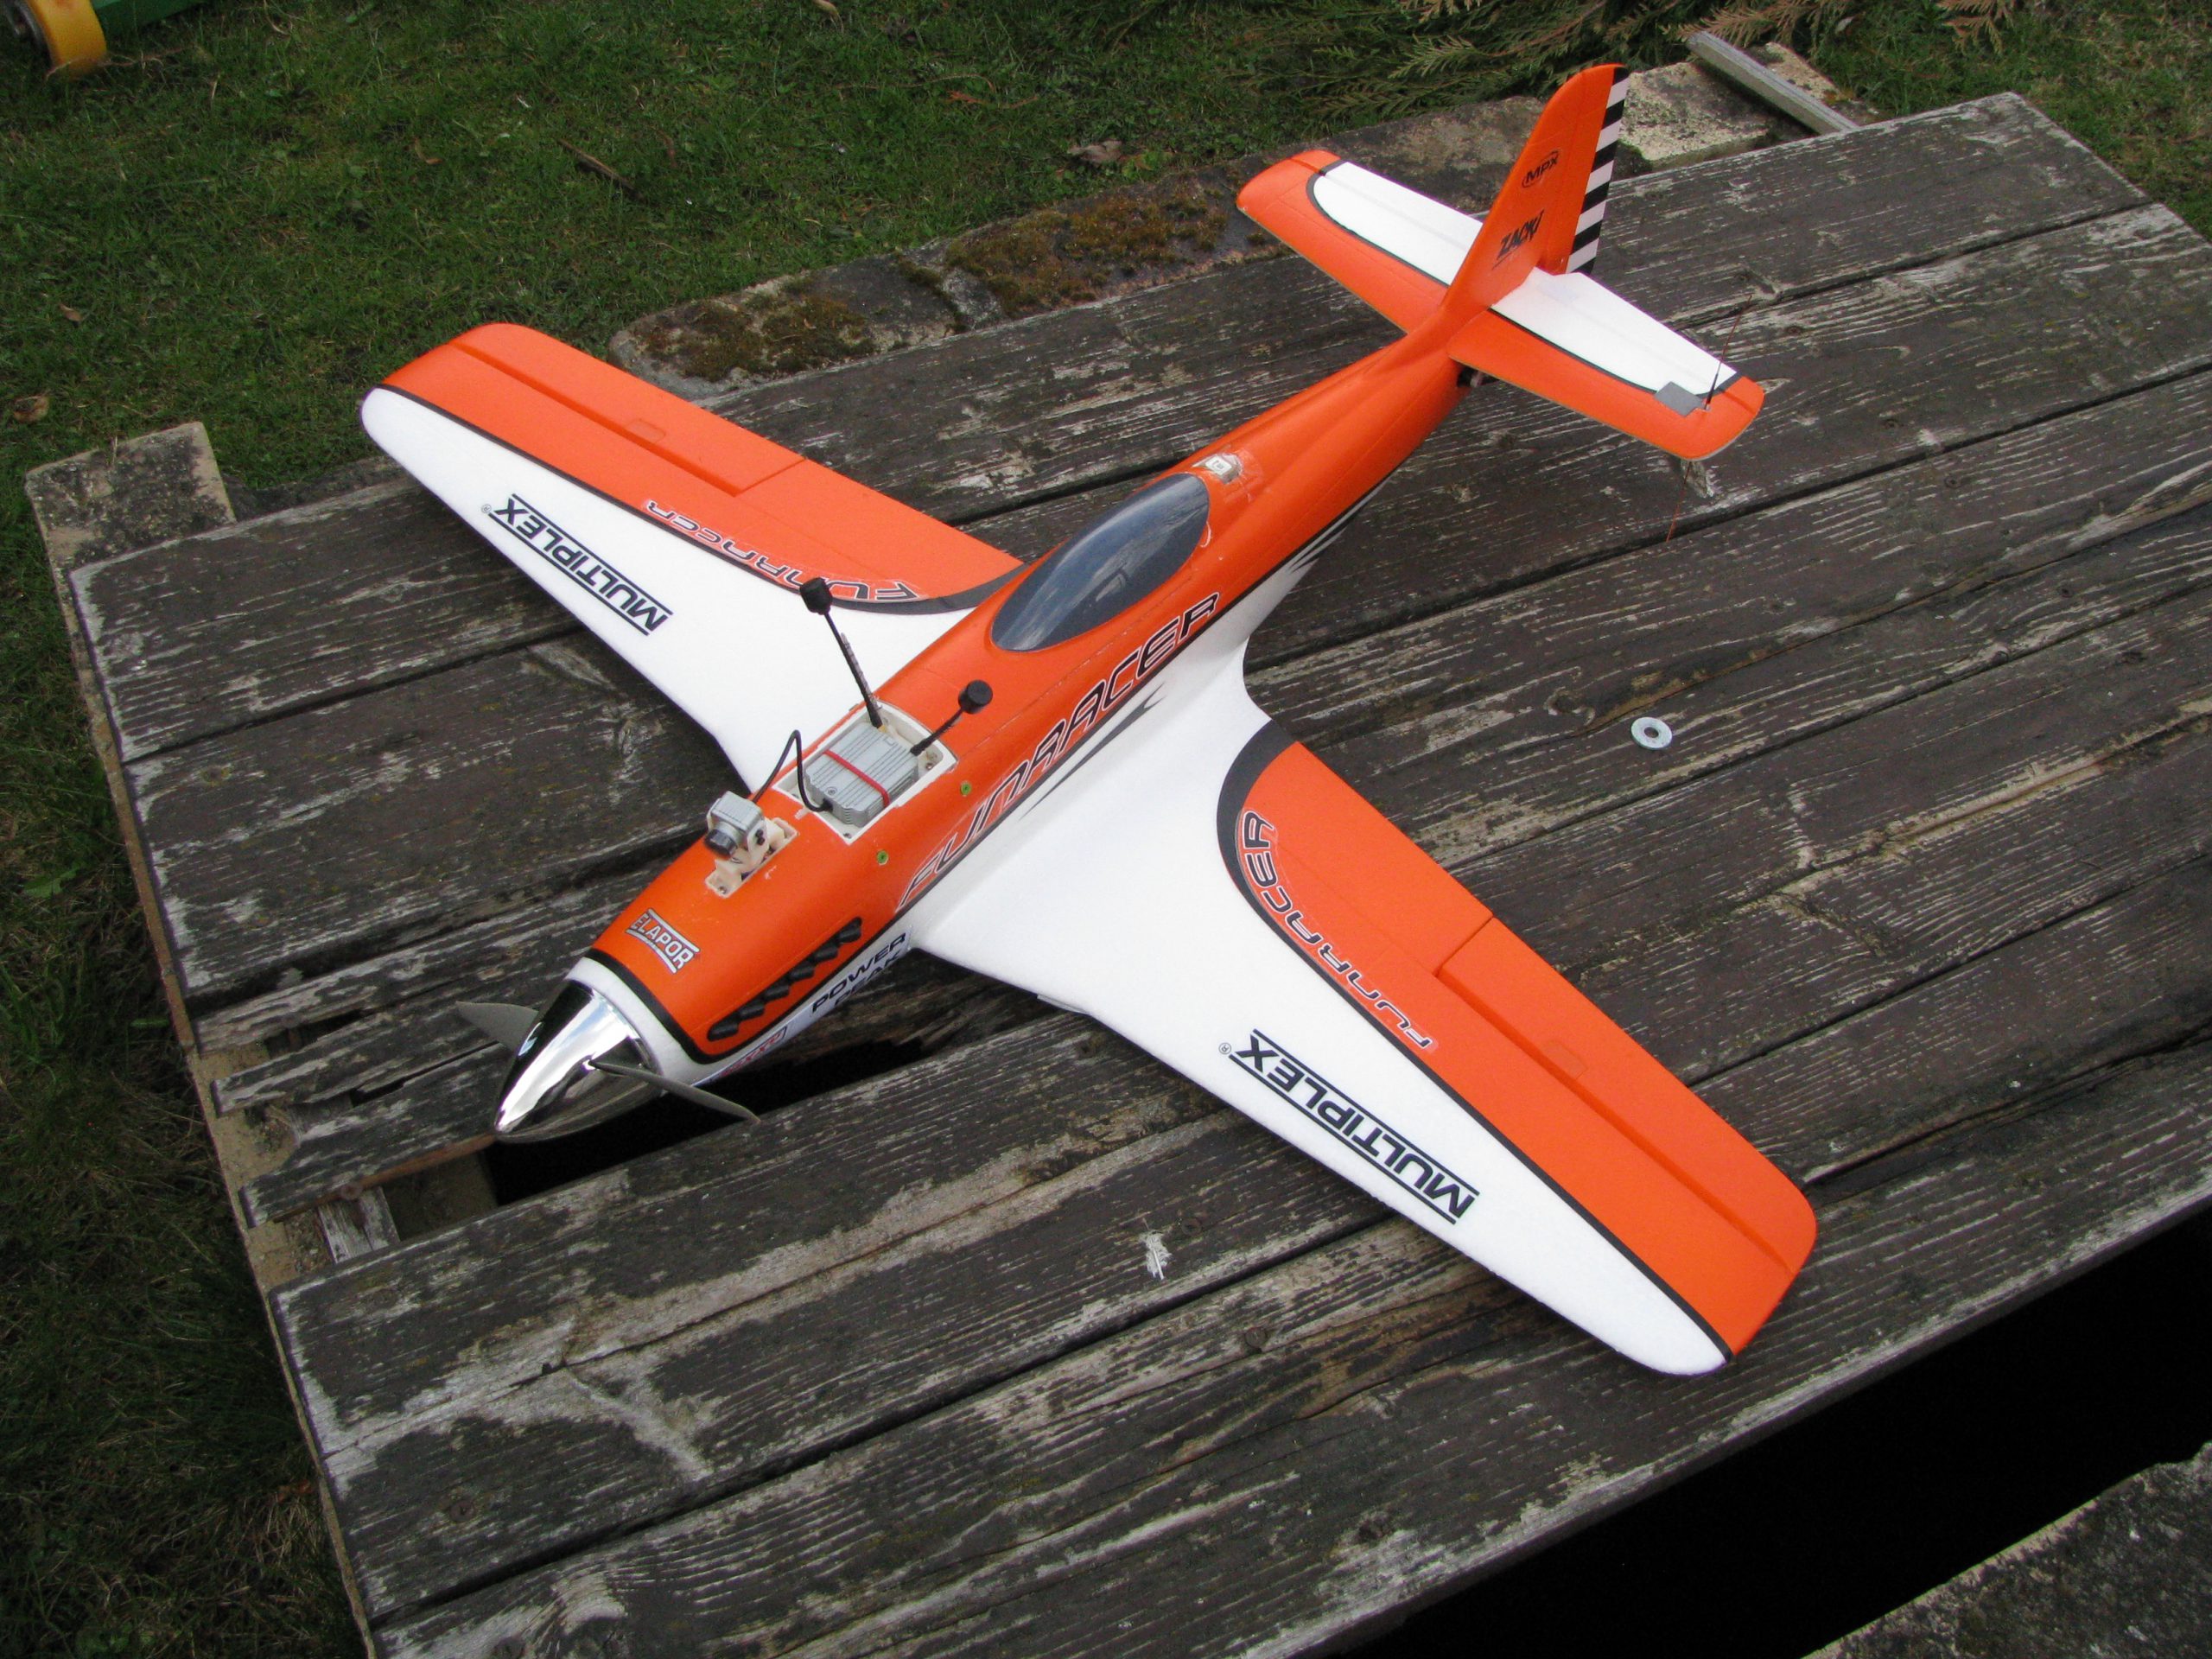
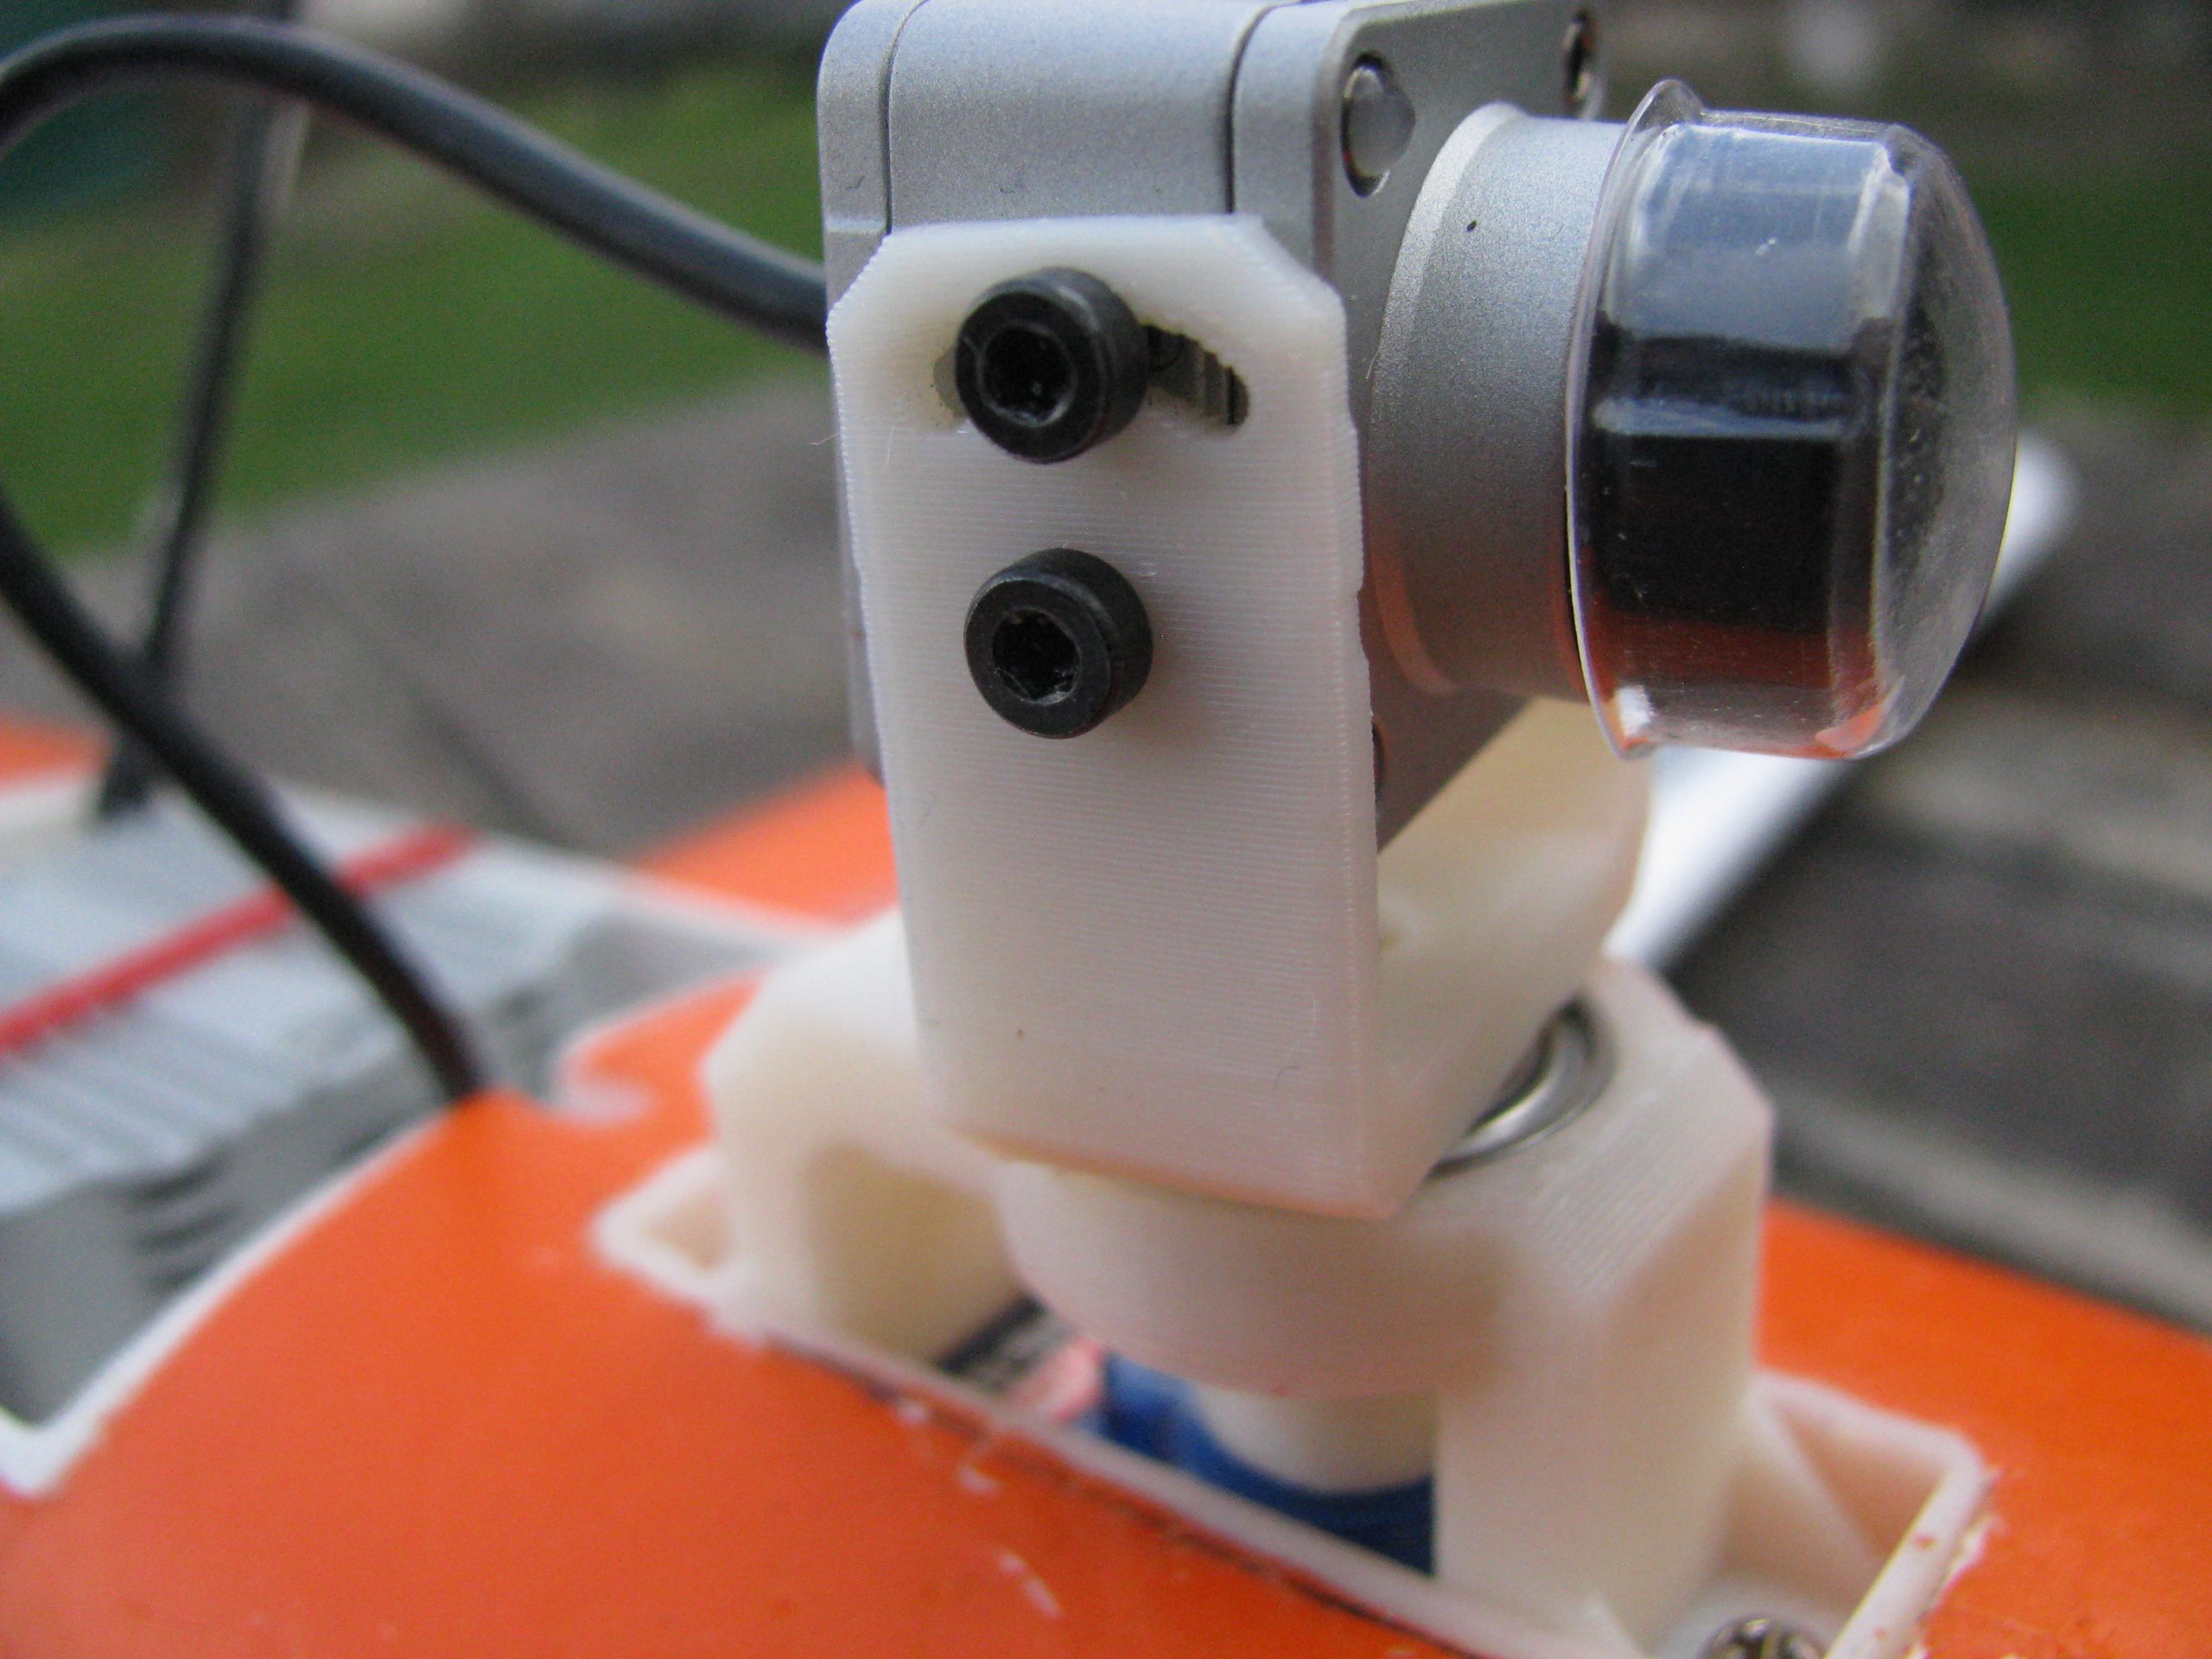
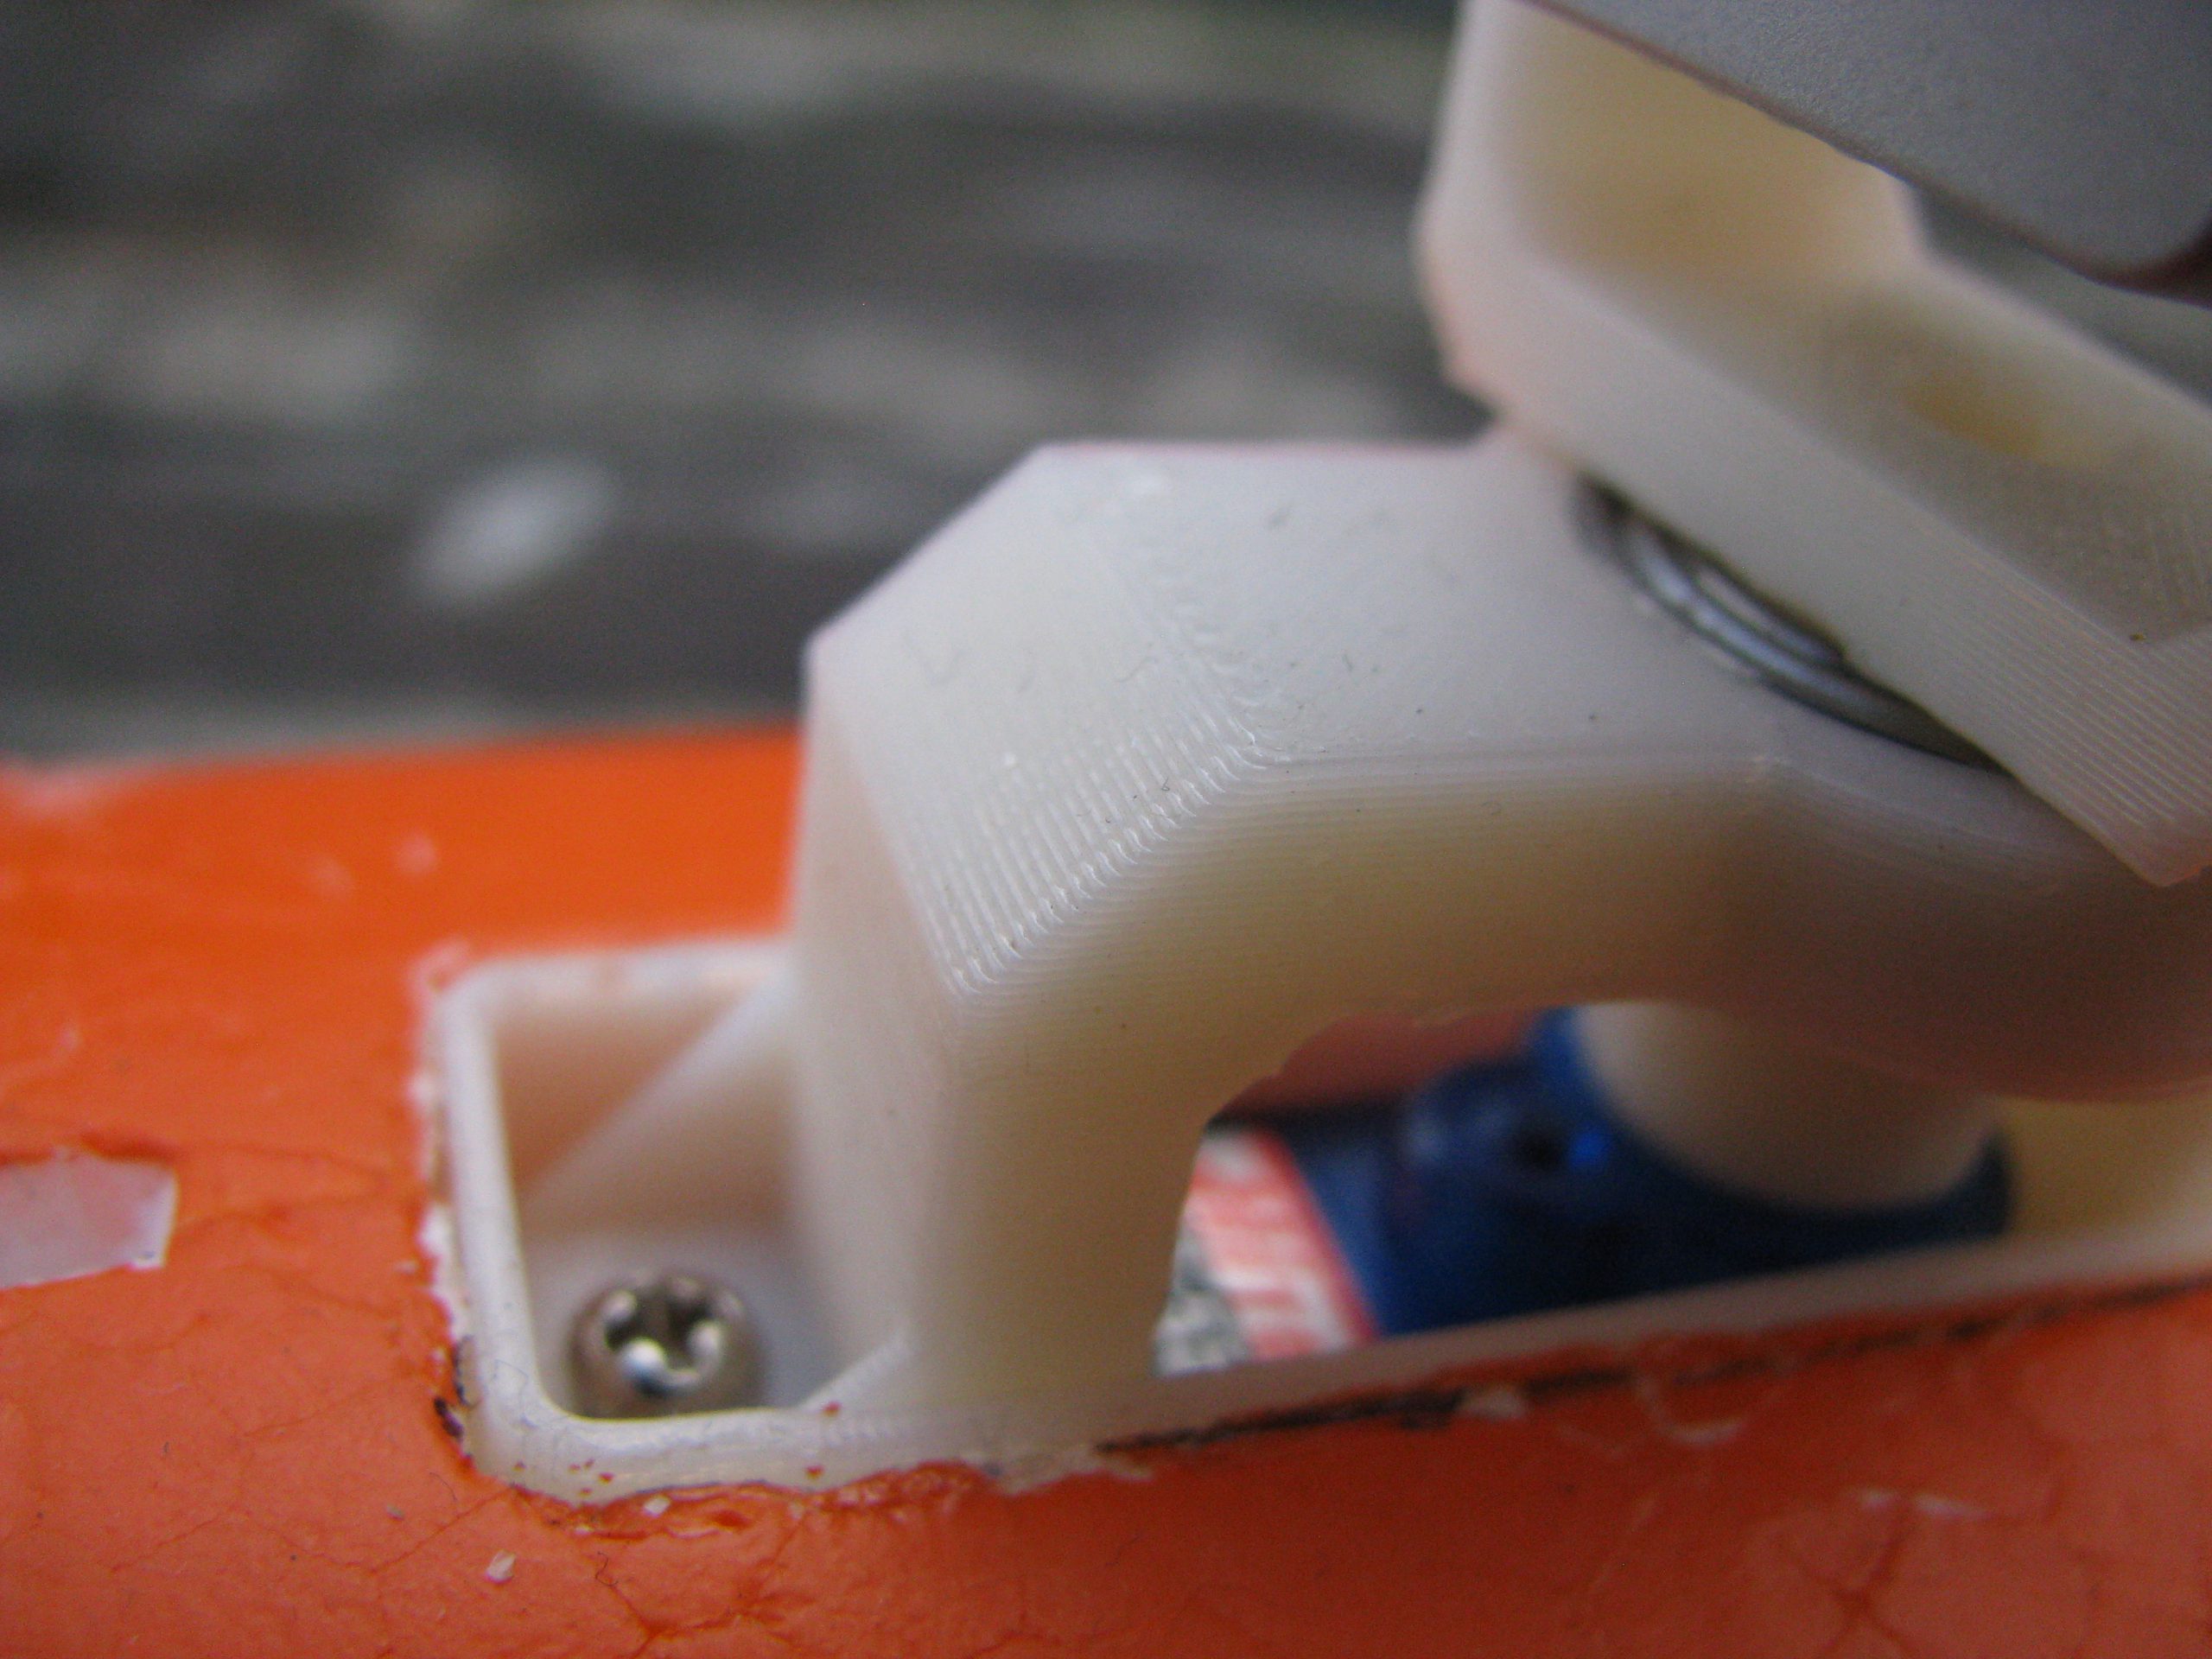
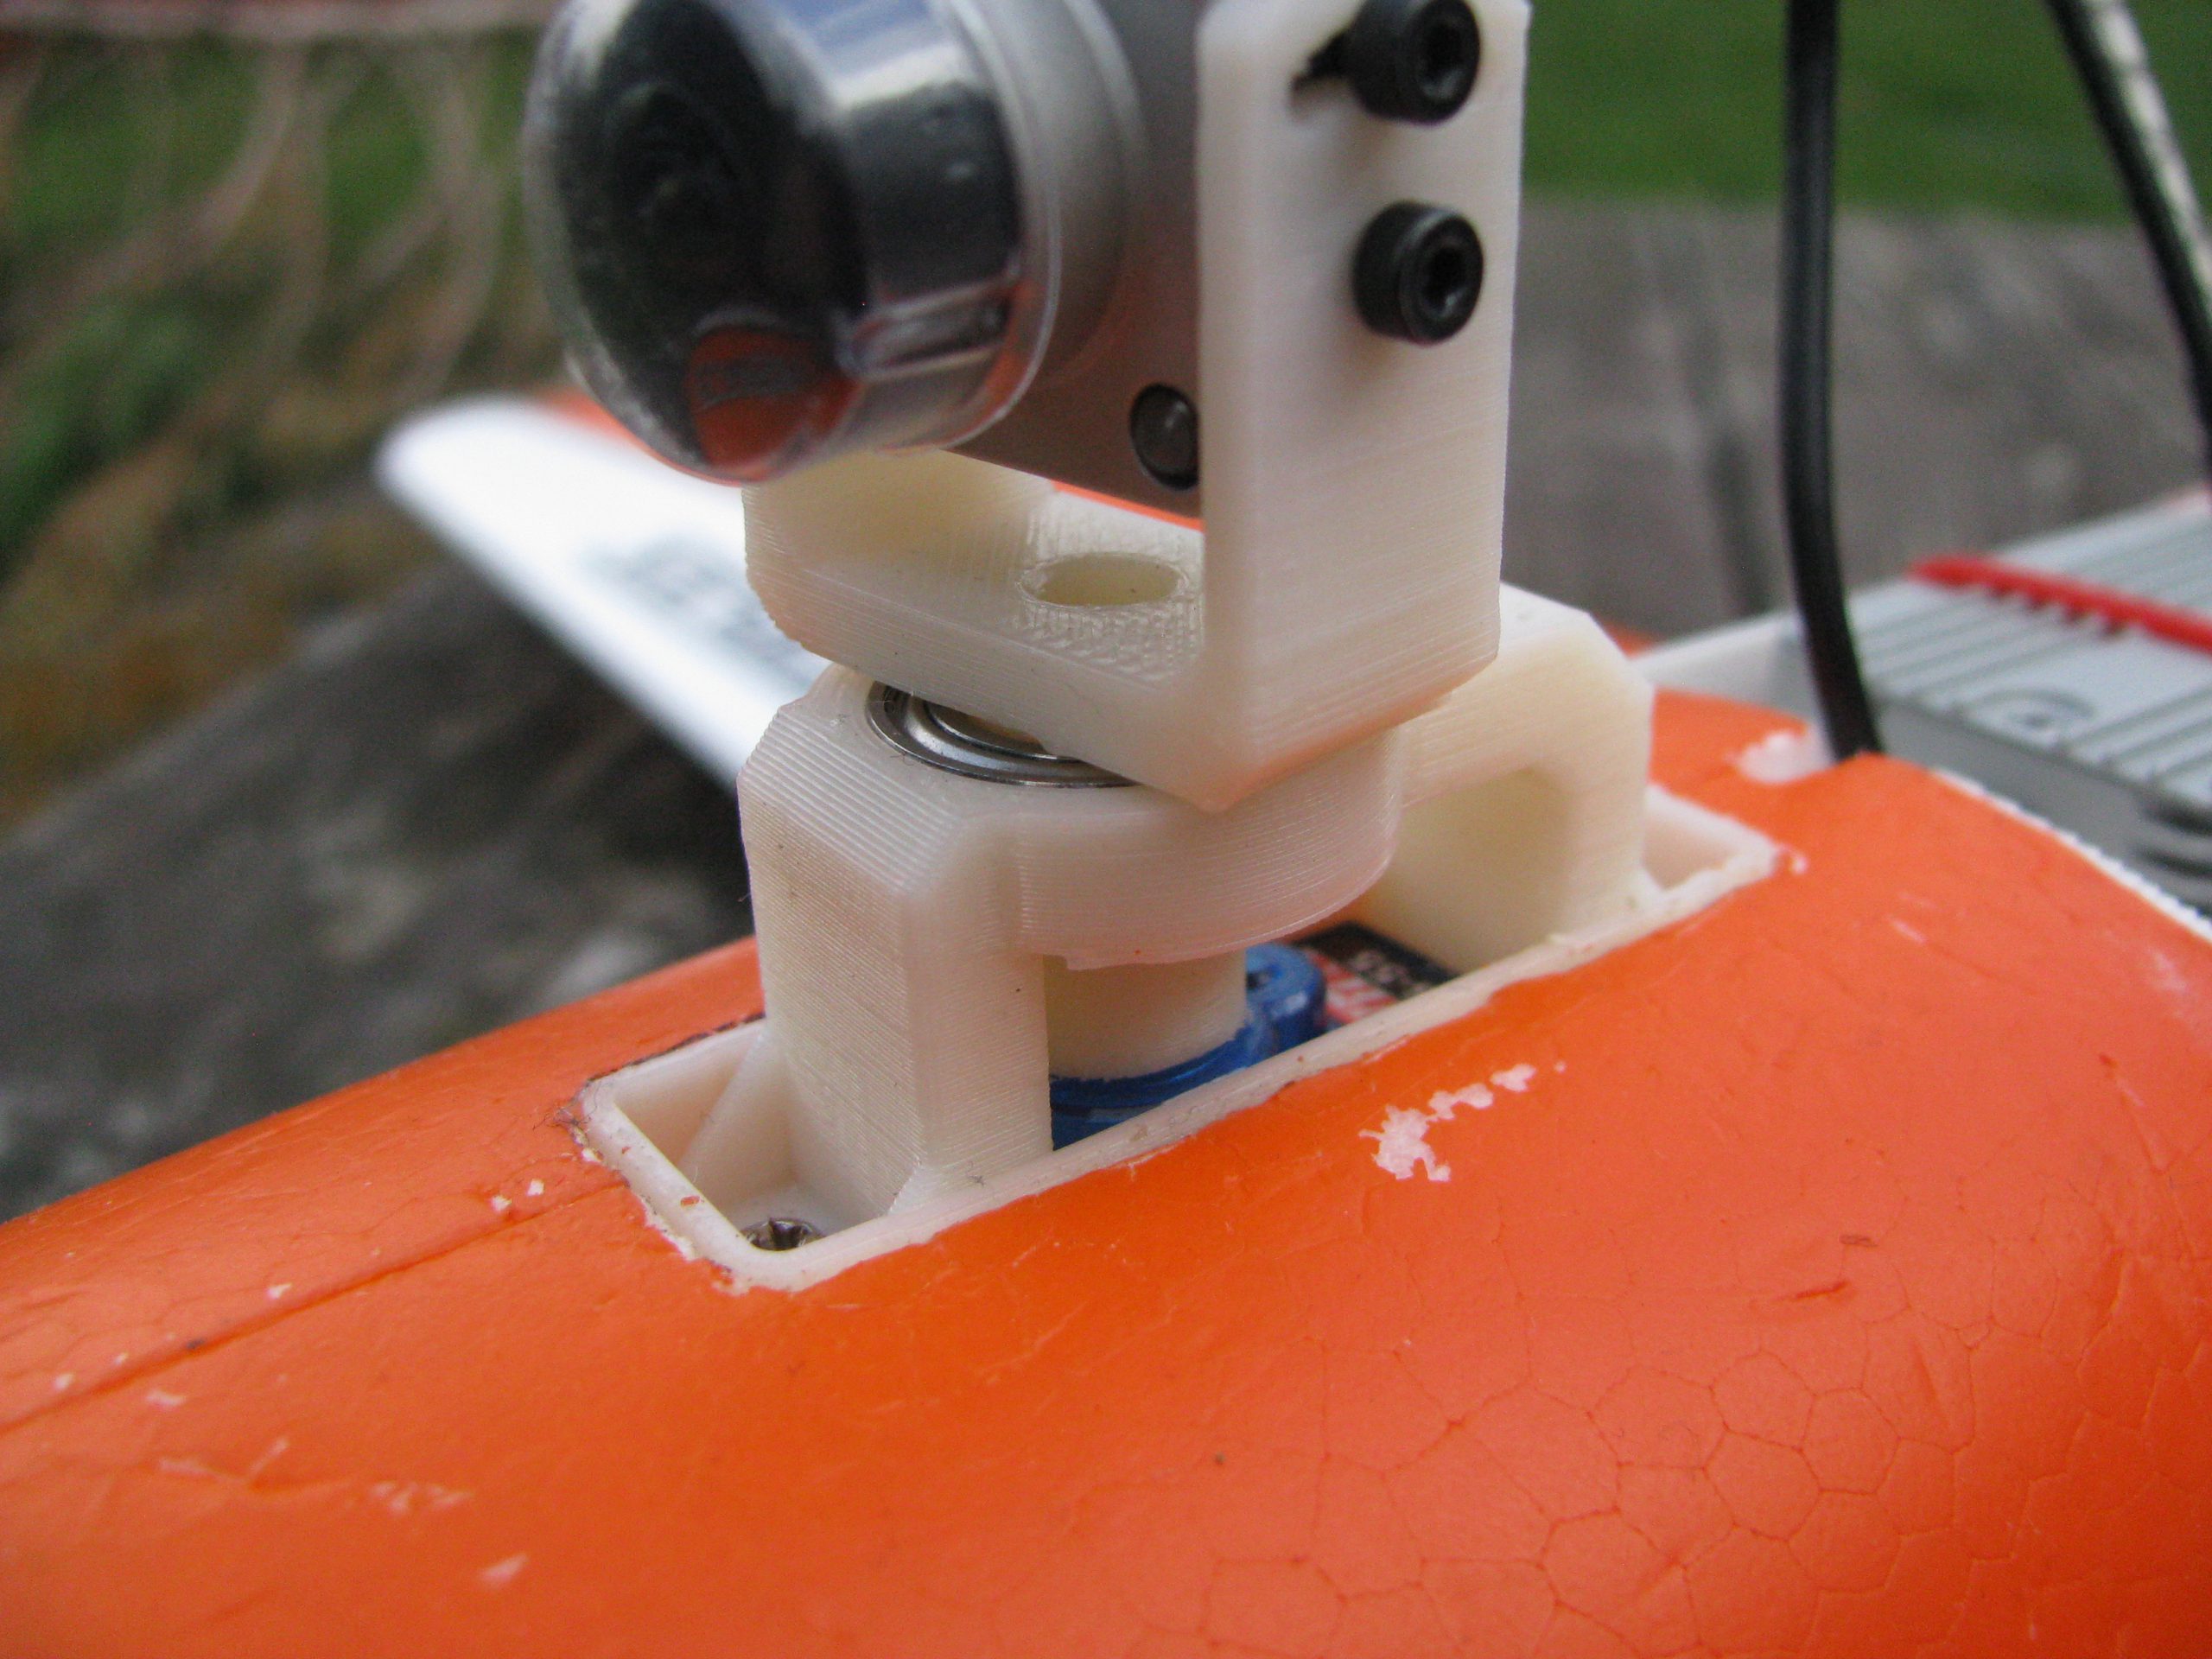
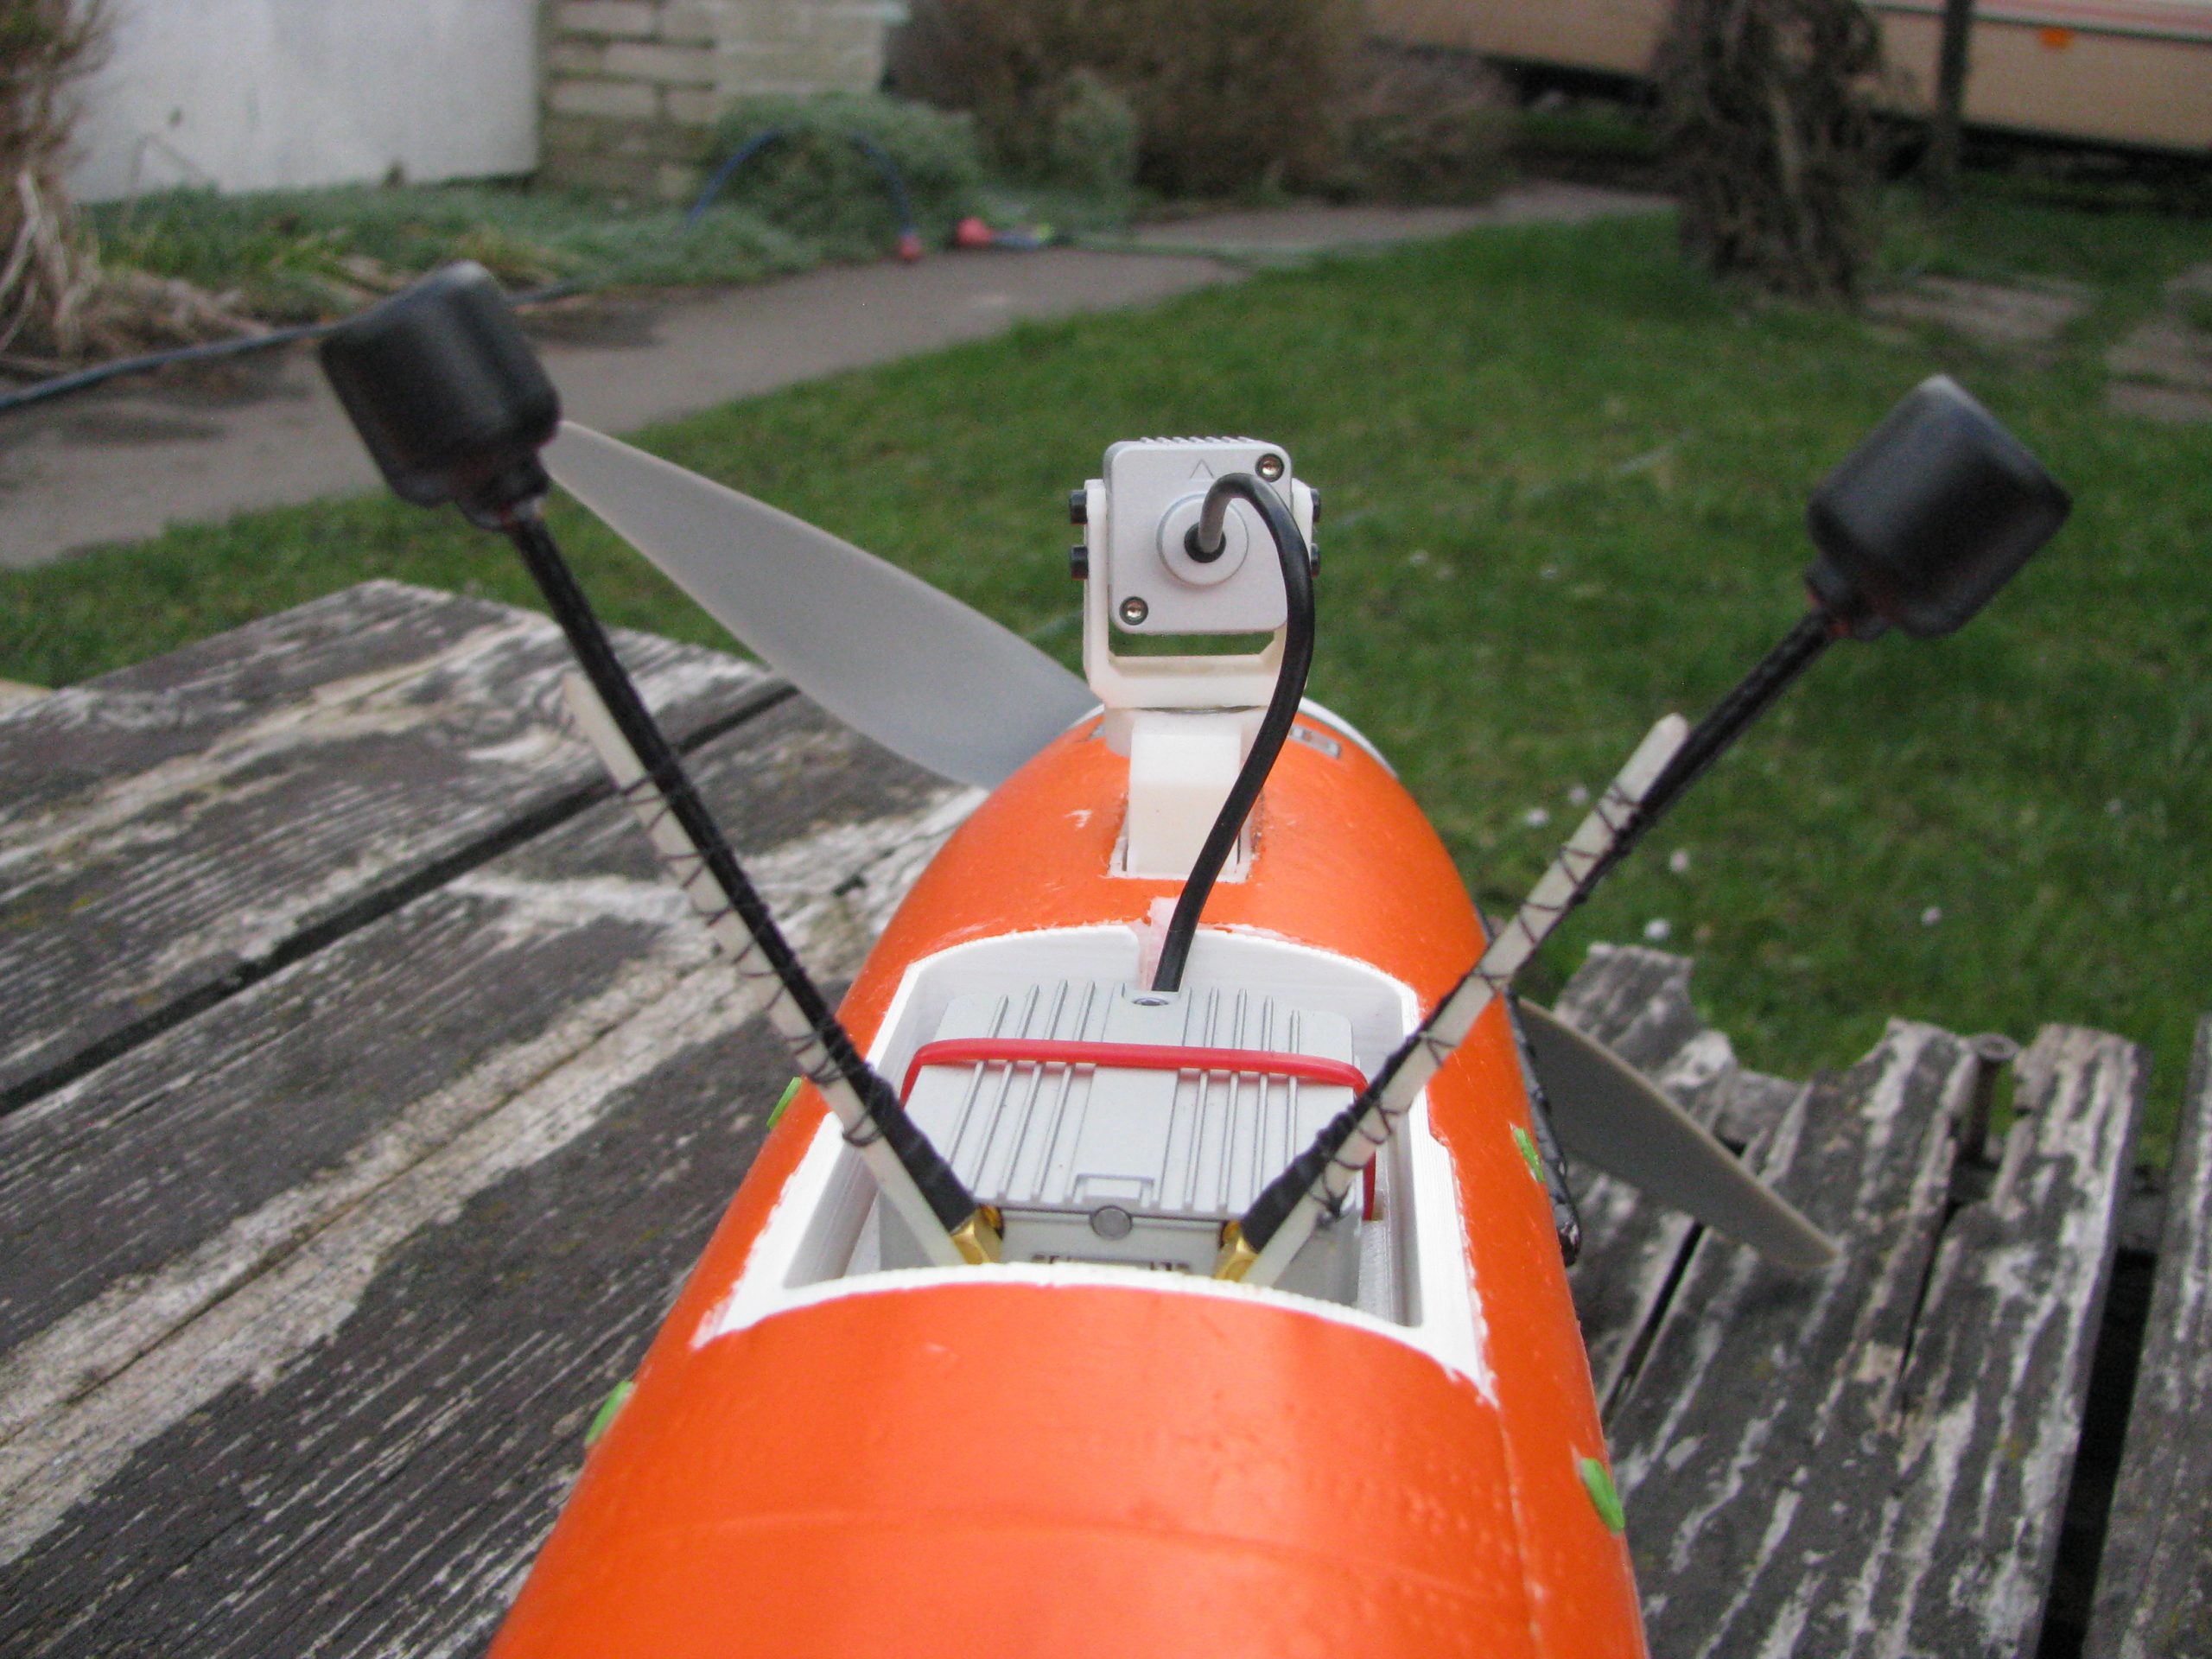
Got myself nice new Funracer from Multiplex. Build was semi-easy as plane comes almost ready. It was a little pain to install everything FPV related as fuselage is already glued together. I had to shorten the canopy to fit DJI Air Unit. But with a little 3D printing it fits there perfectly. Camera is on servo with support bearing. Hope this will work well.
There is small battery to keep plane light. Battery is exactly in CG even after adding all FPV related stuff. I might experiment with different batteries later. Not flown yet.
Specifications:
- Funracer by Multiplex
- Stock motor
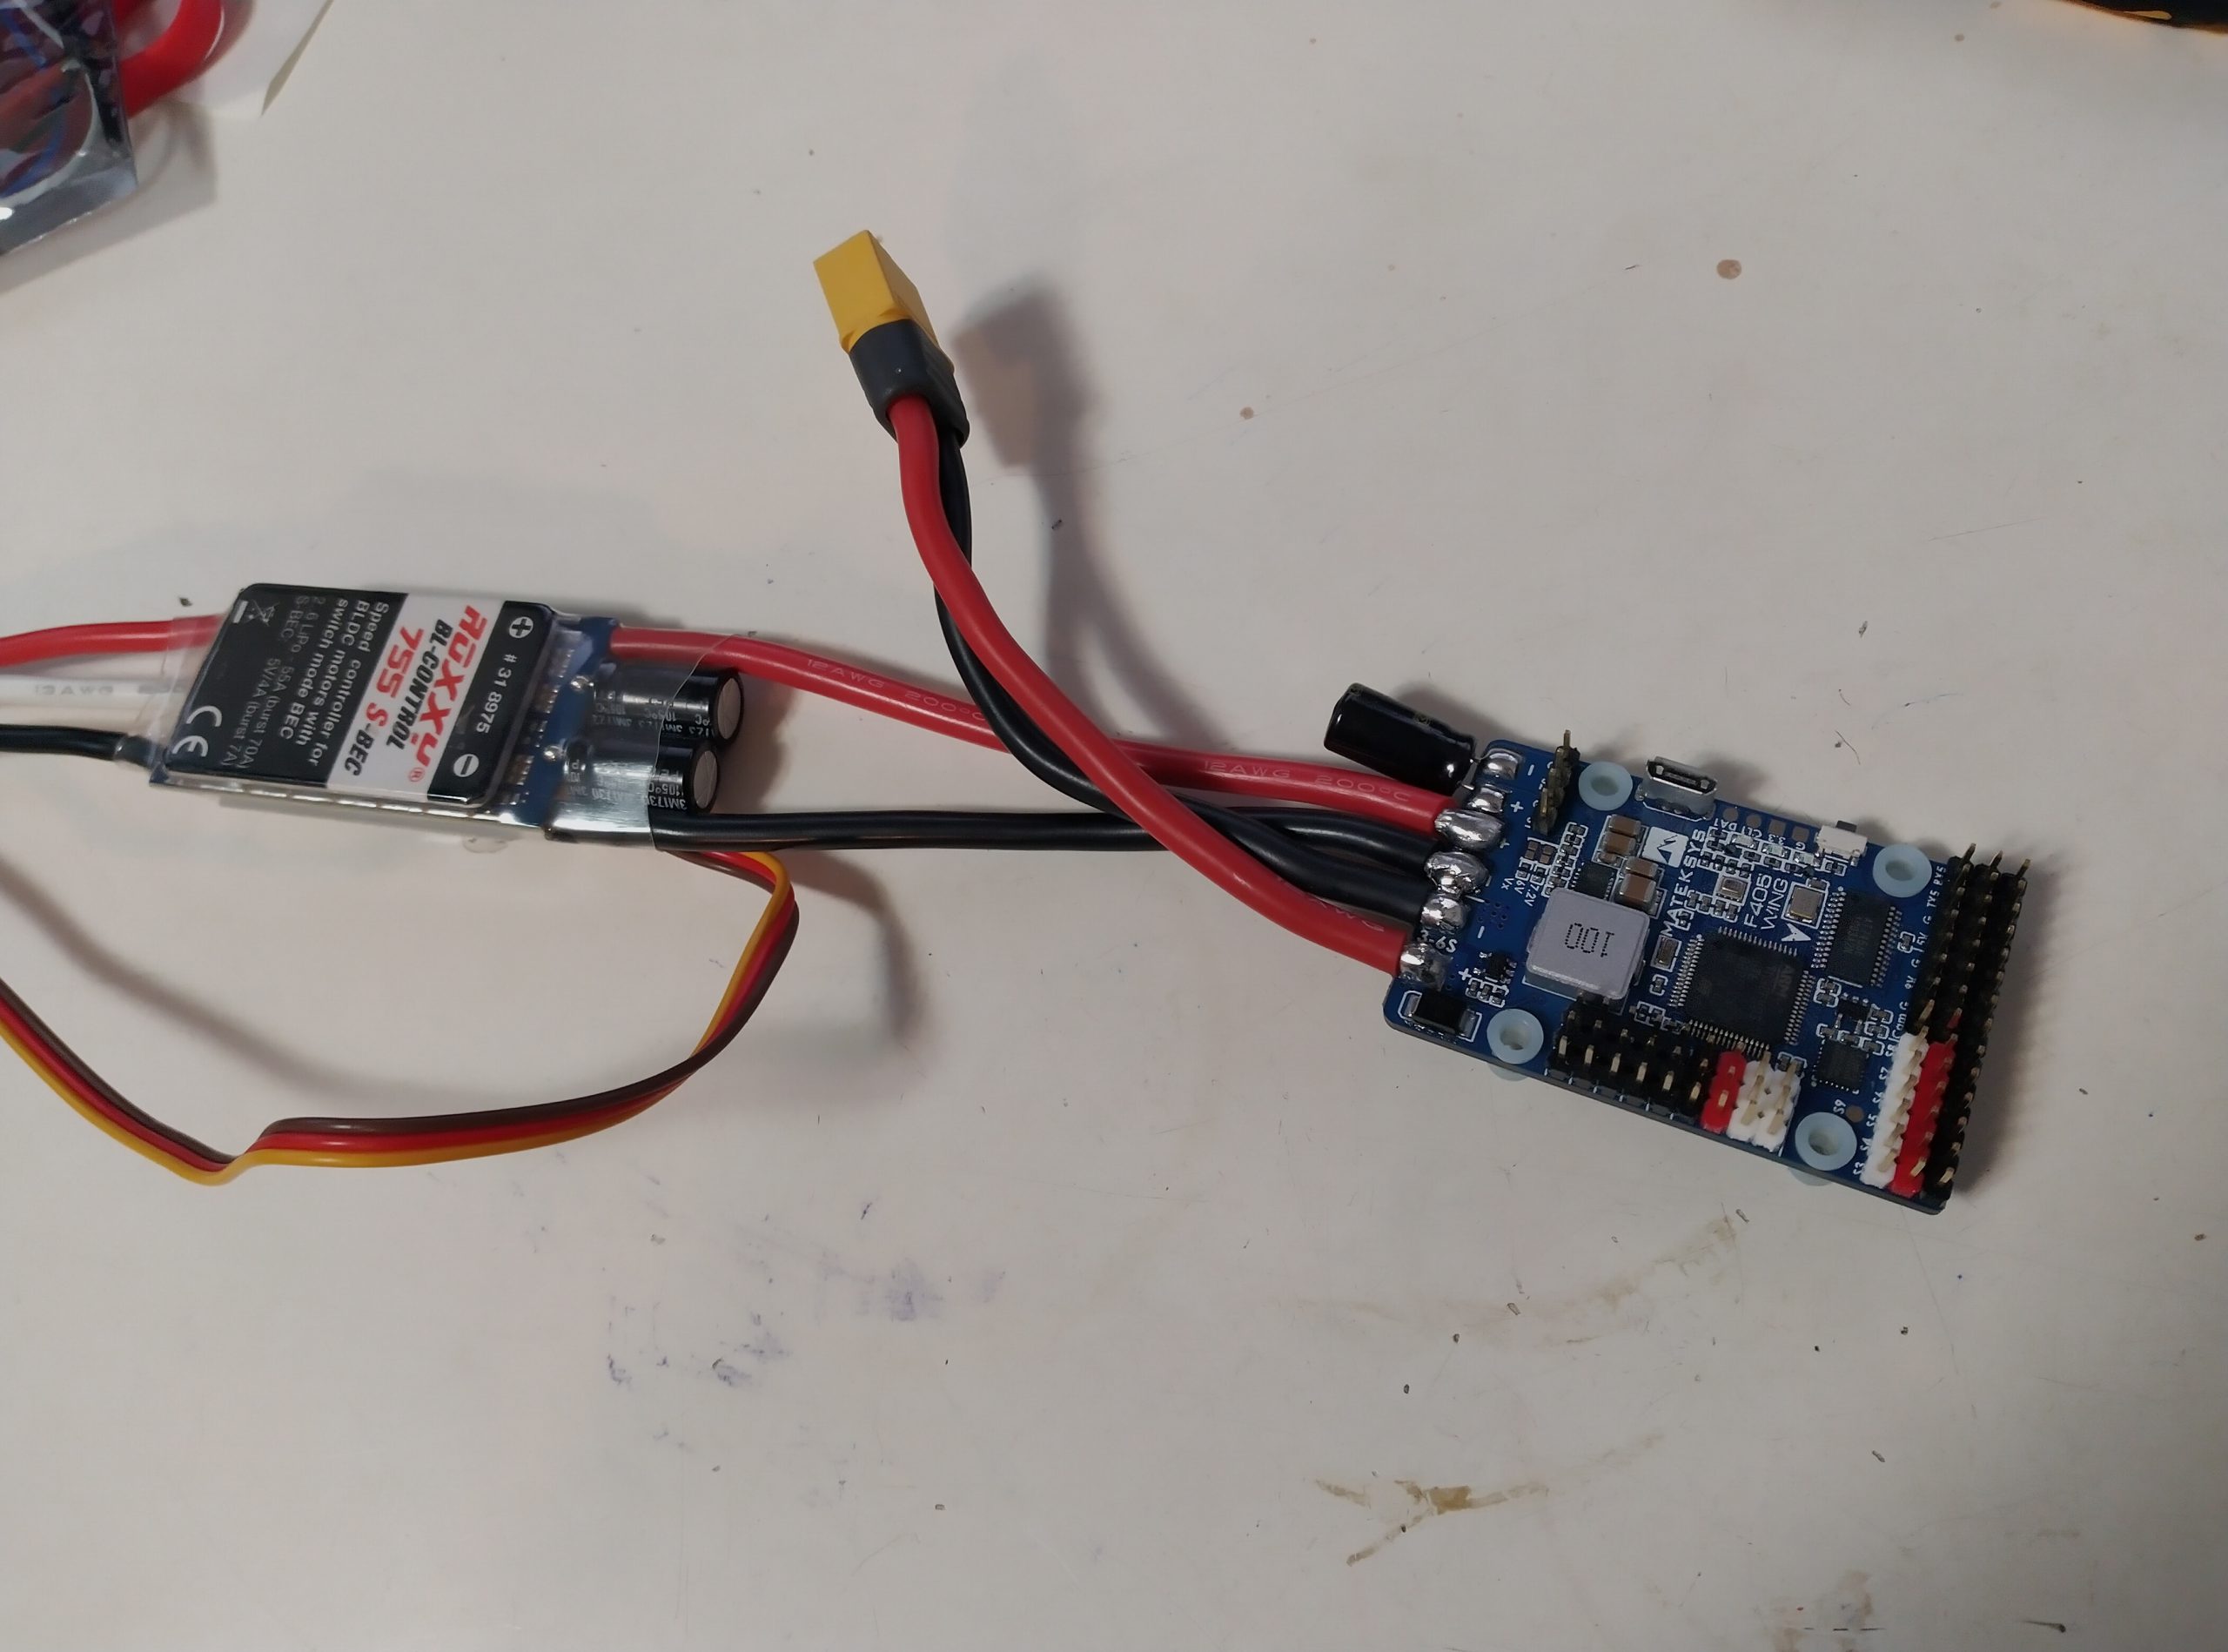
- Stock ESC
- Stock servos
- Stock propeller
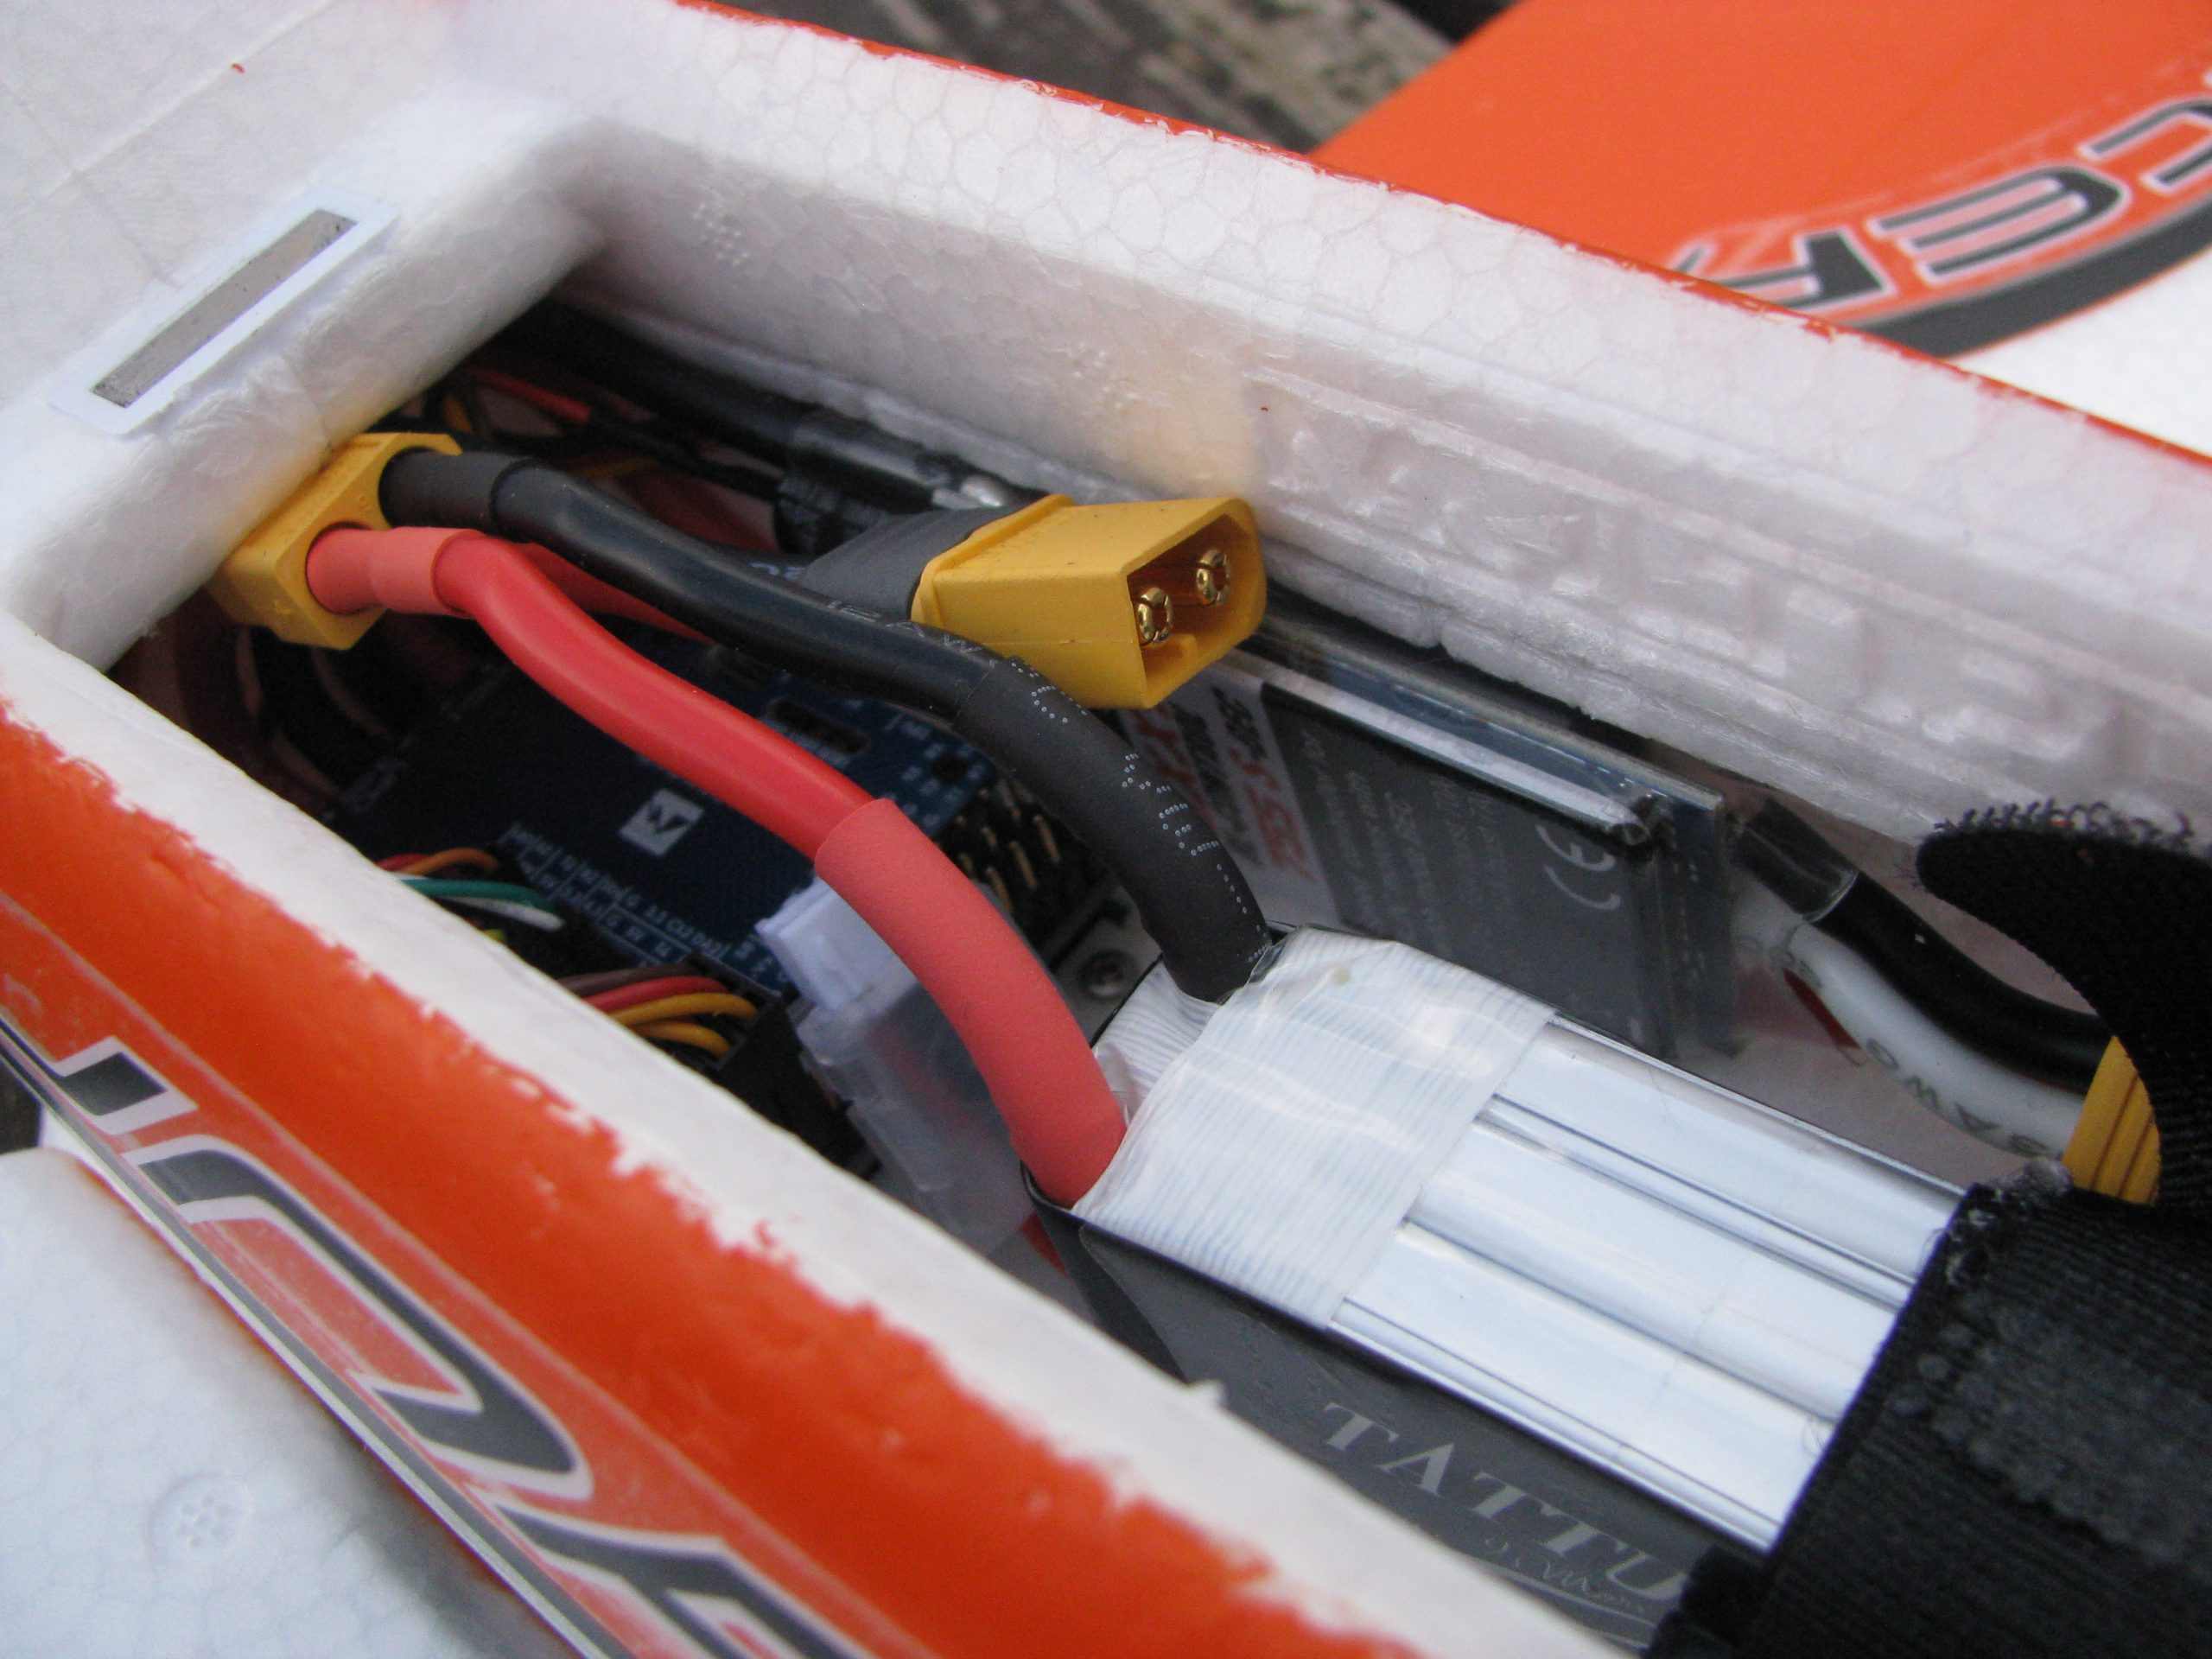
- 3S/2200mAh Lipo
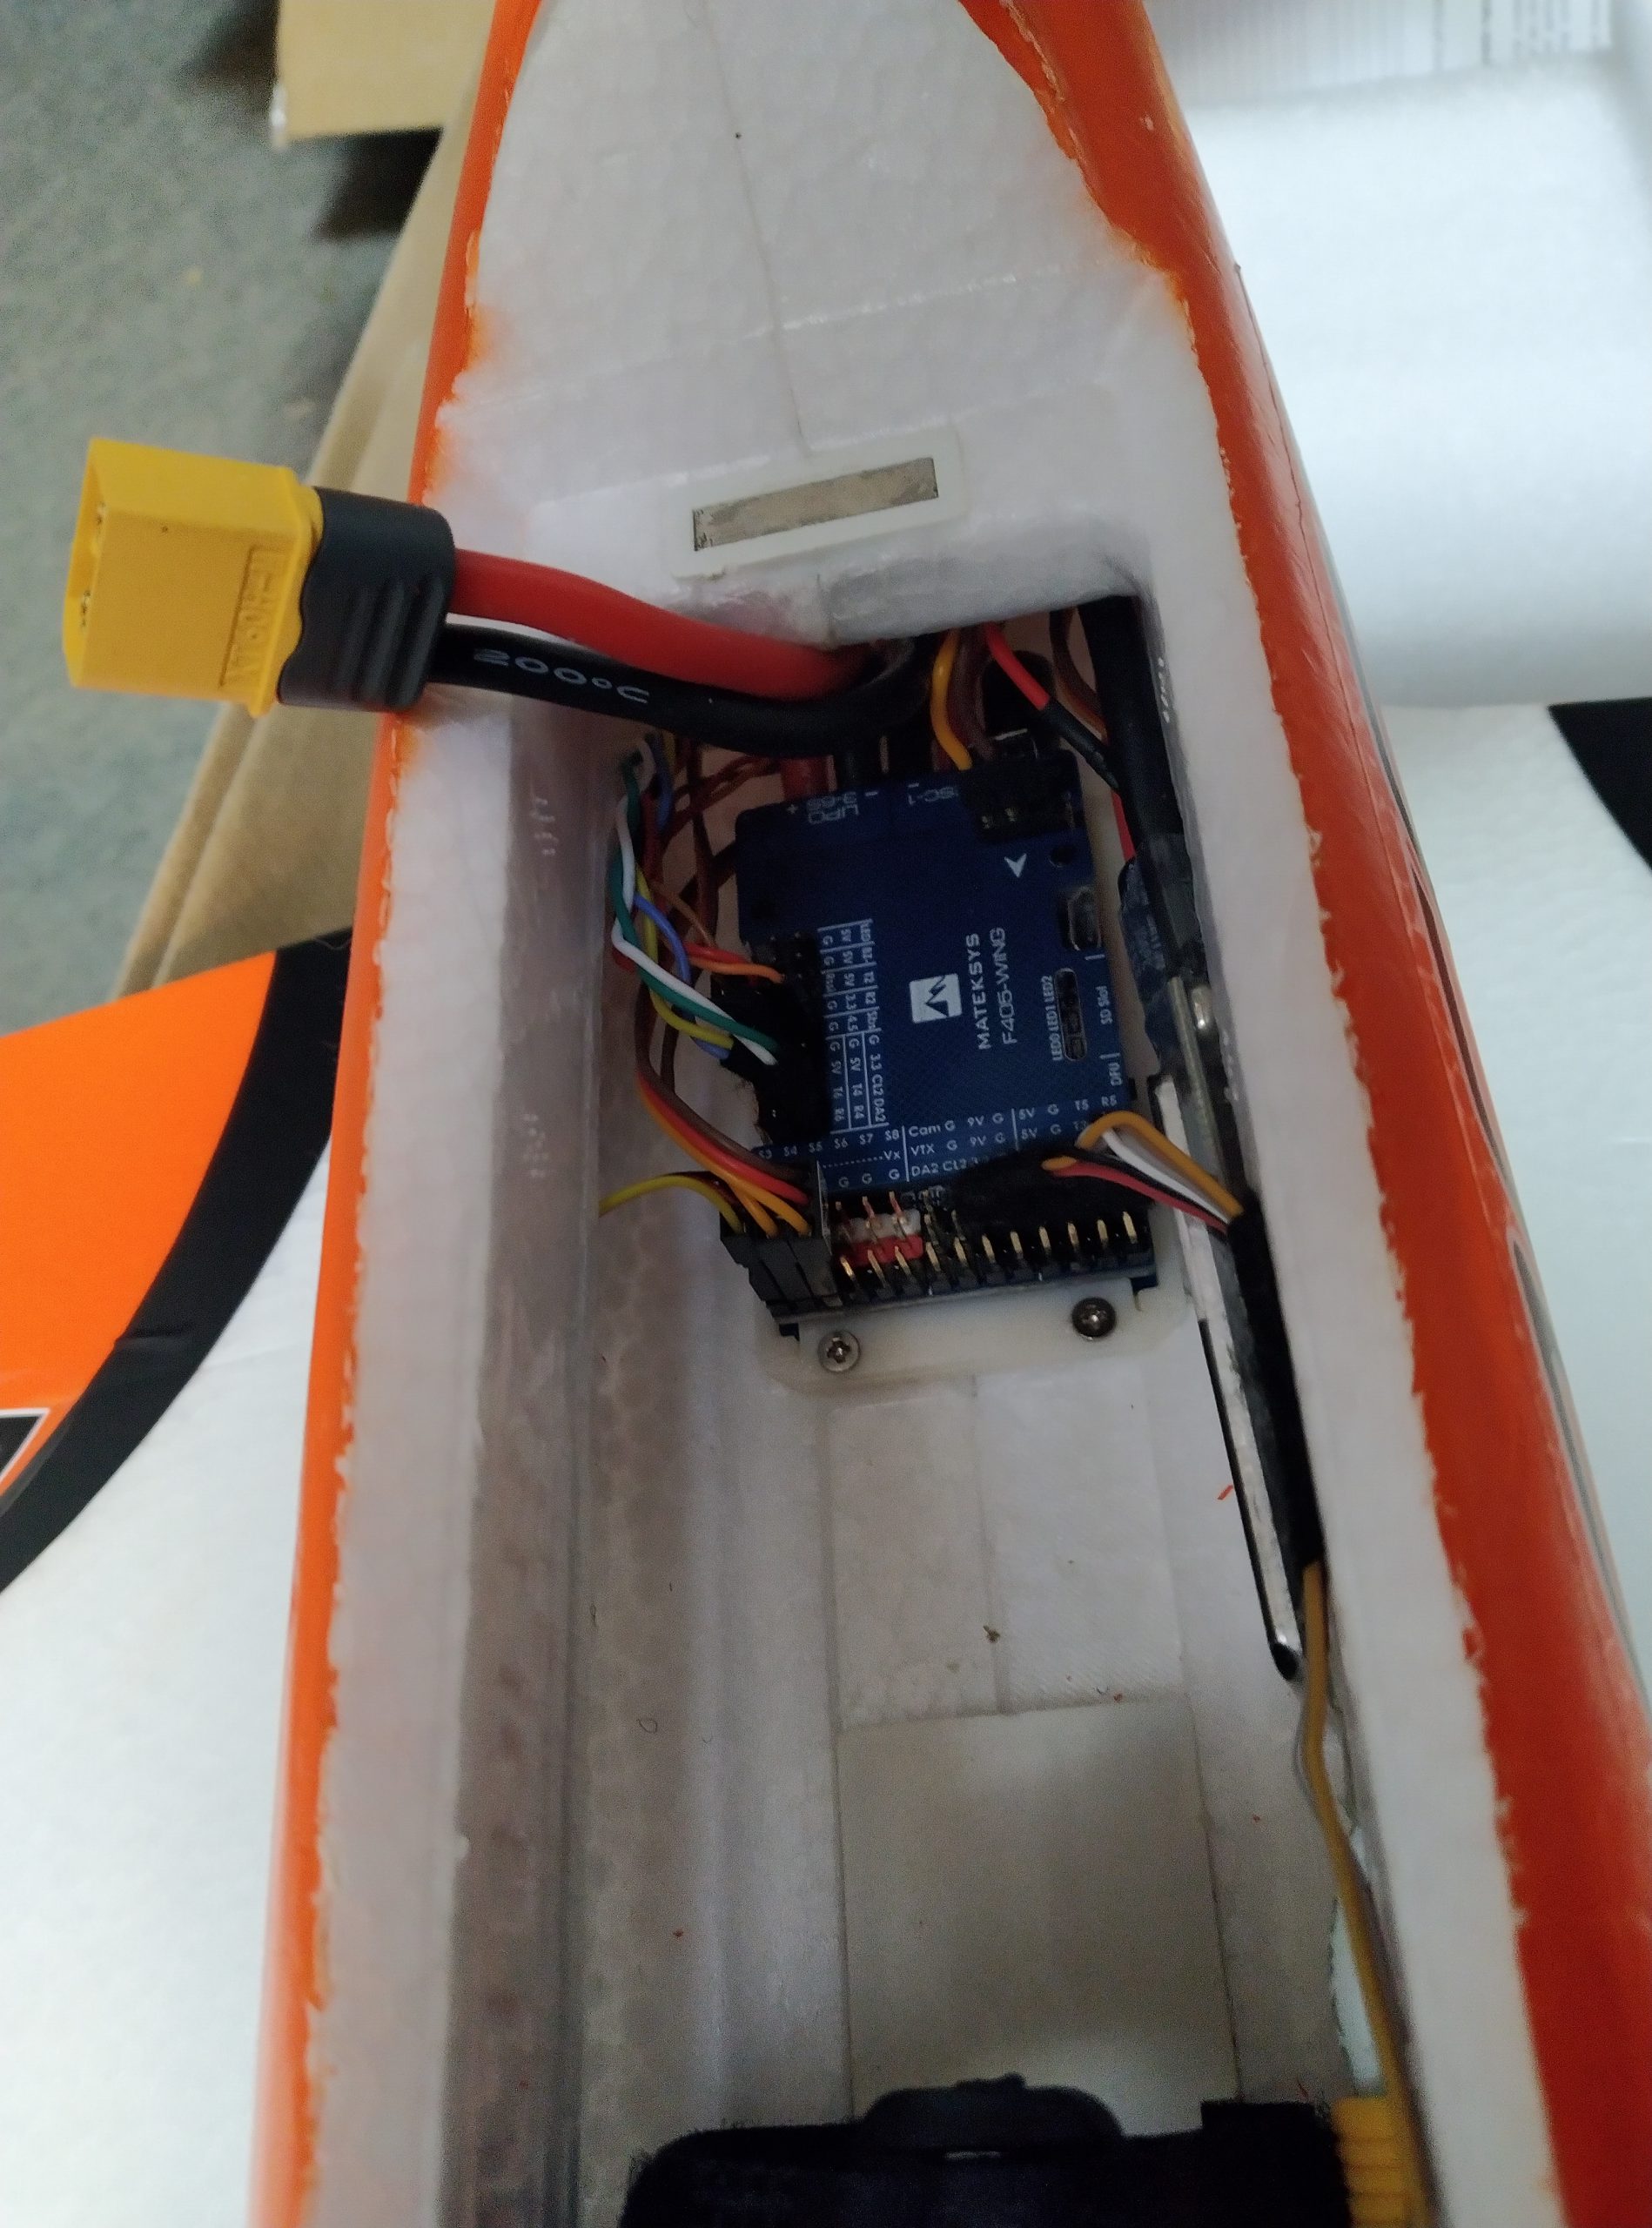
- Matek F405-WING autopilot with INAV
- Matek GPS
- DJI Digital FPV system
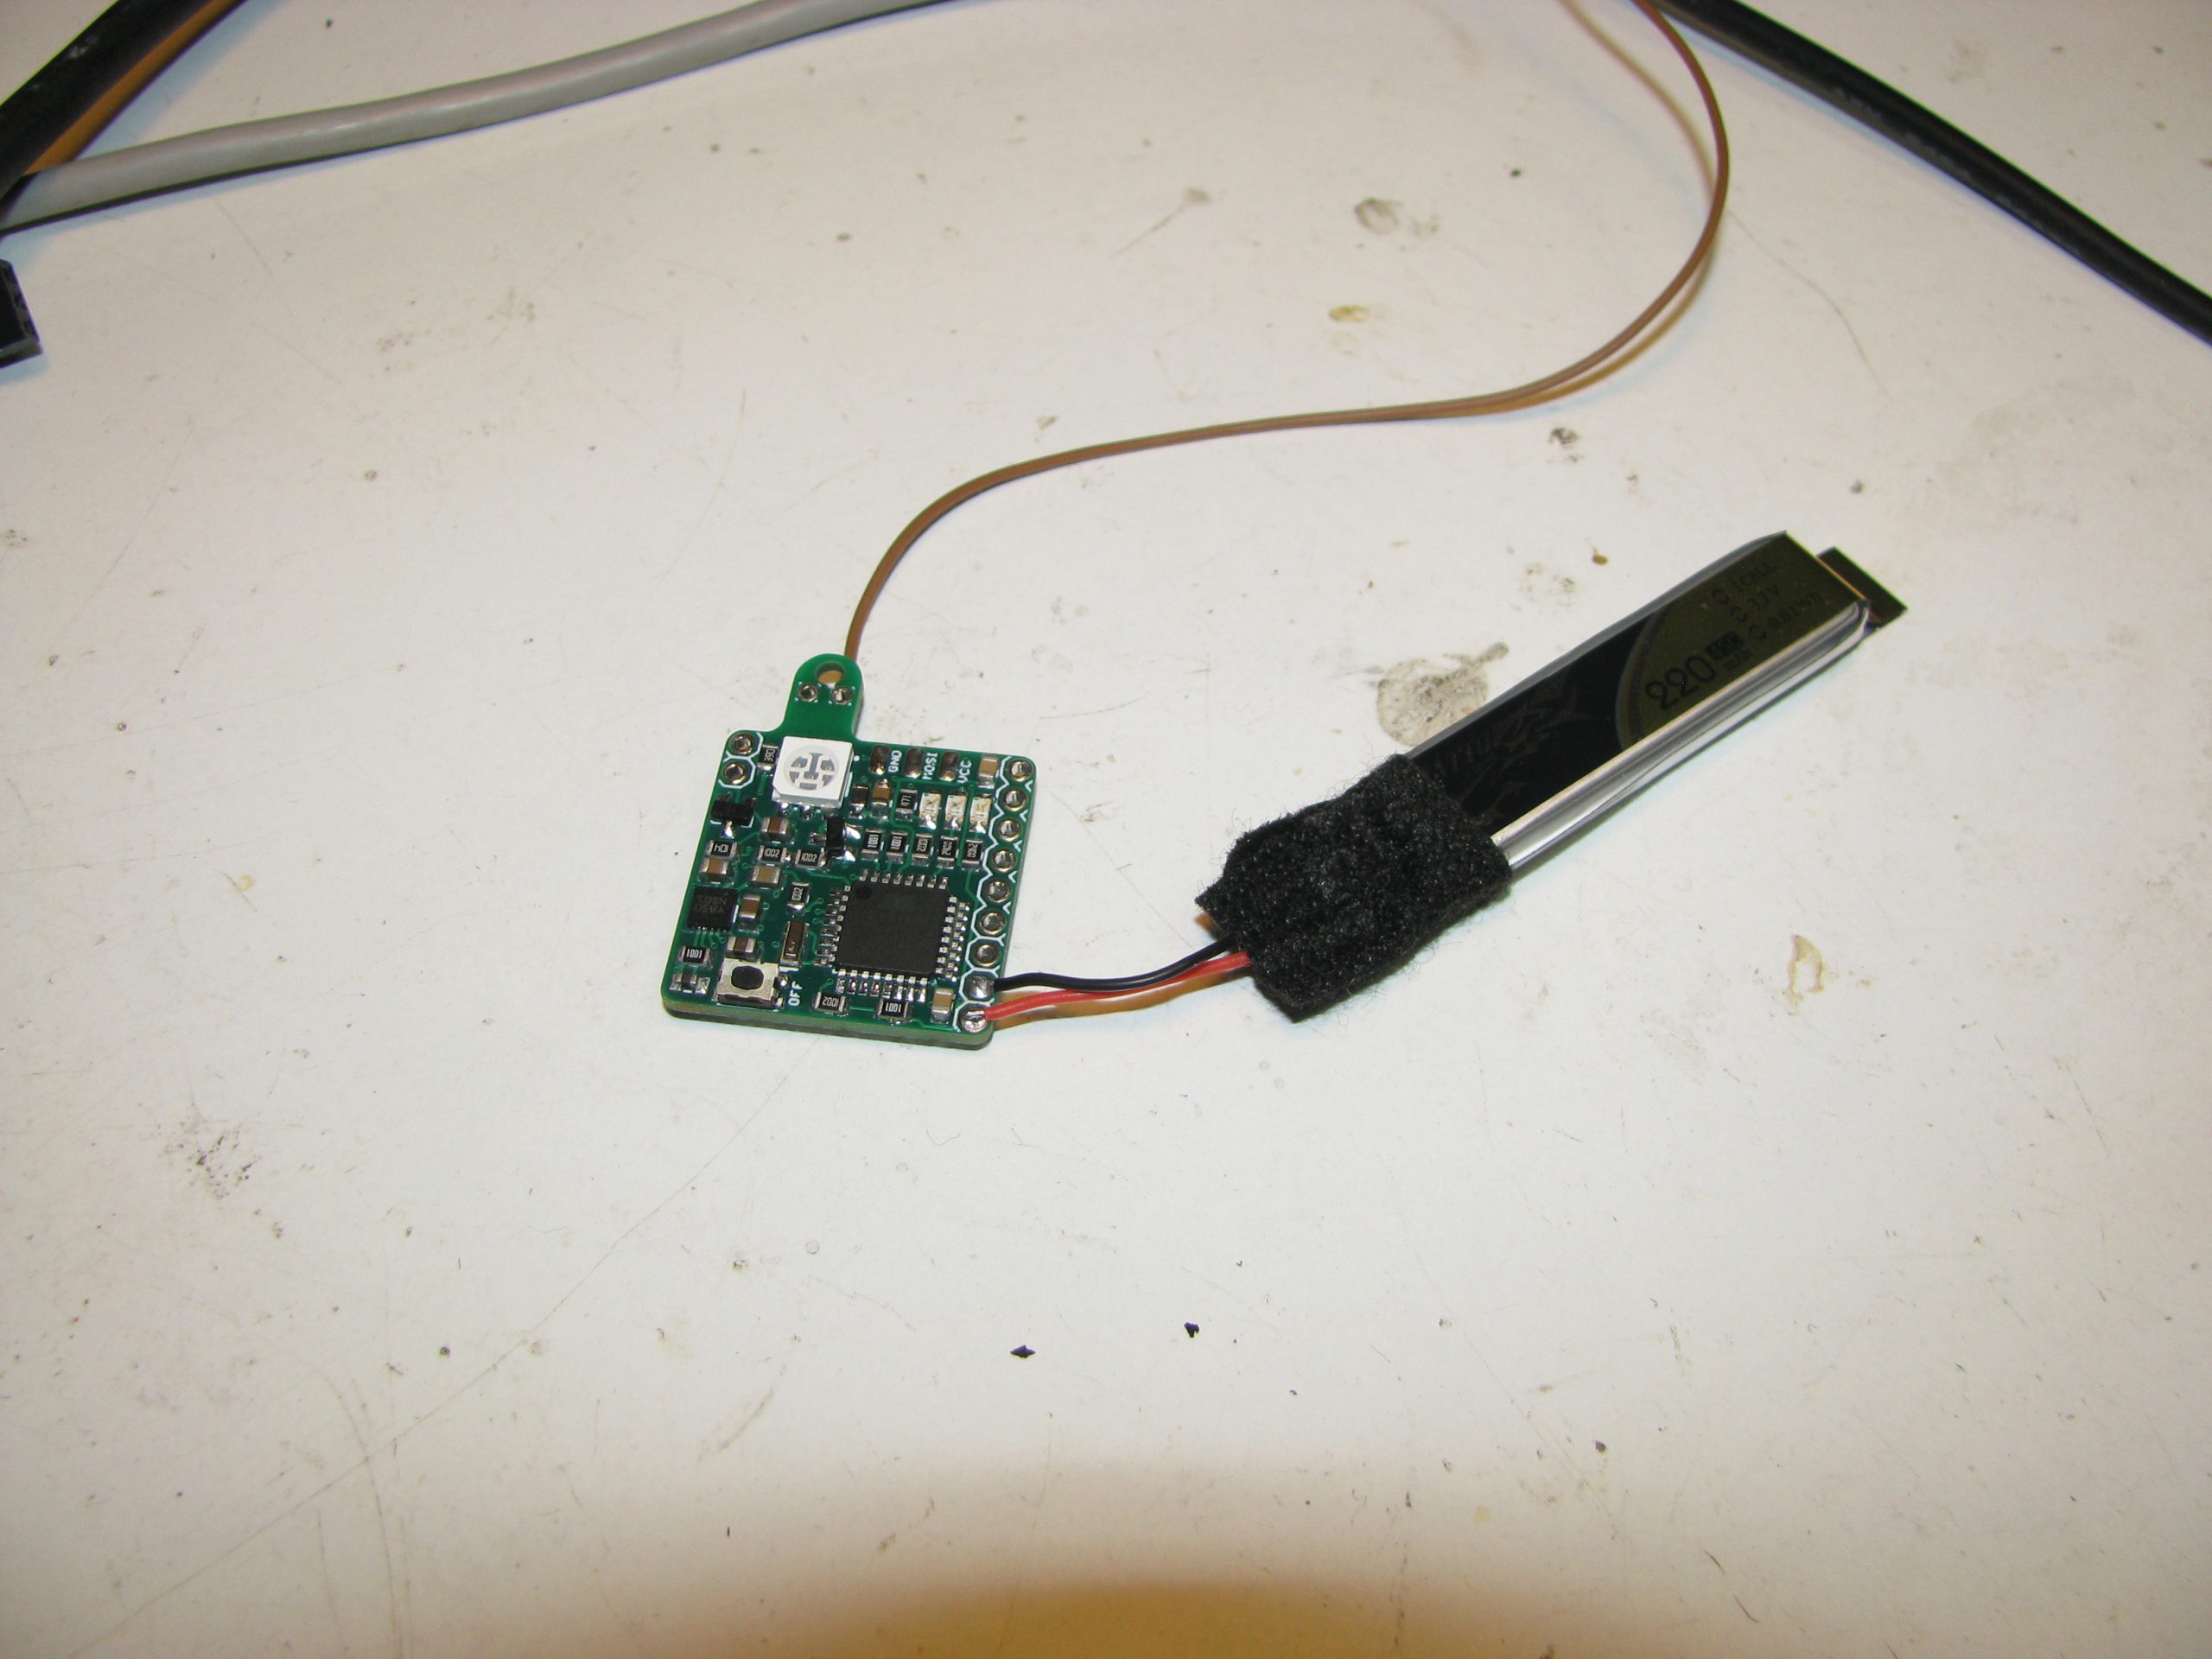
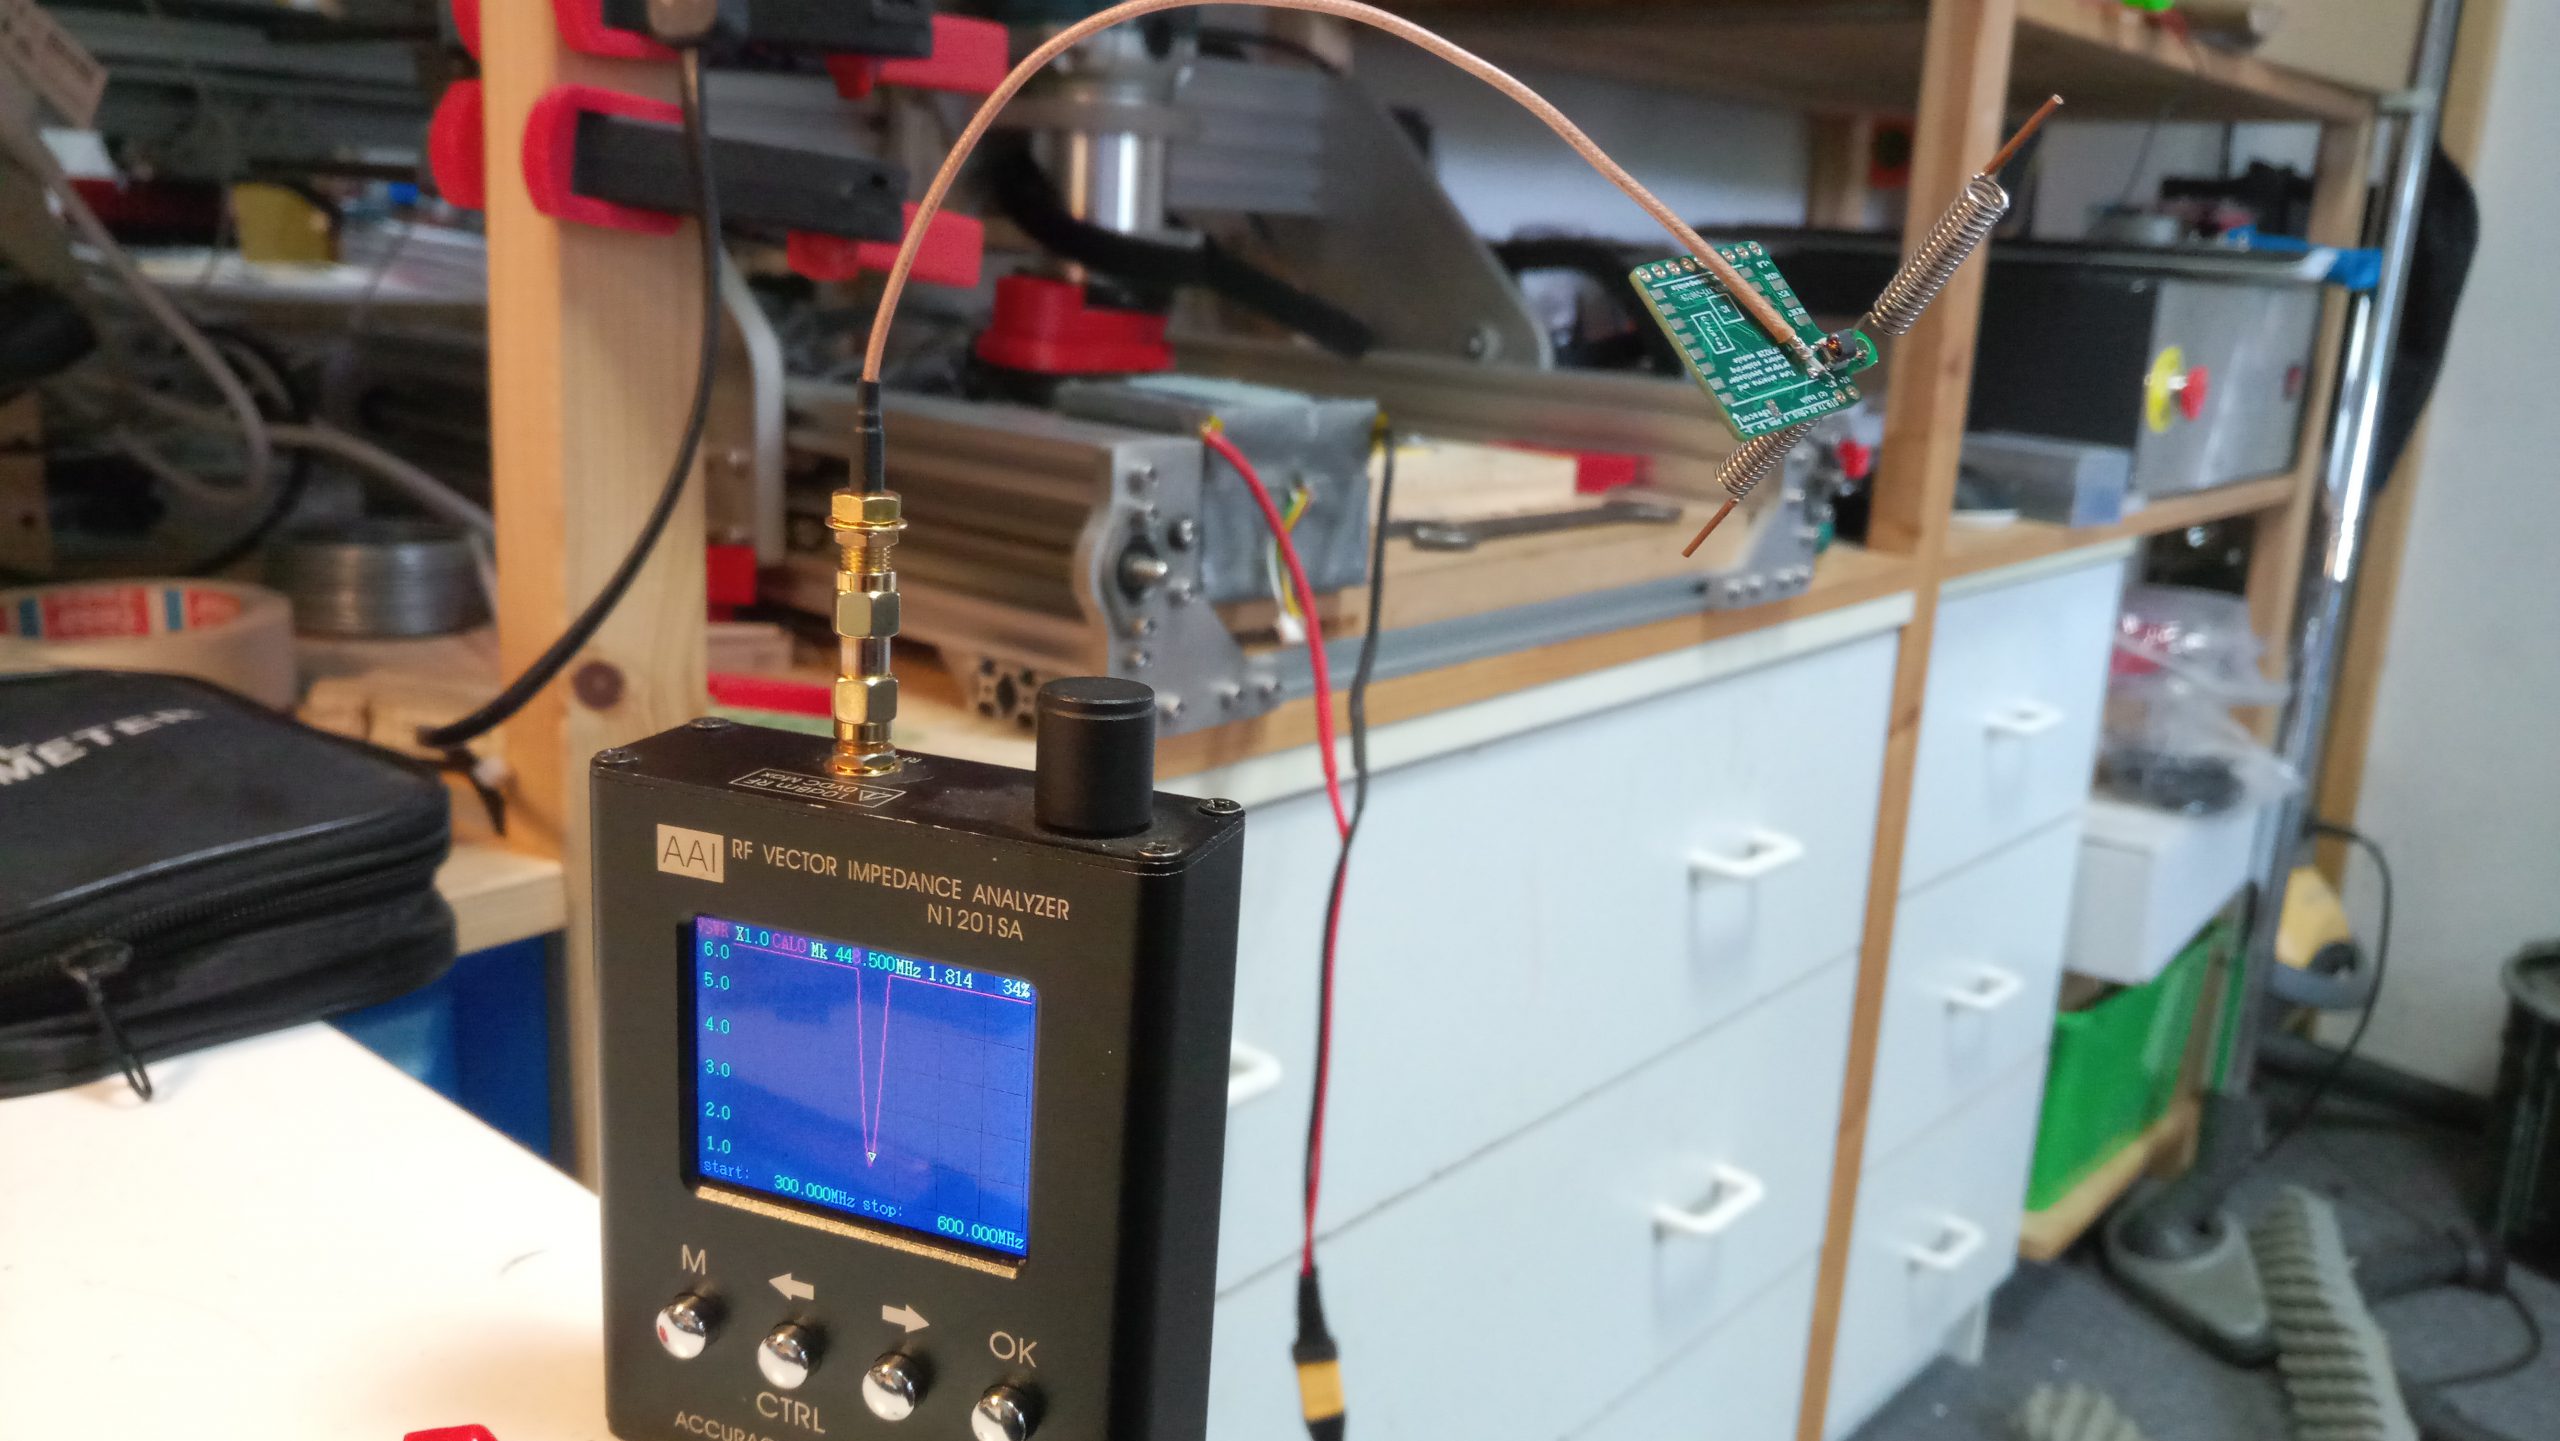
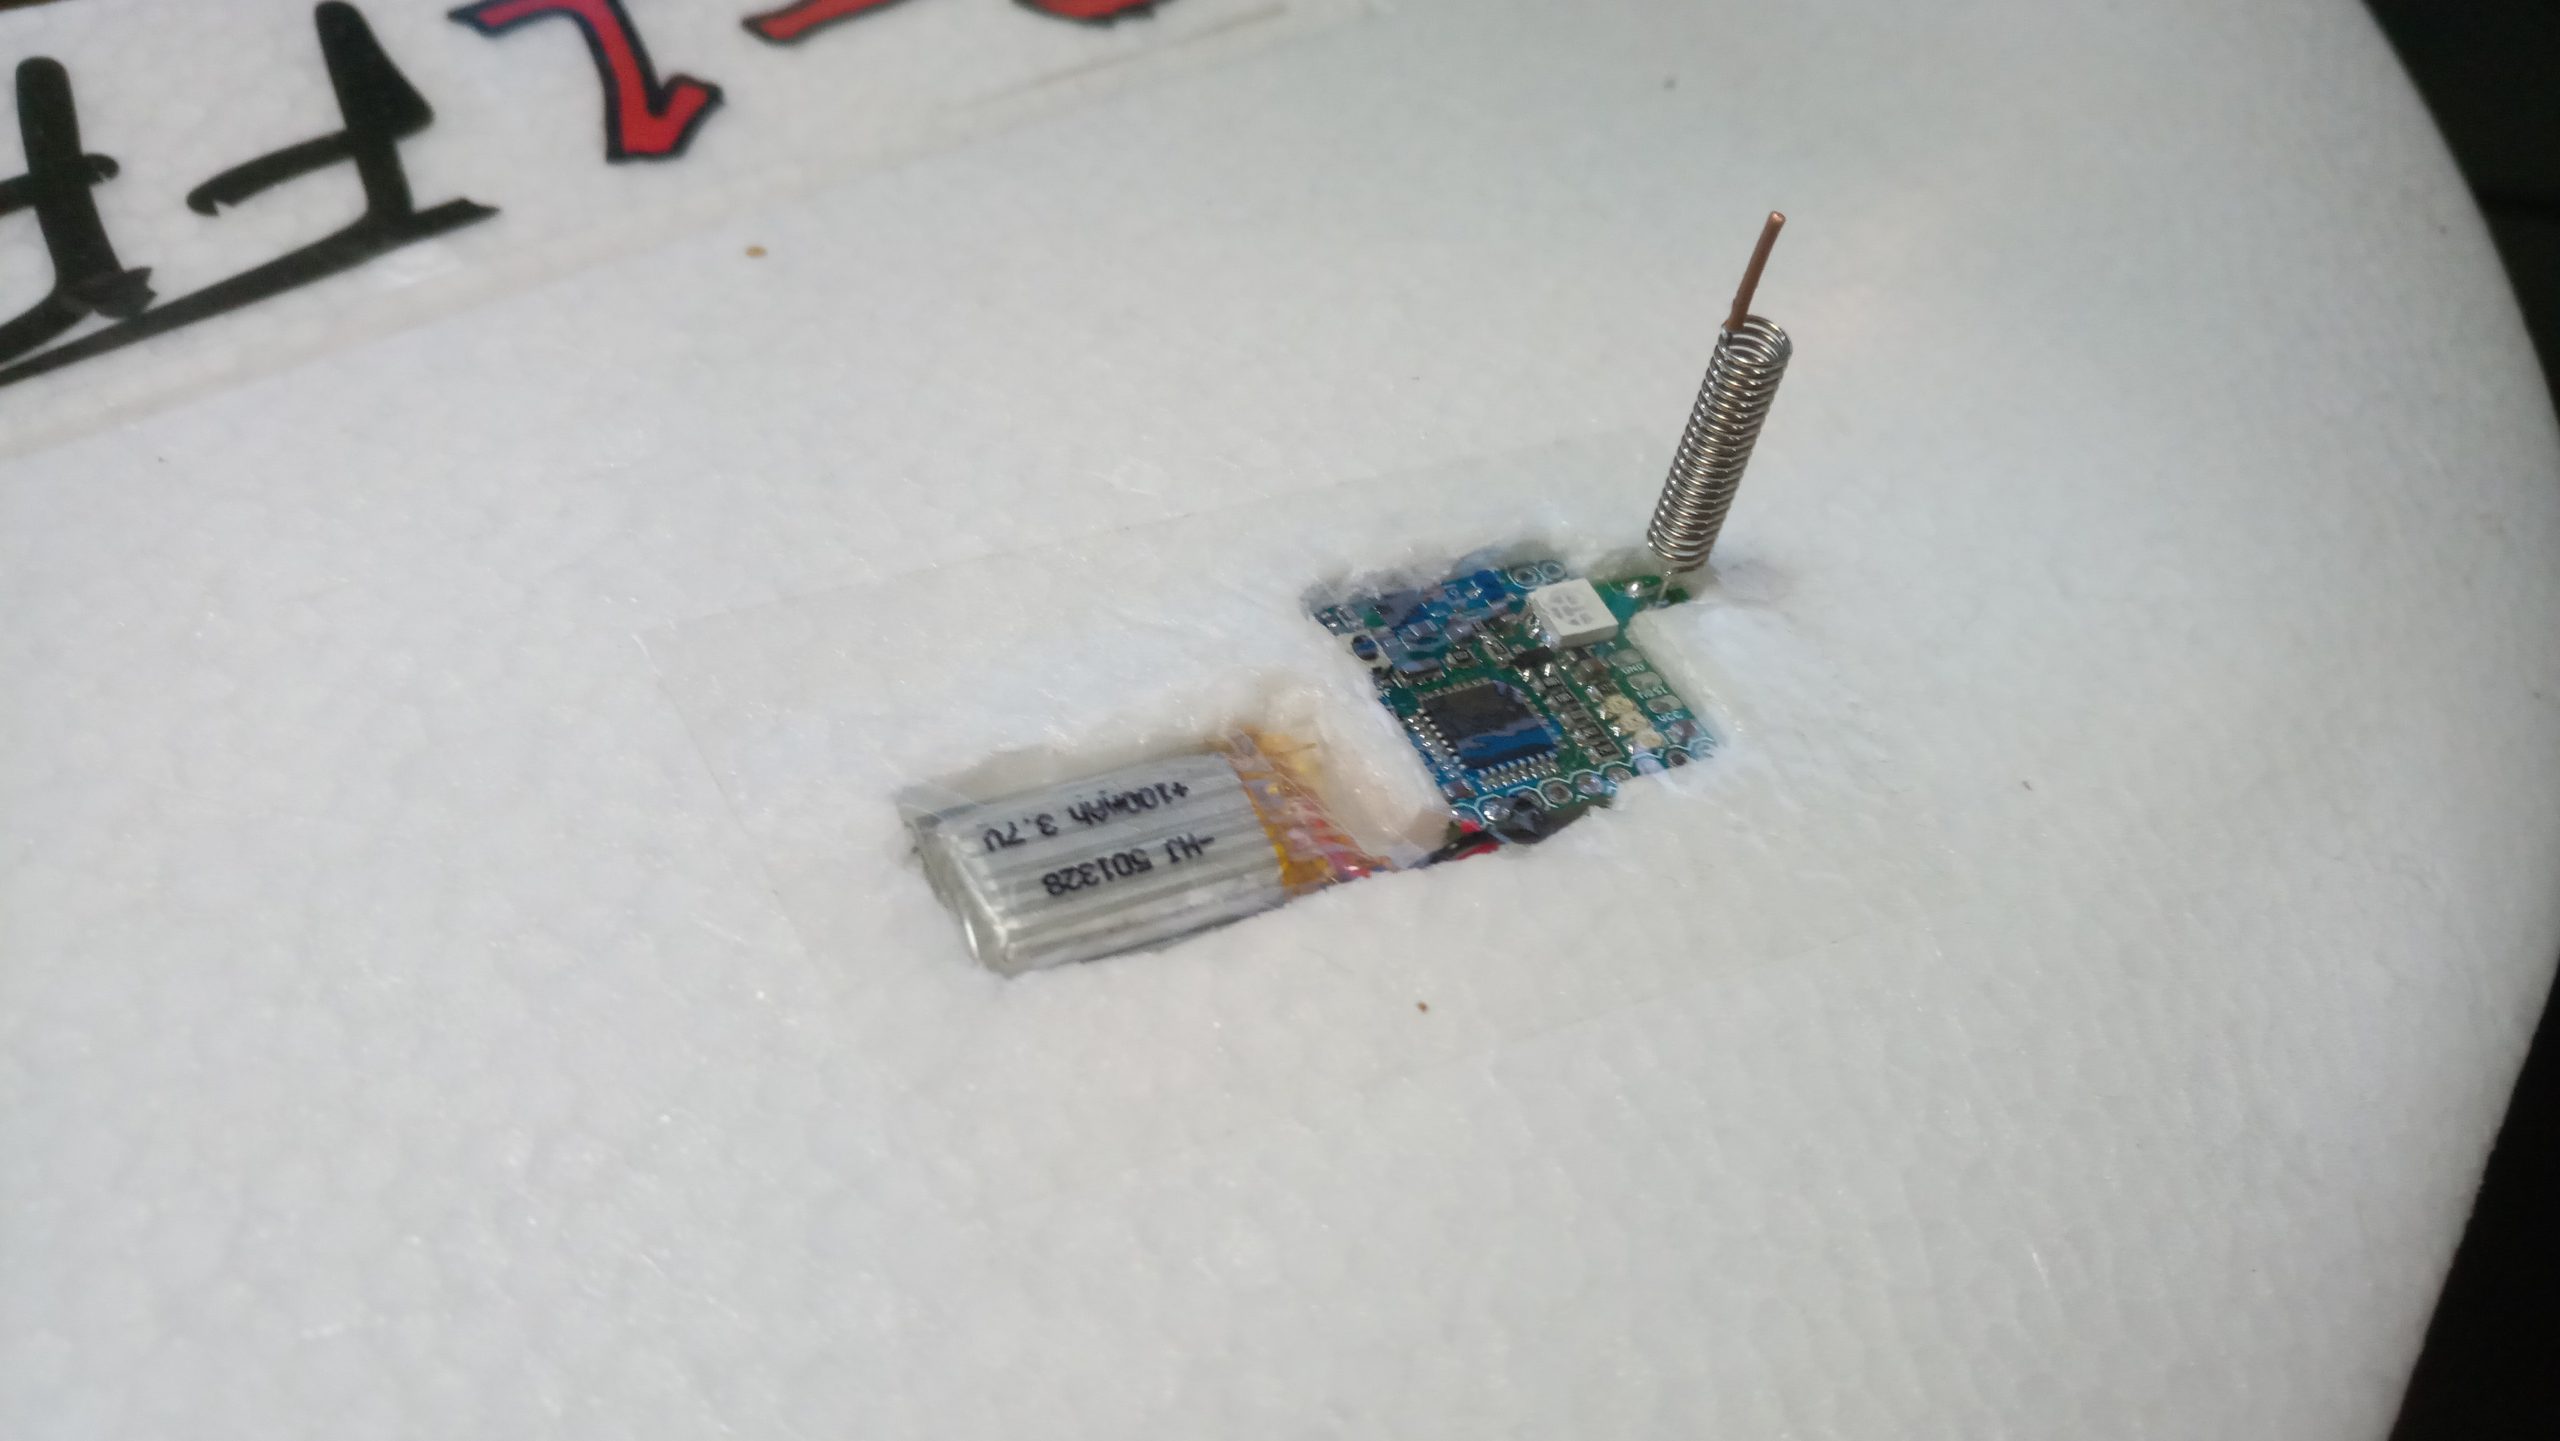
- My own version of OpenLRS with integrated balun and dipole antenna
- All Up Weight = 1090g (including battery)
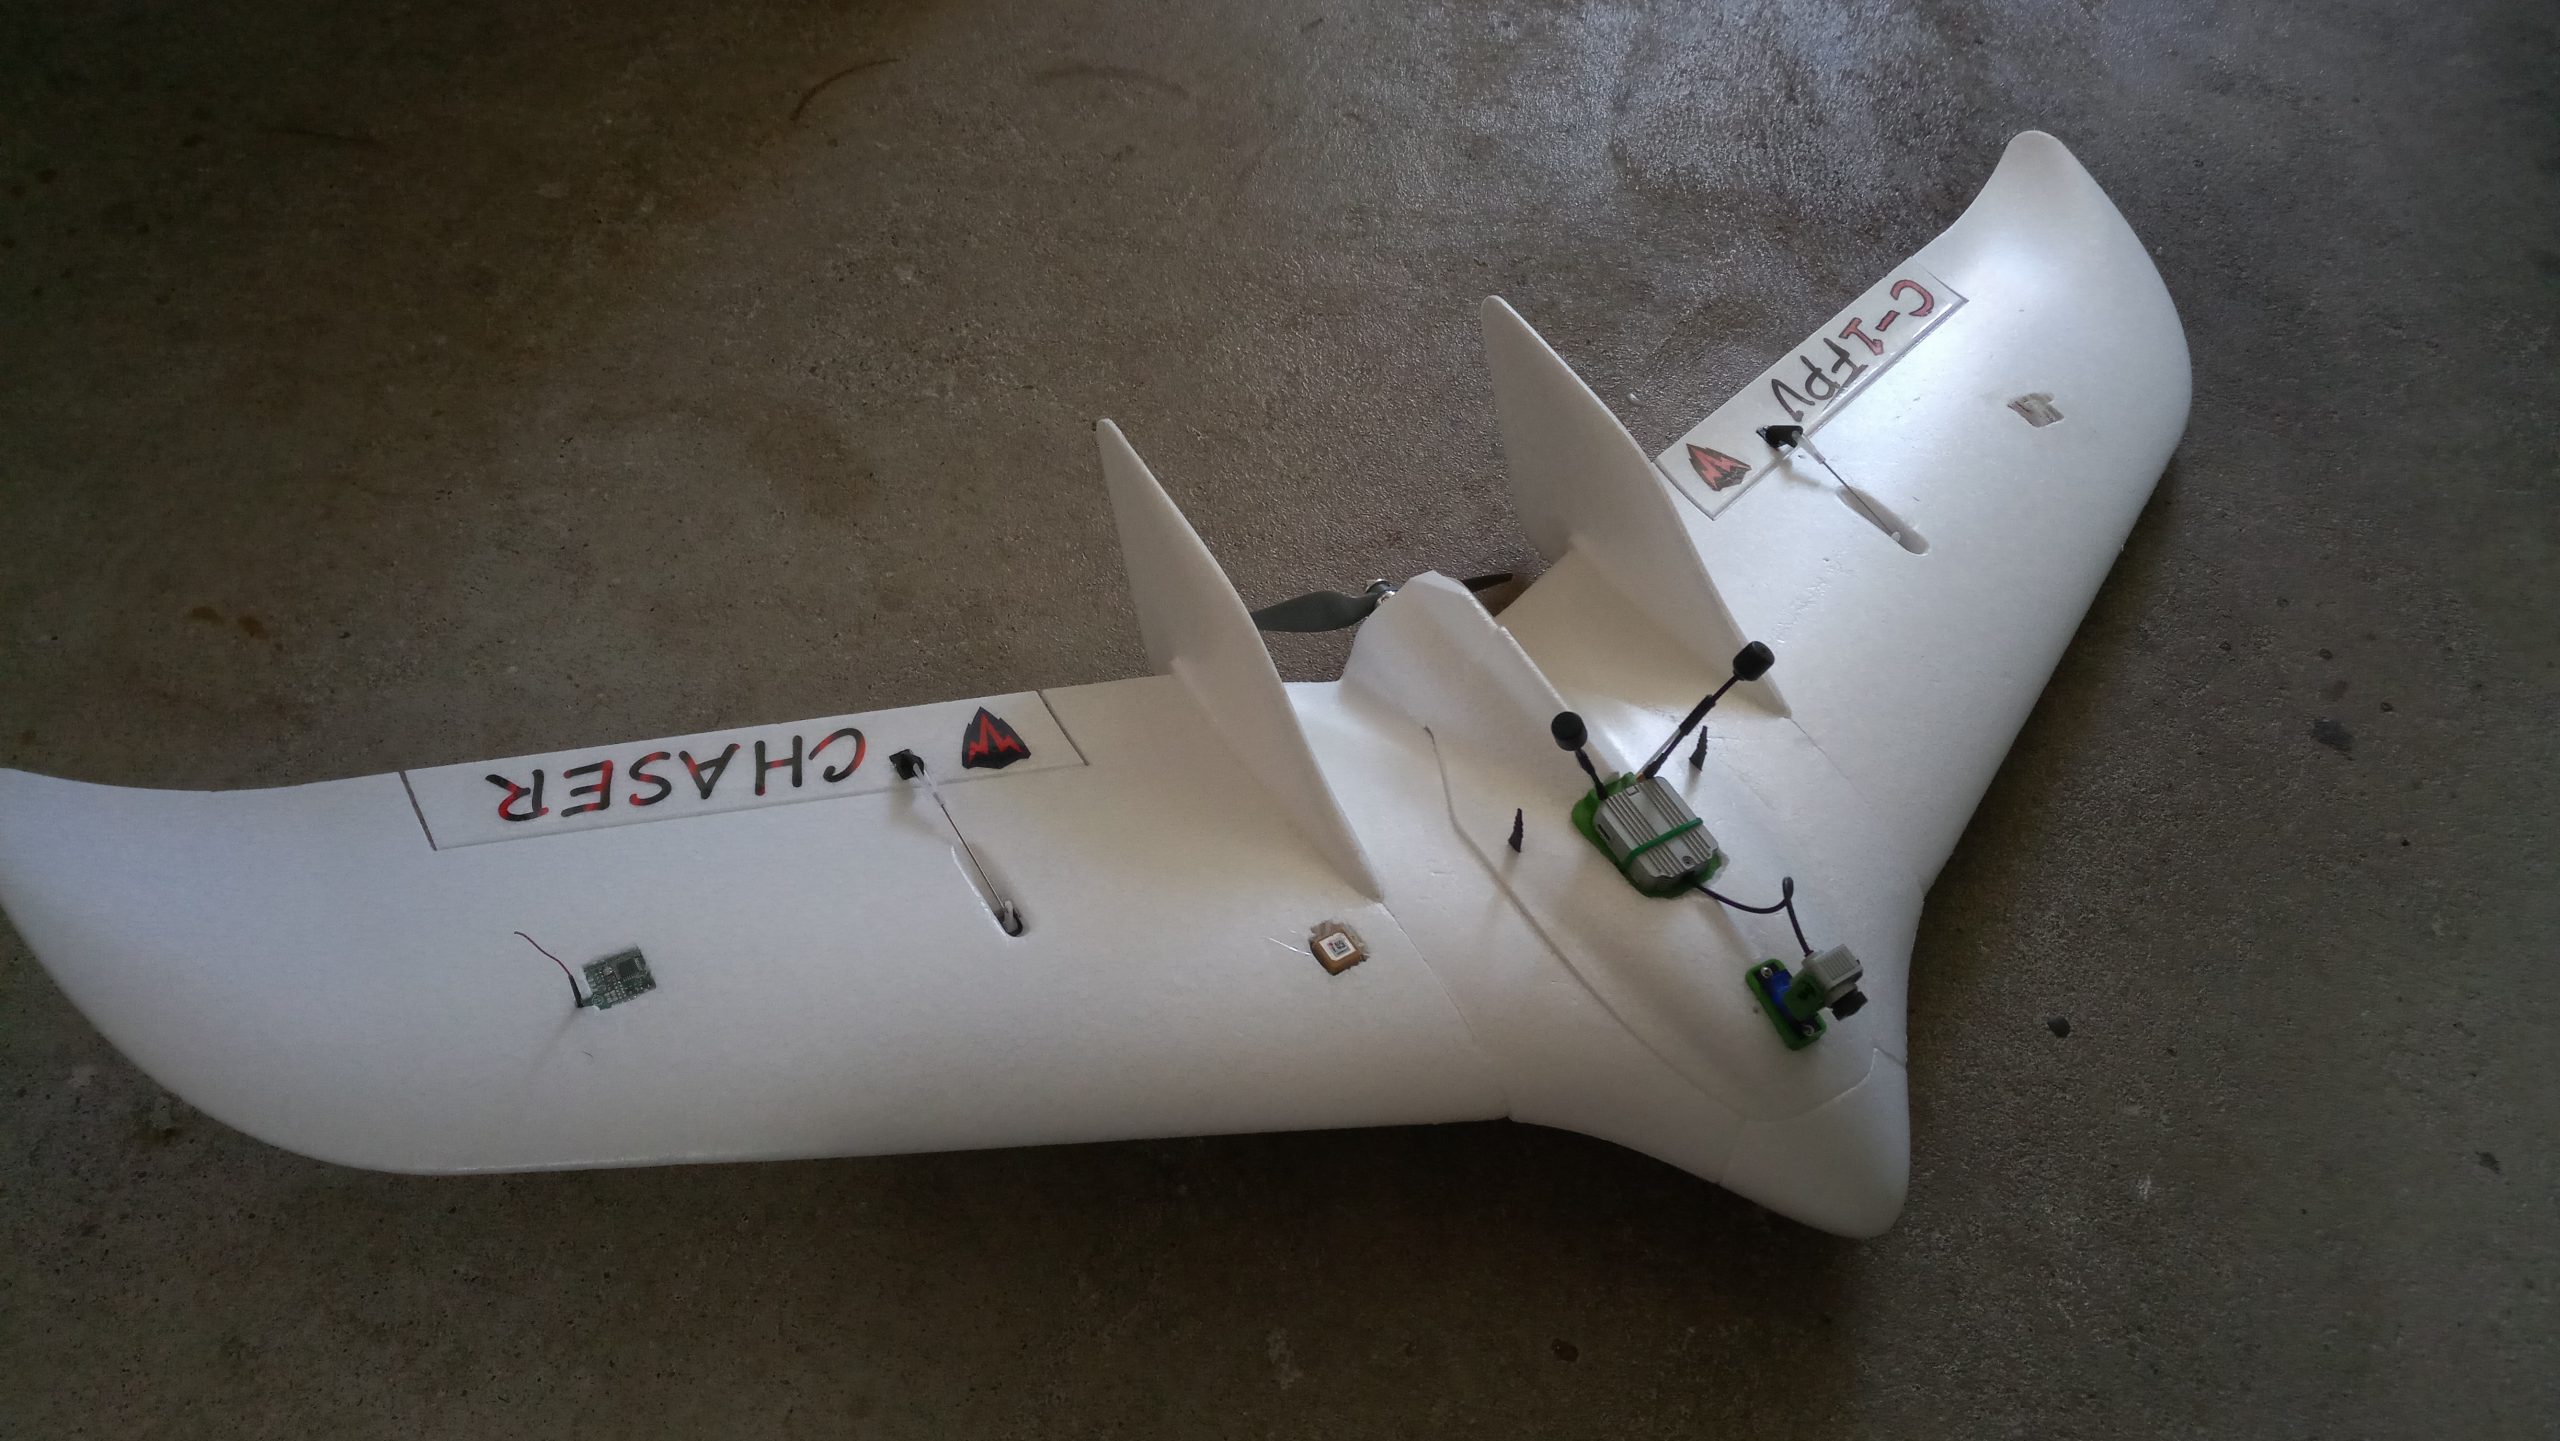
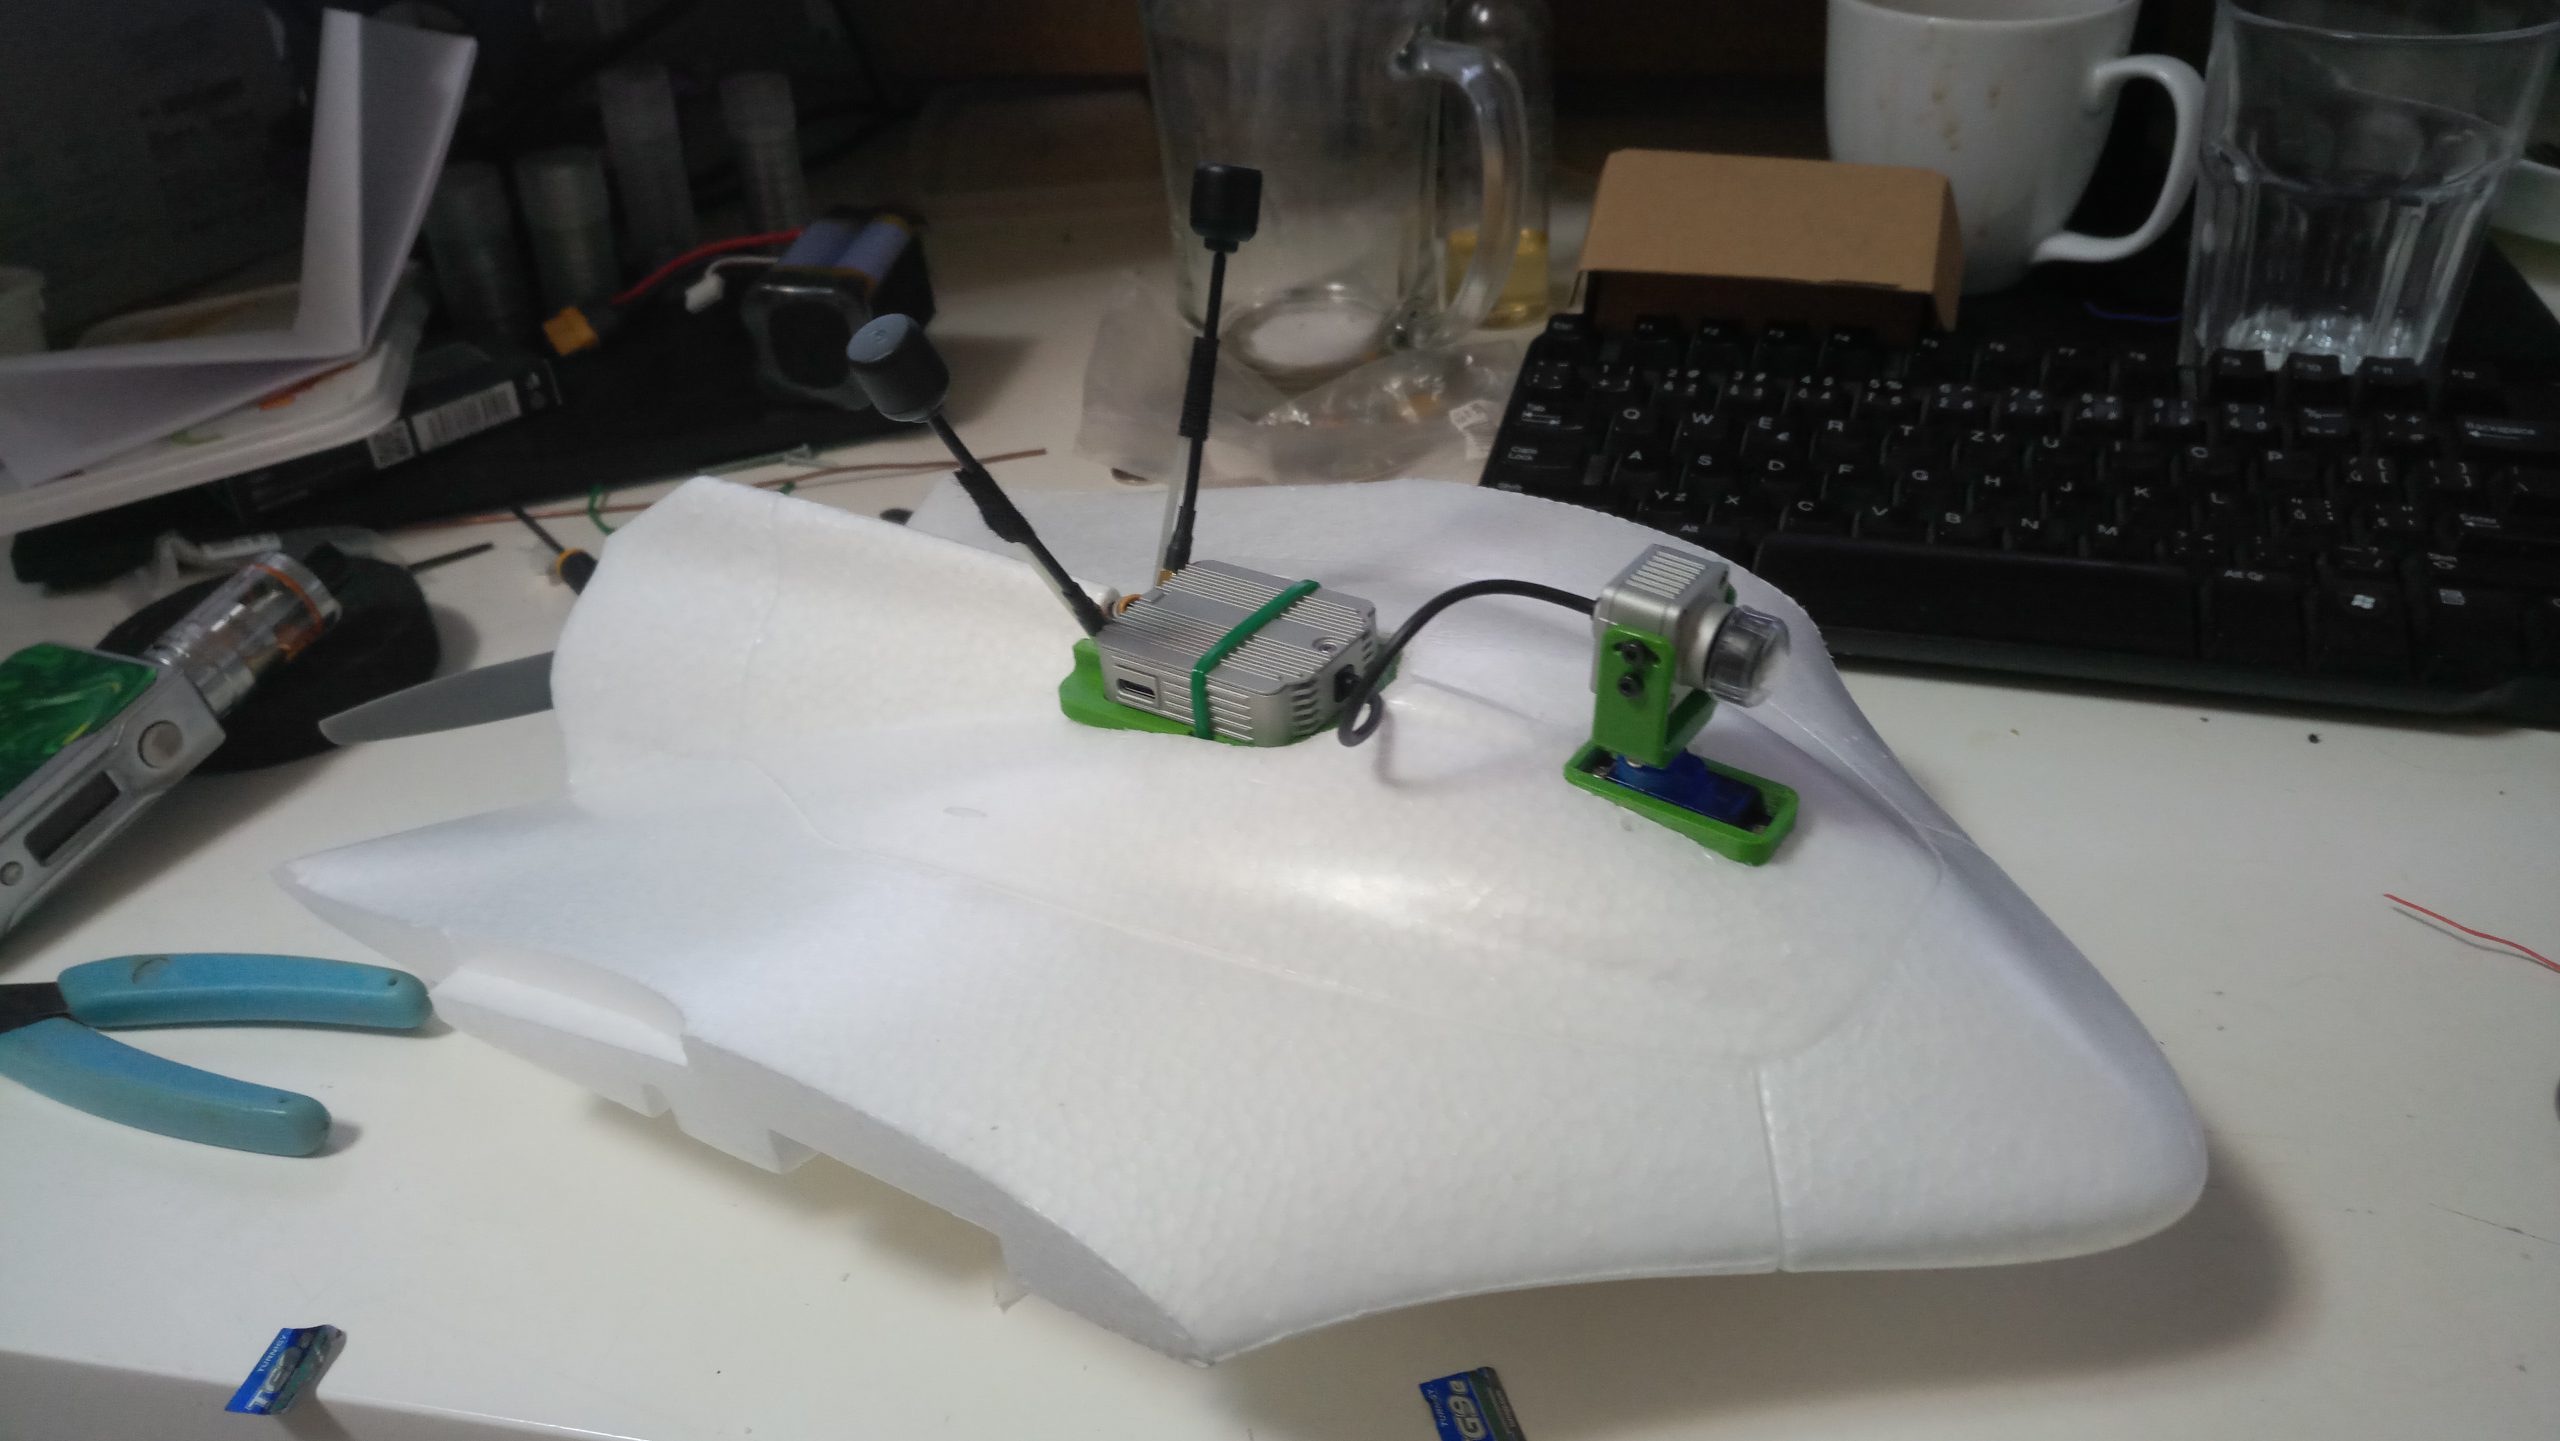
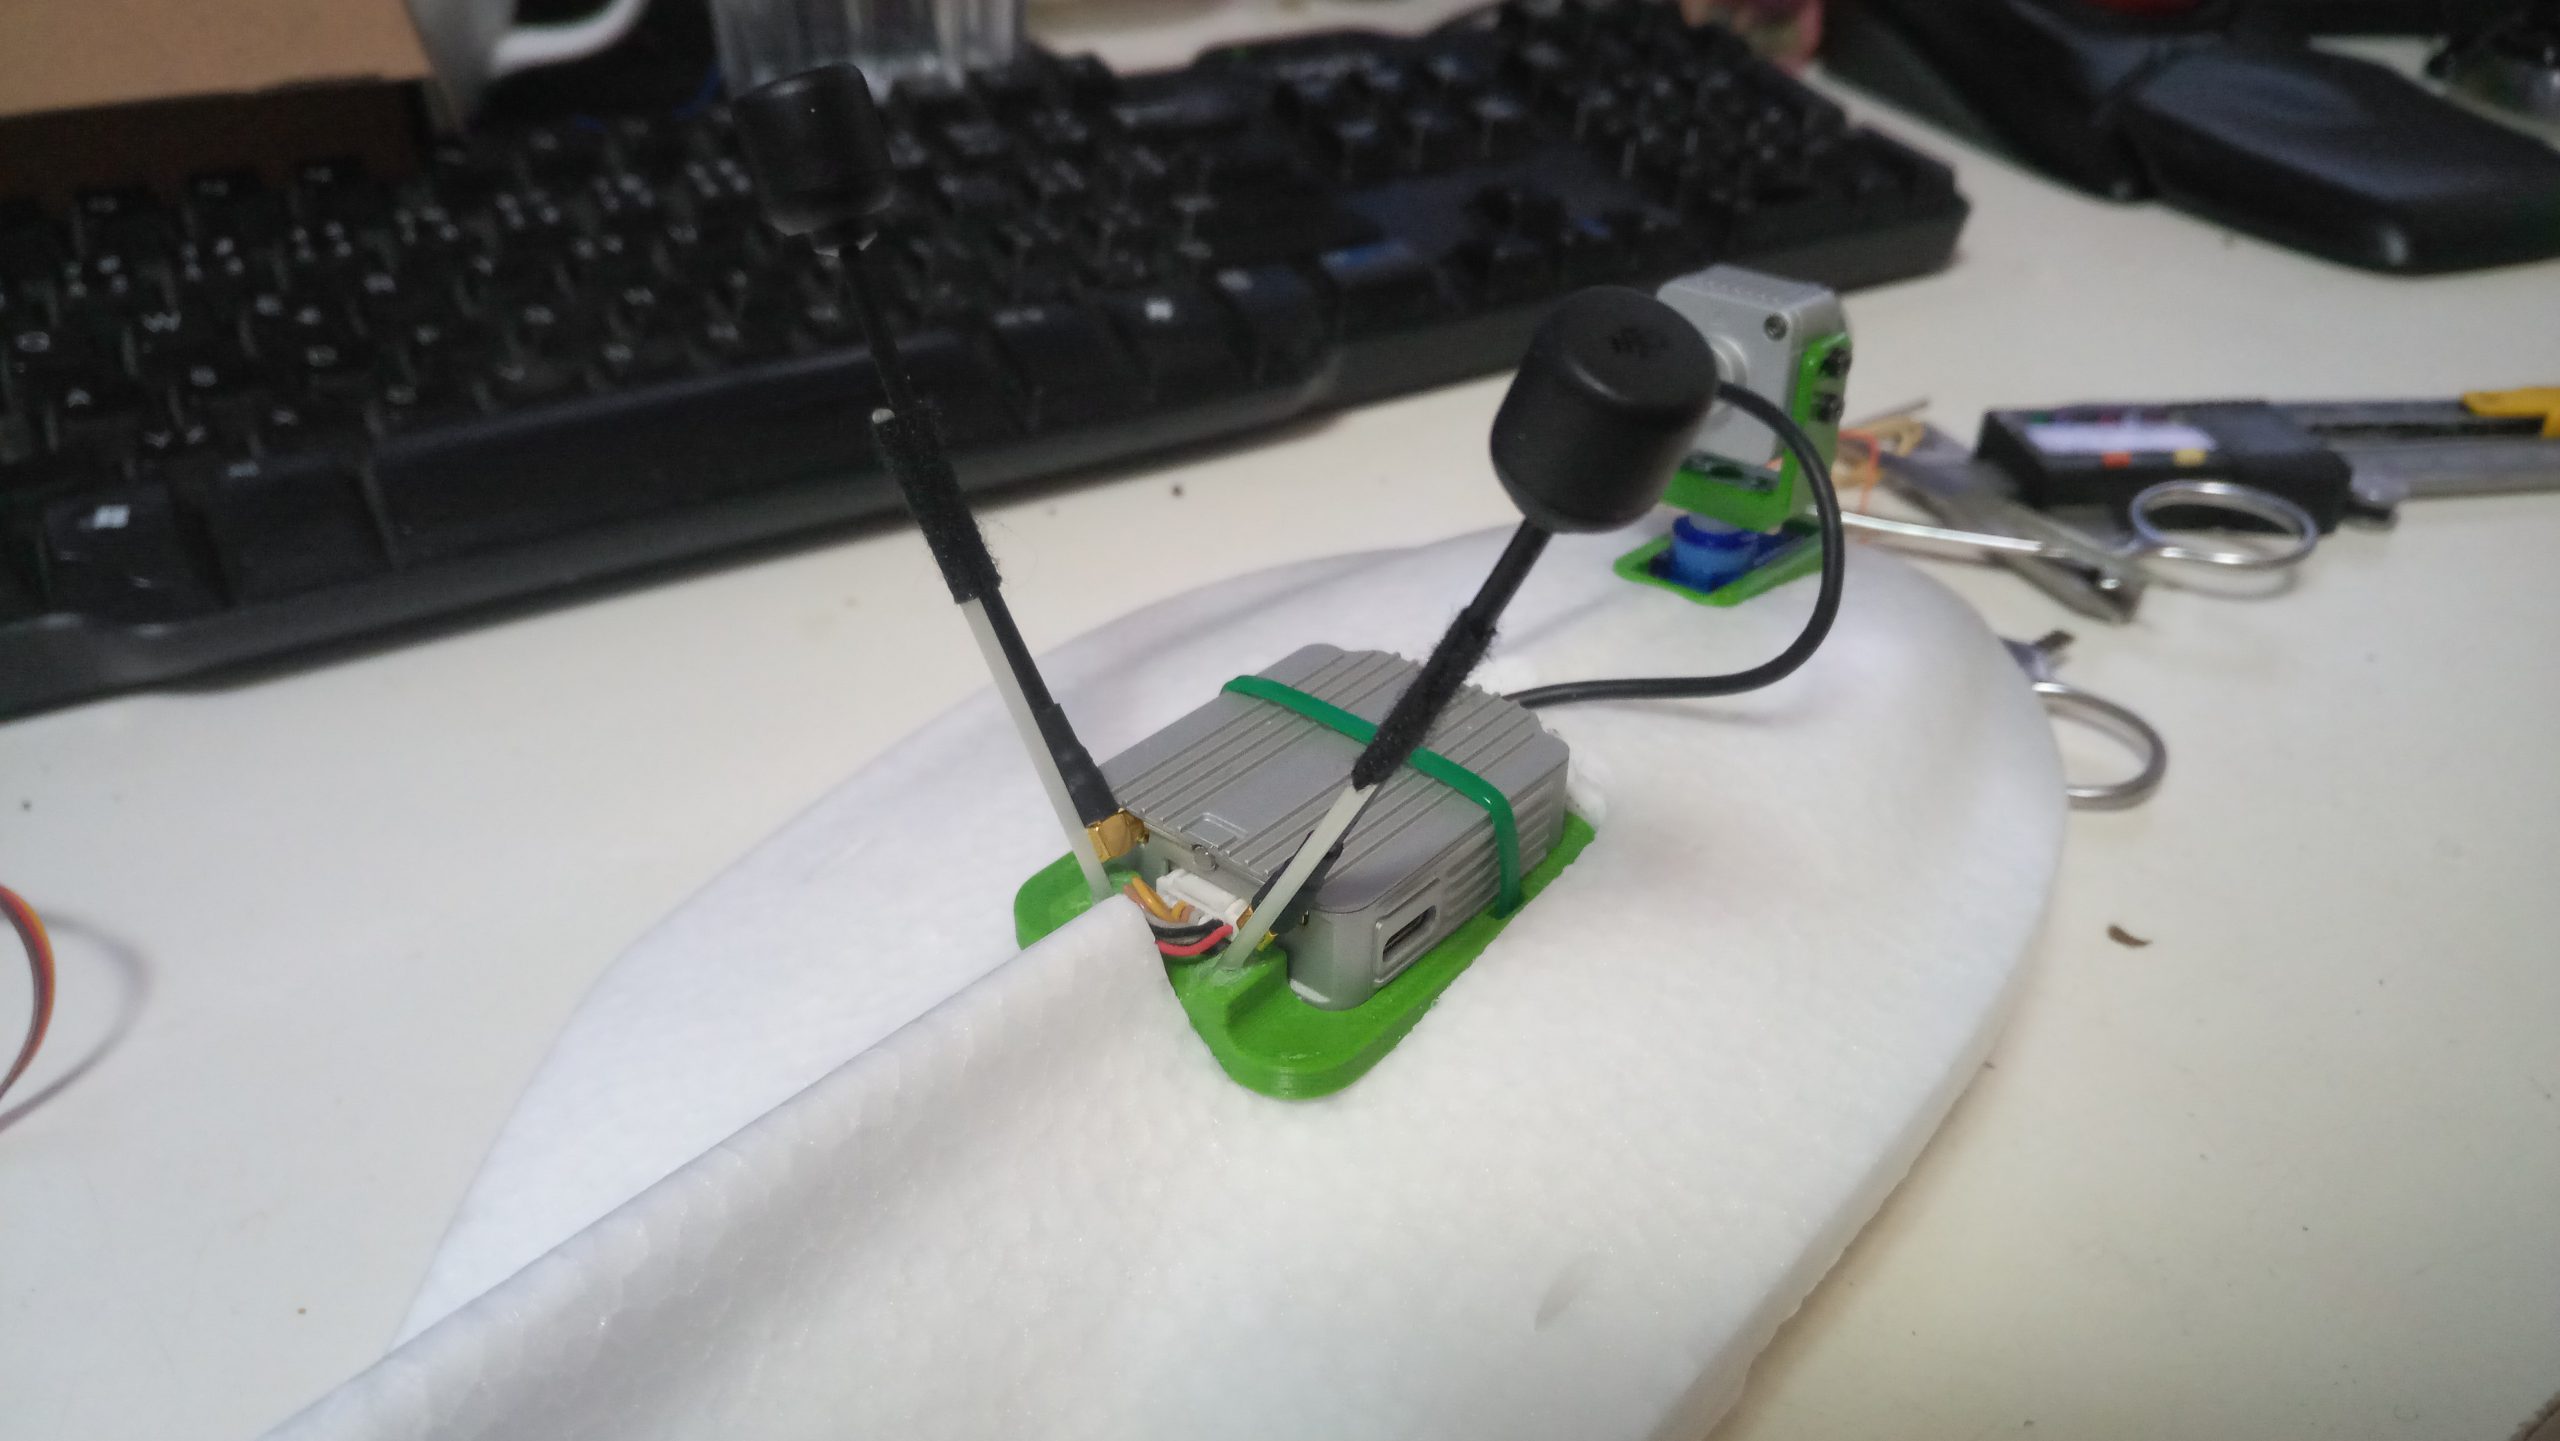
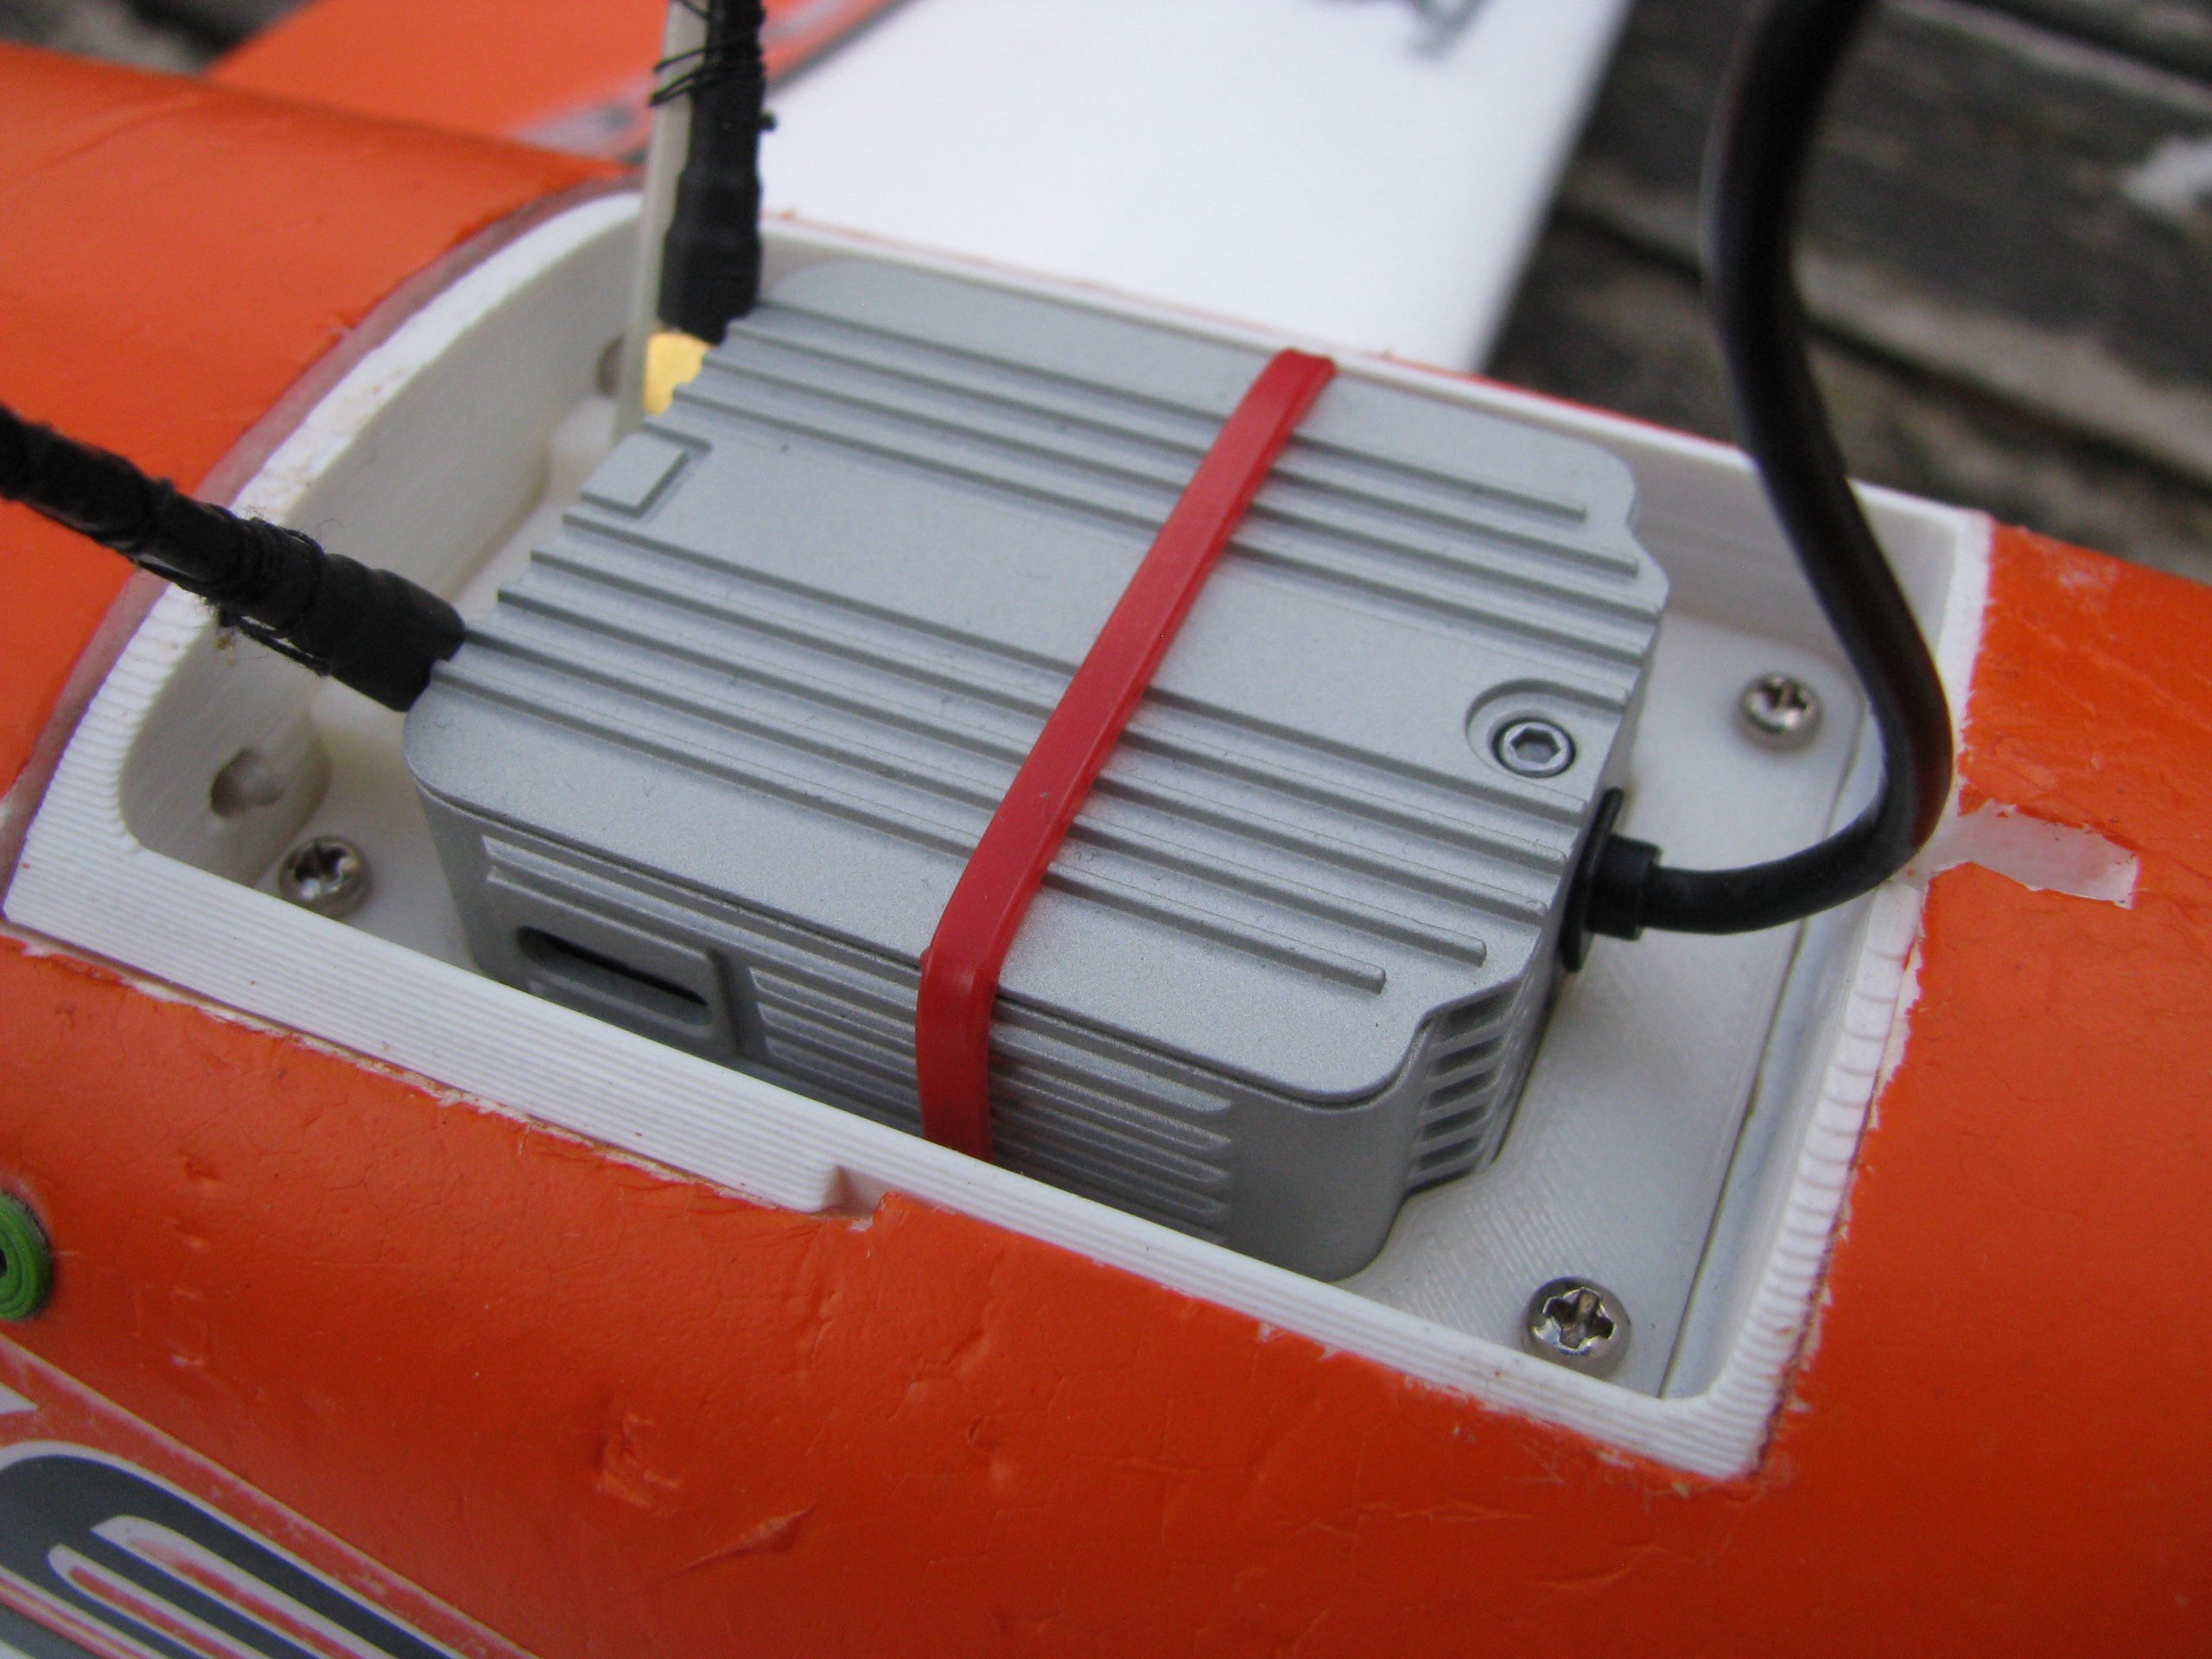
Ready to flight:
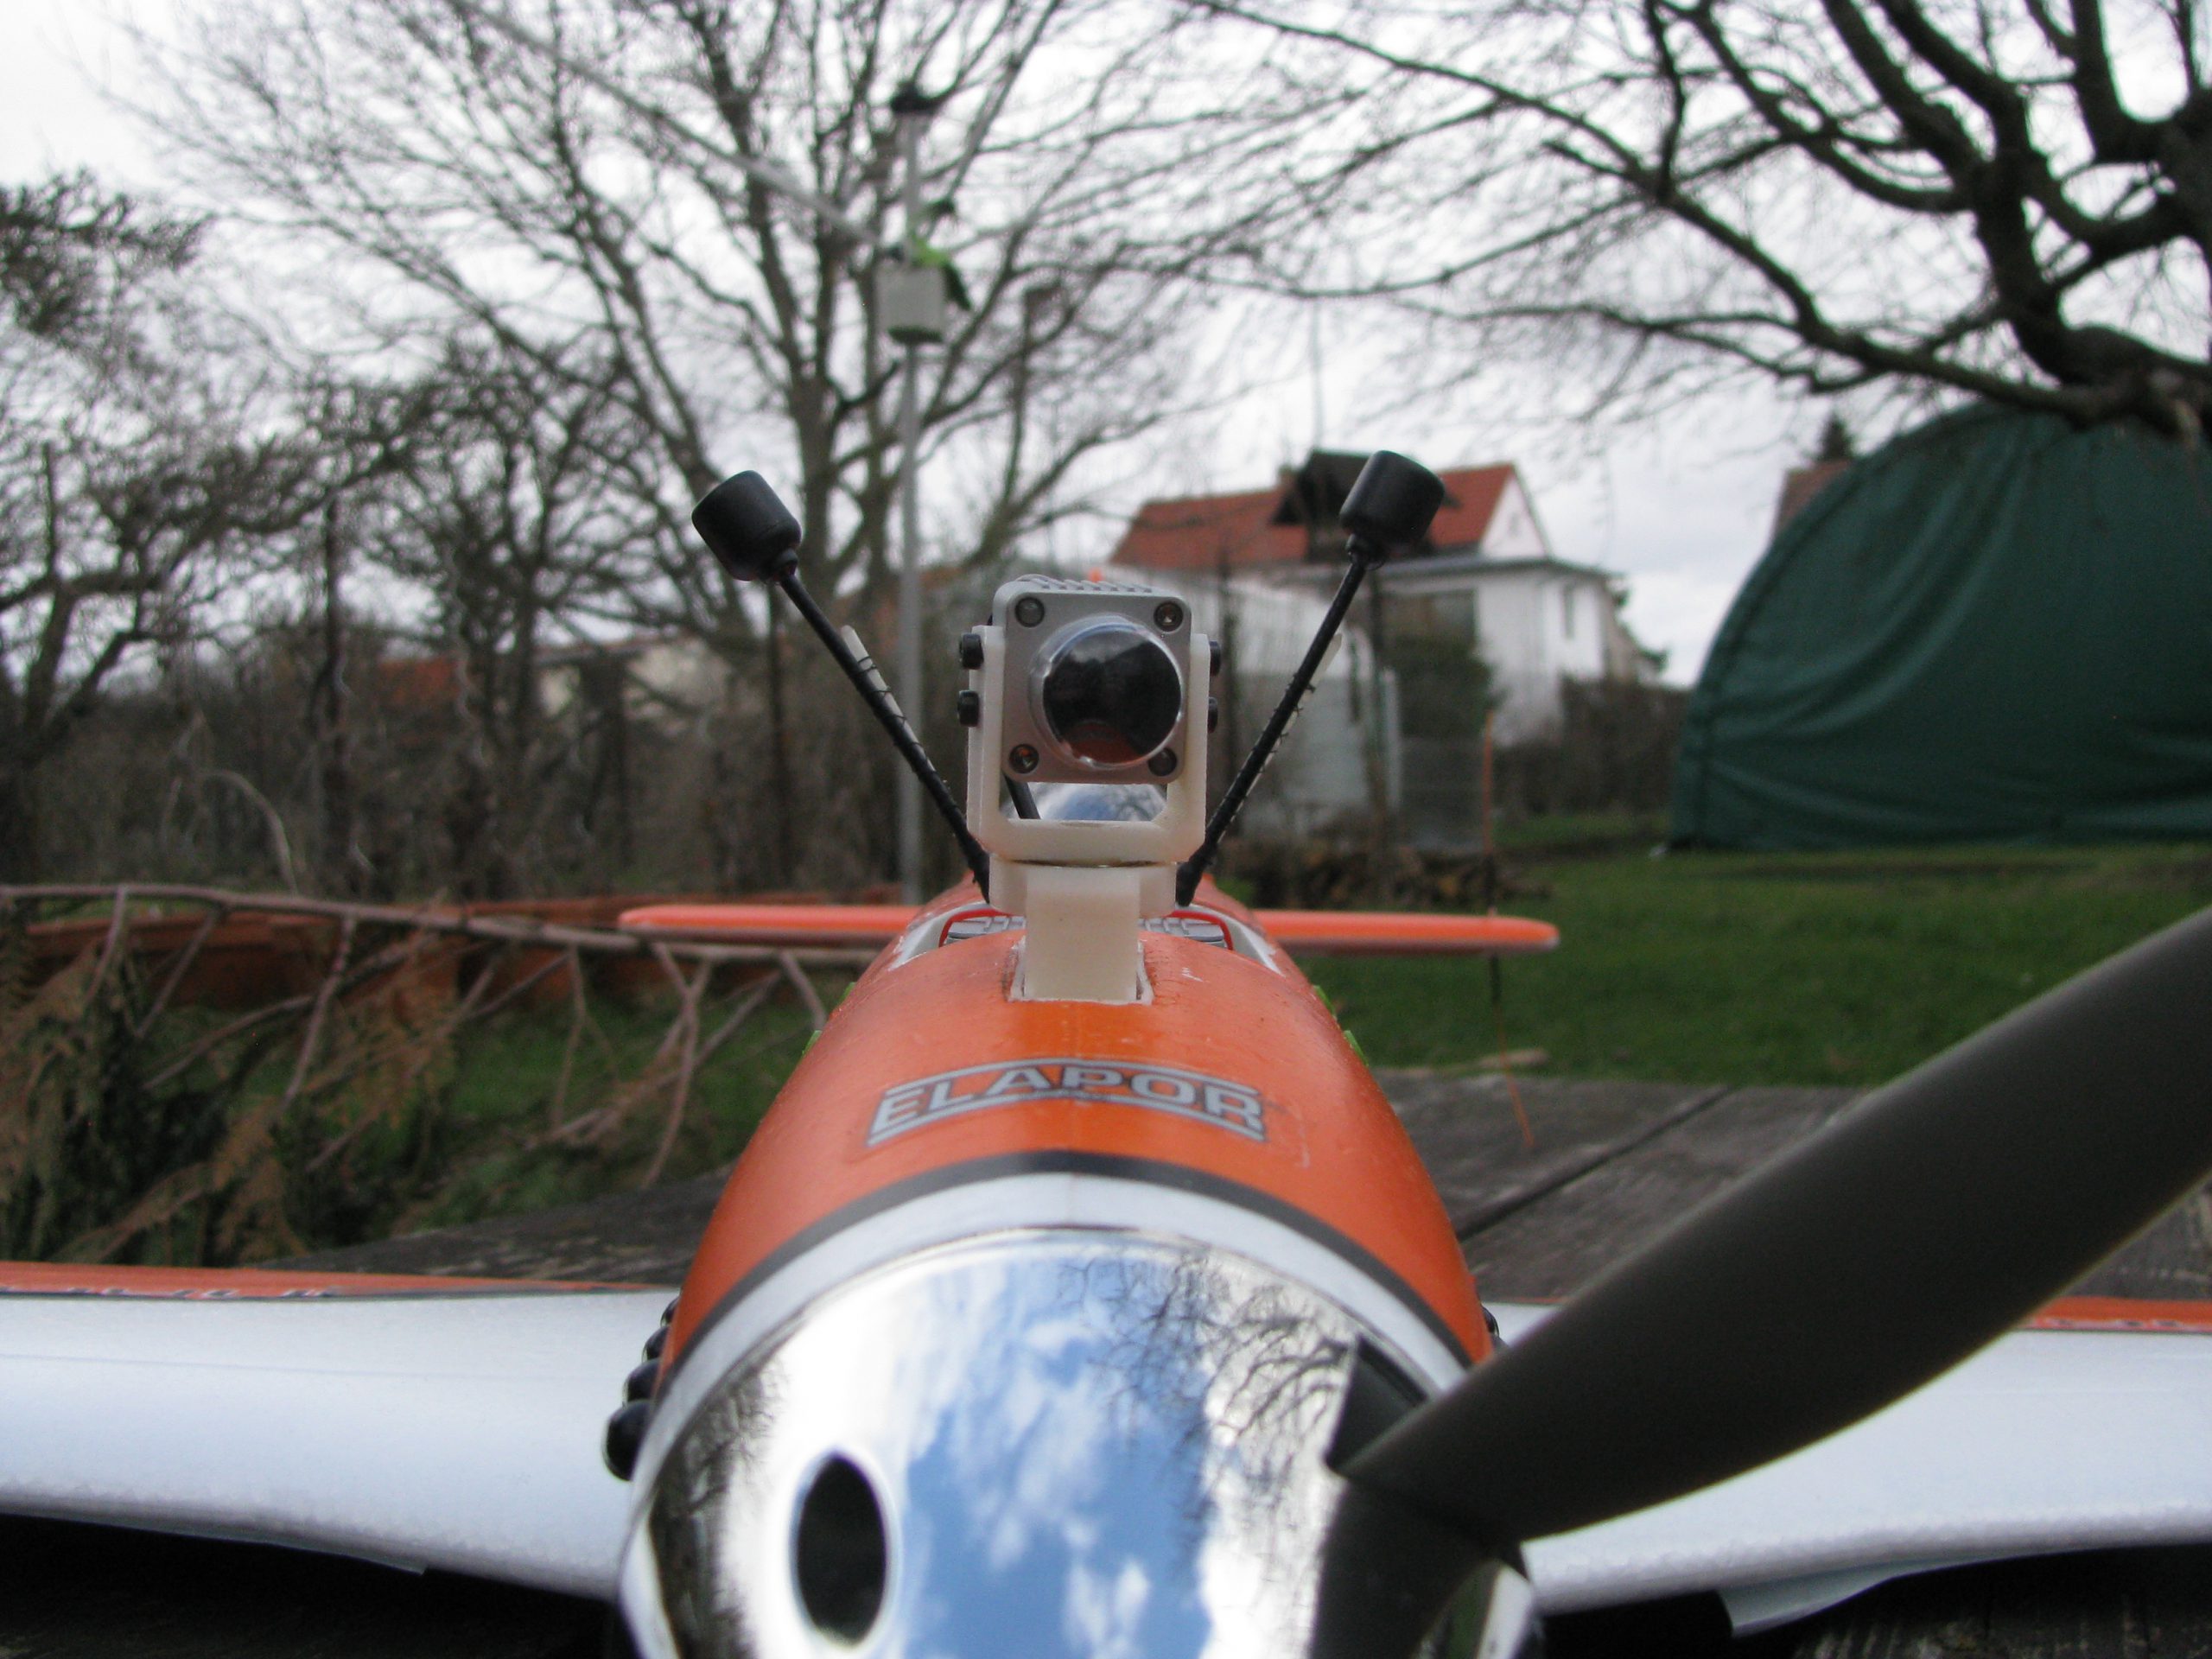
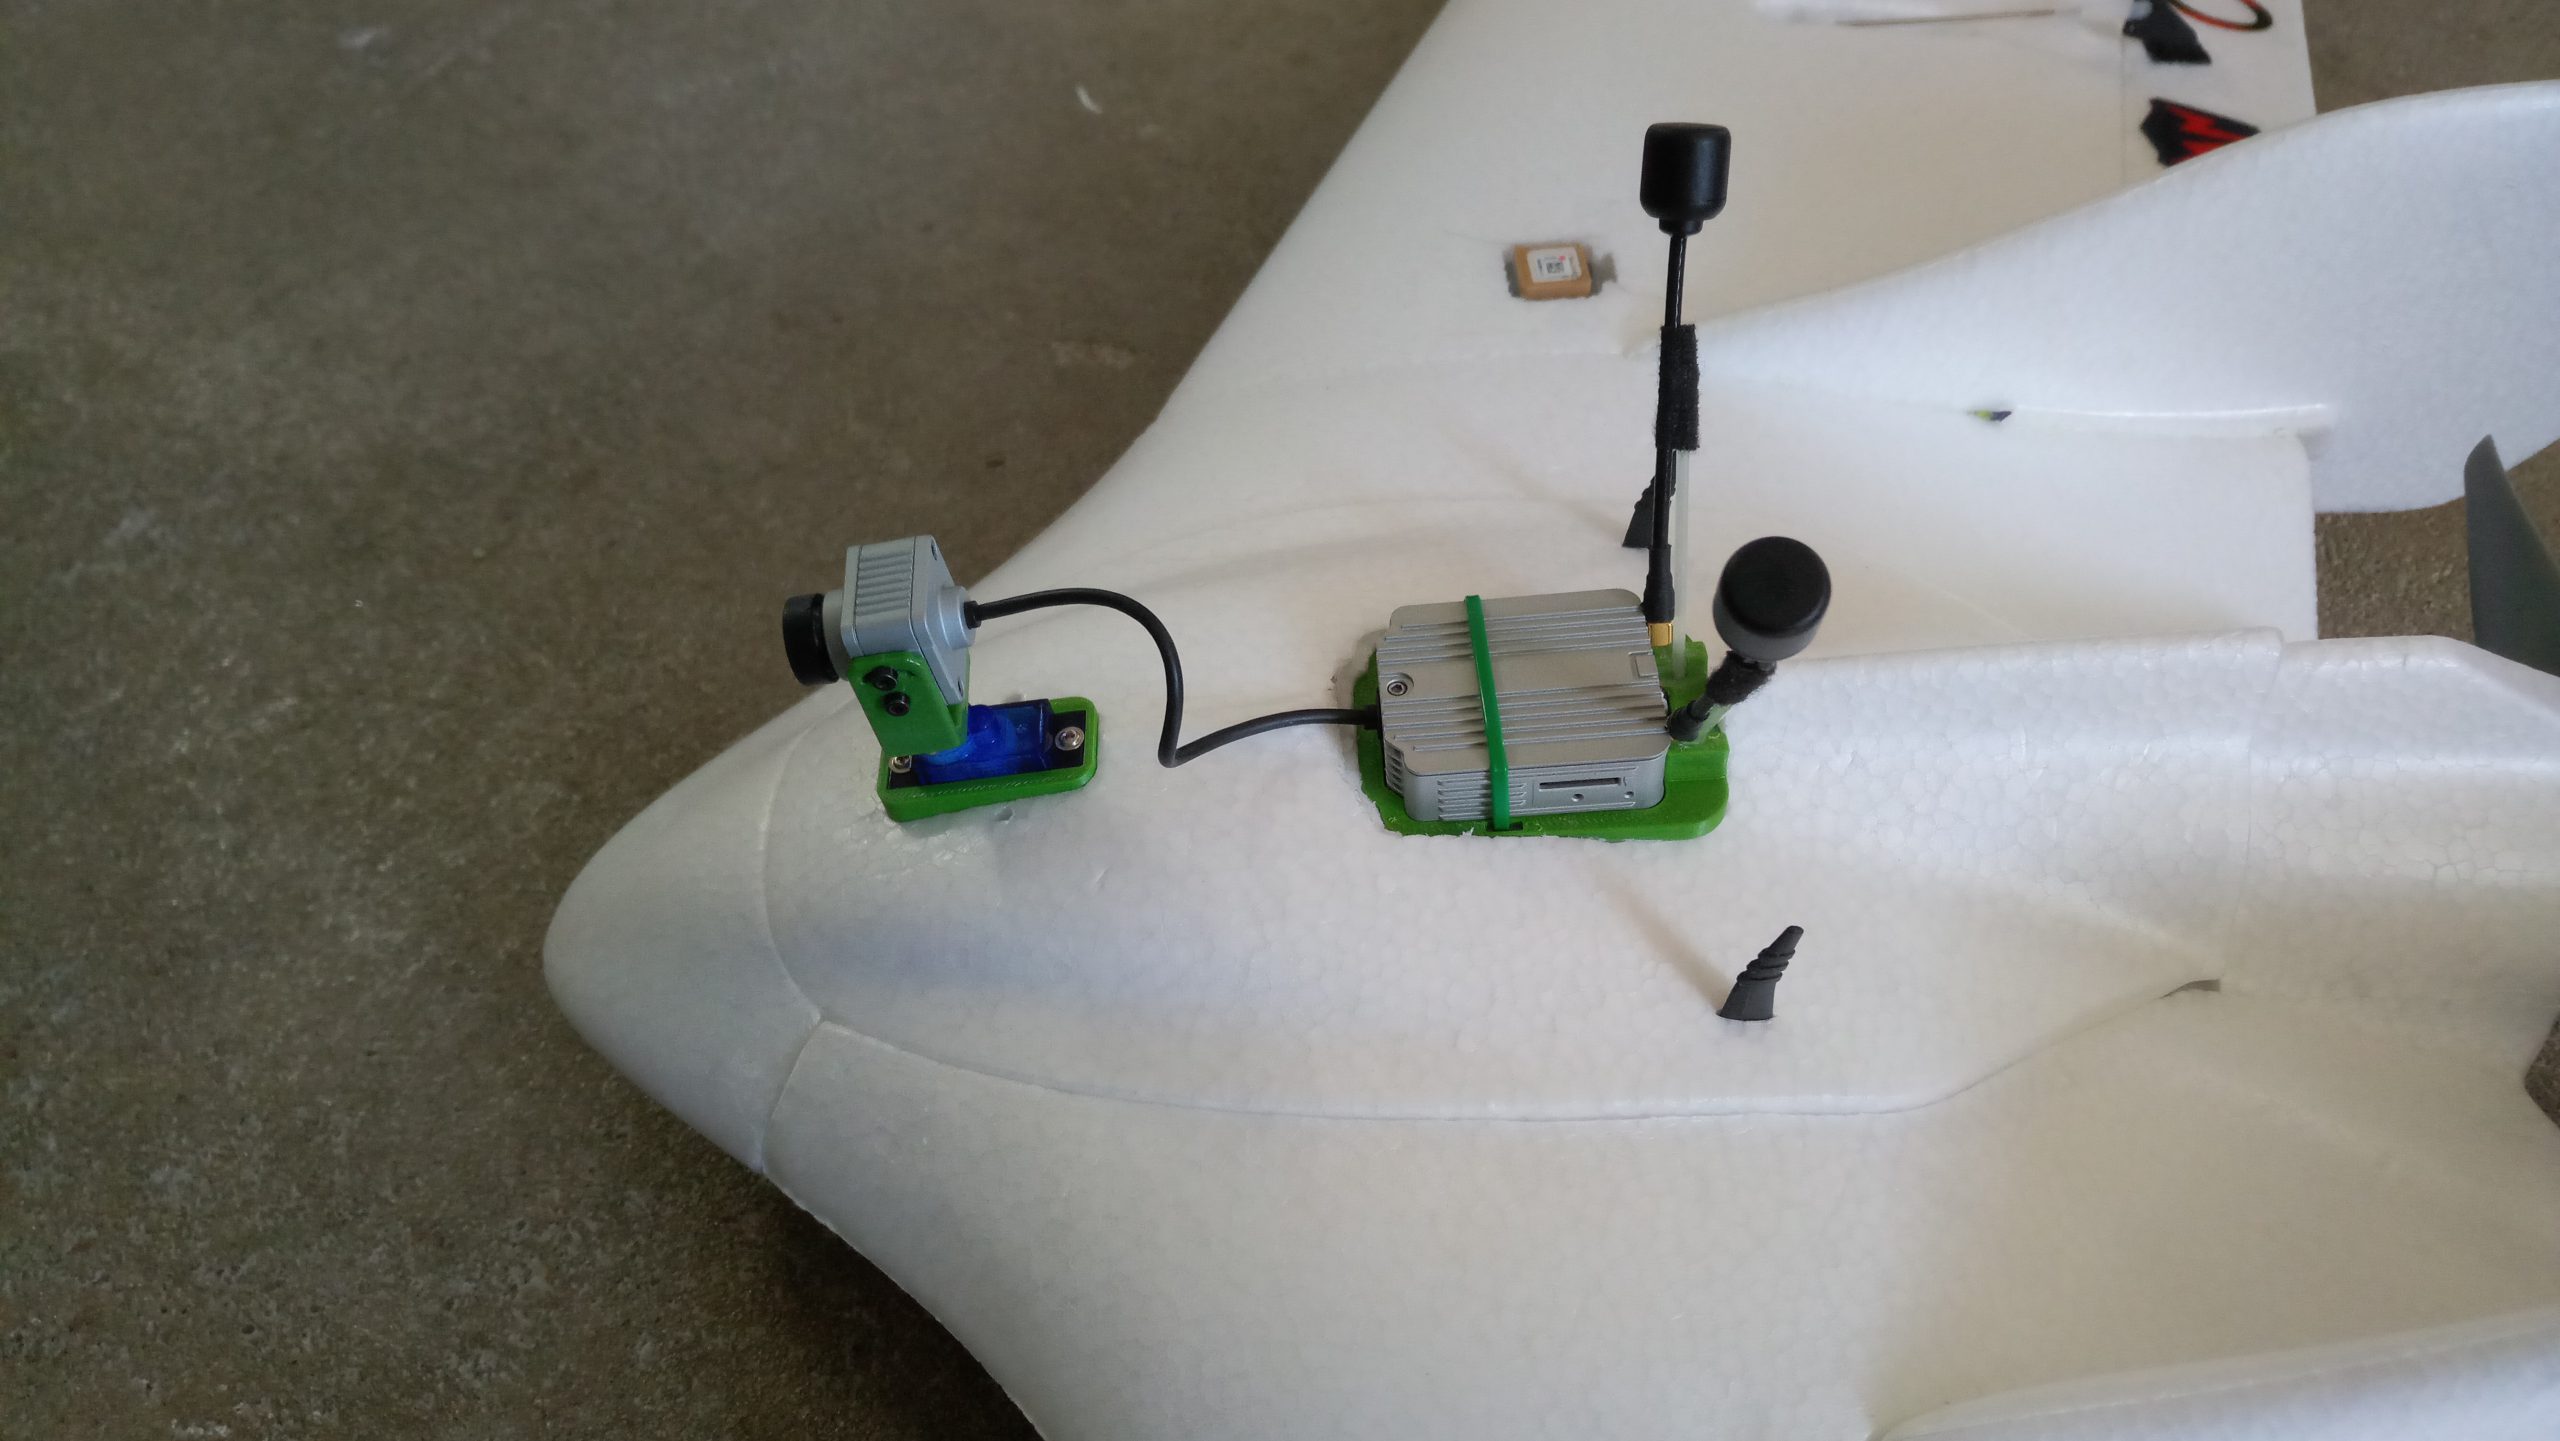
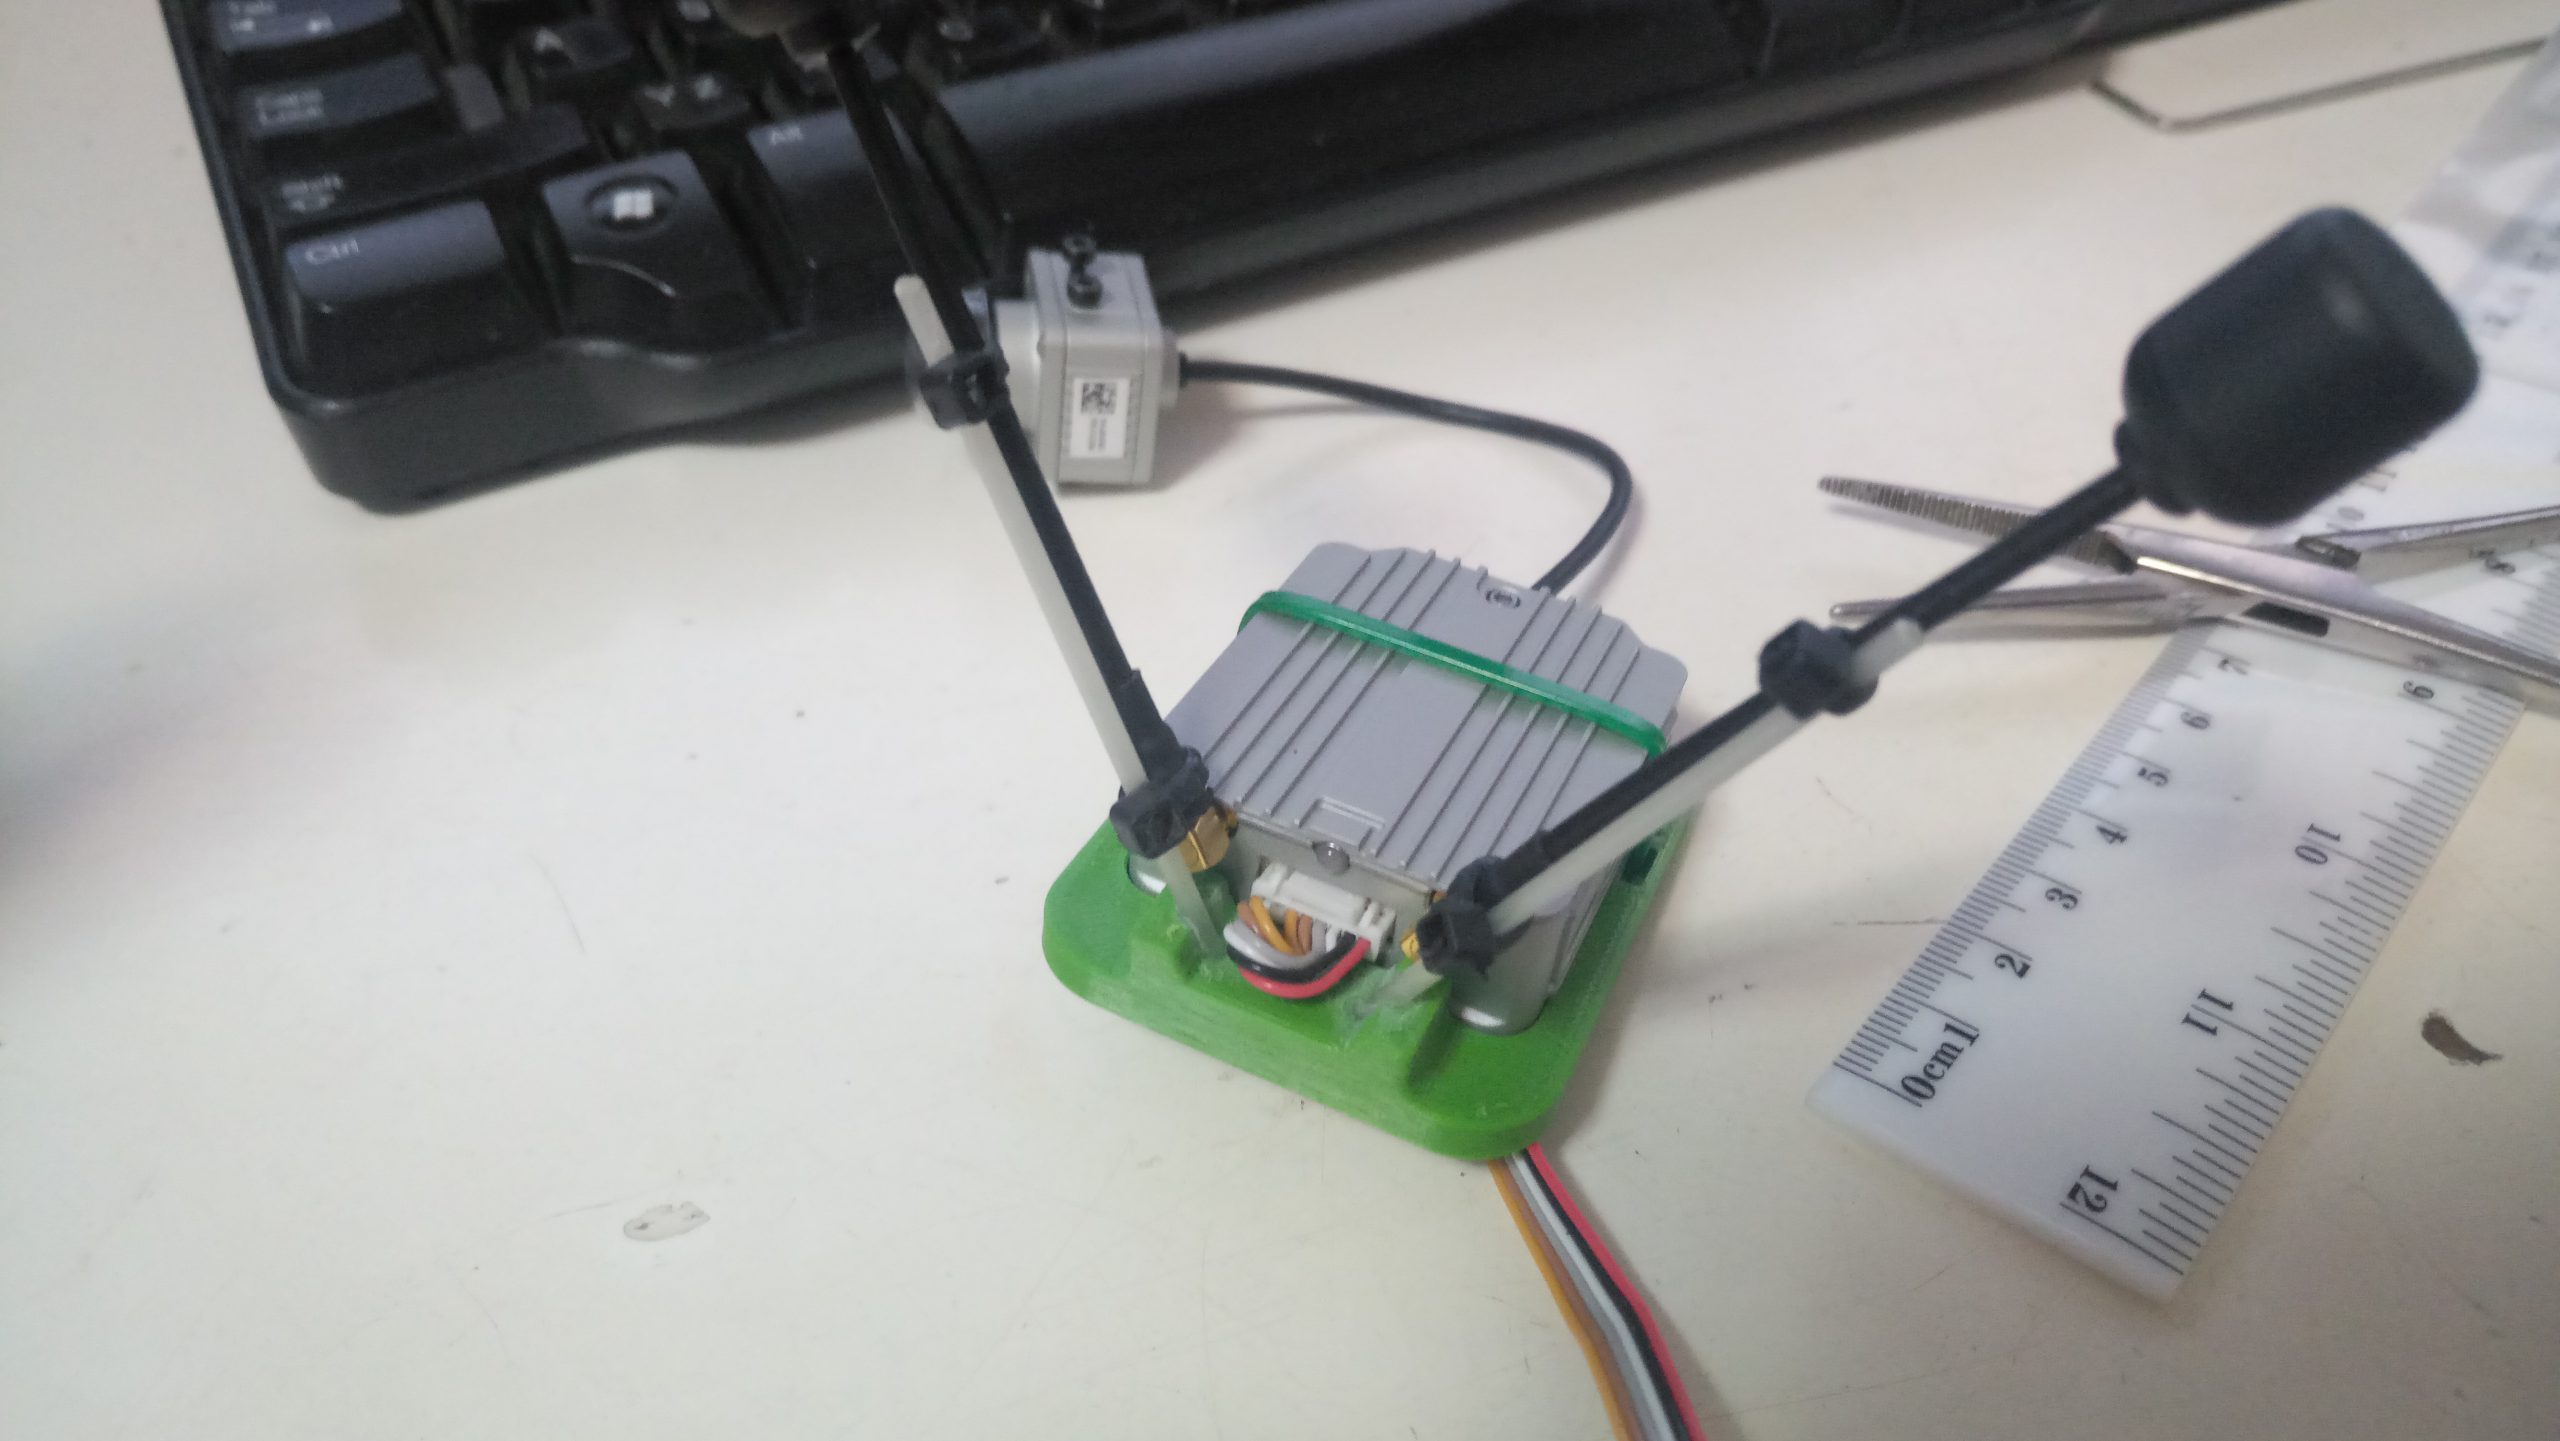
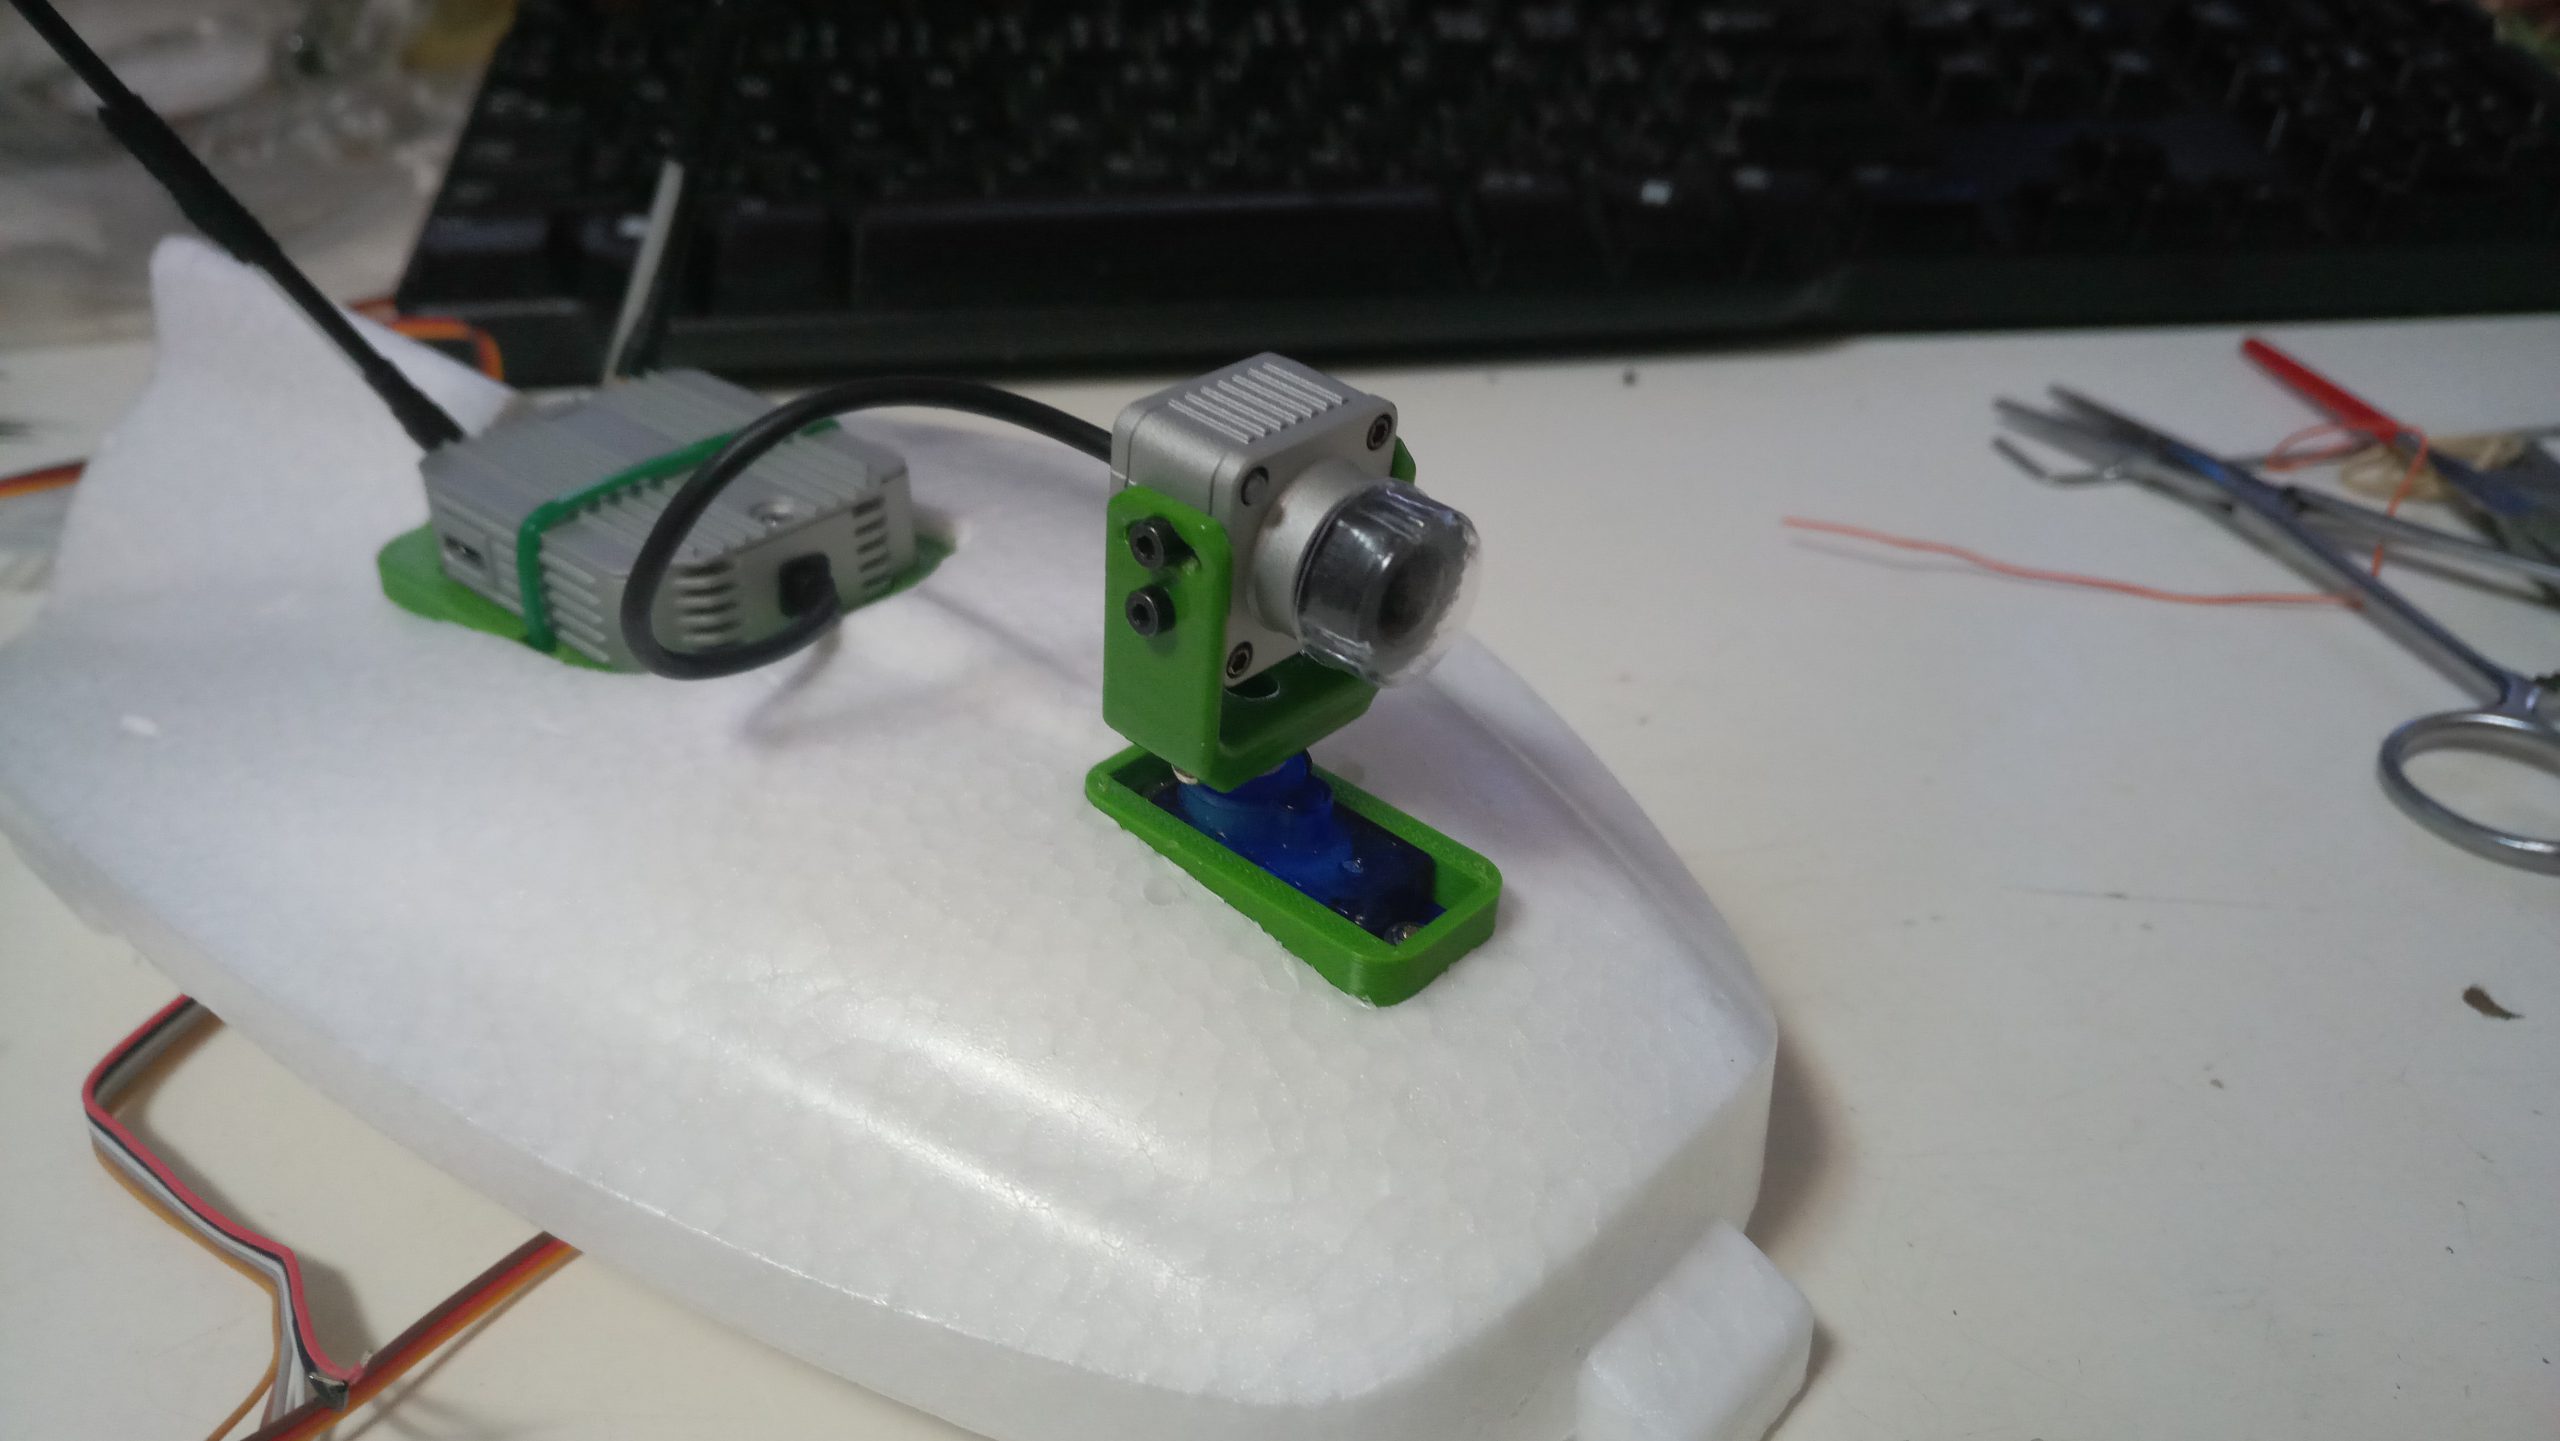
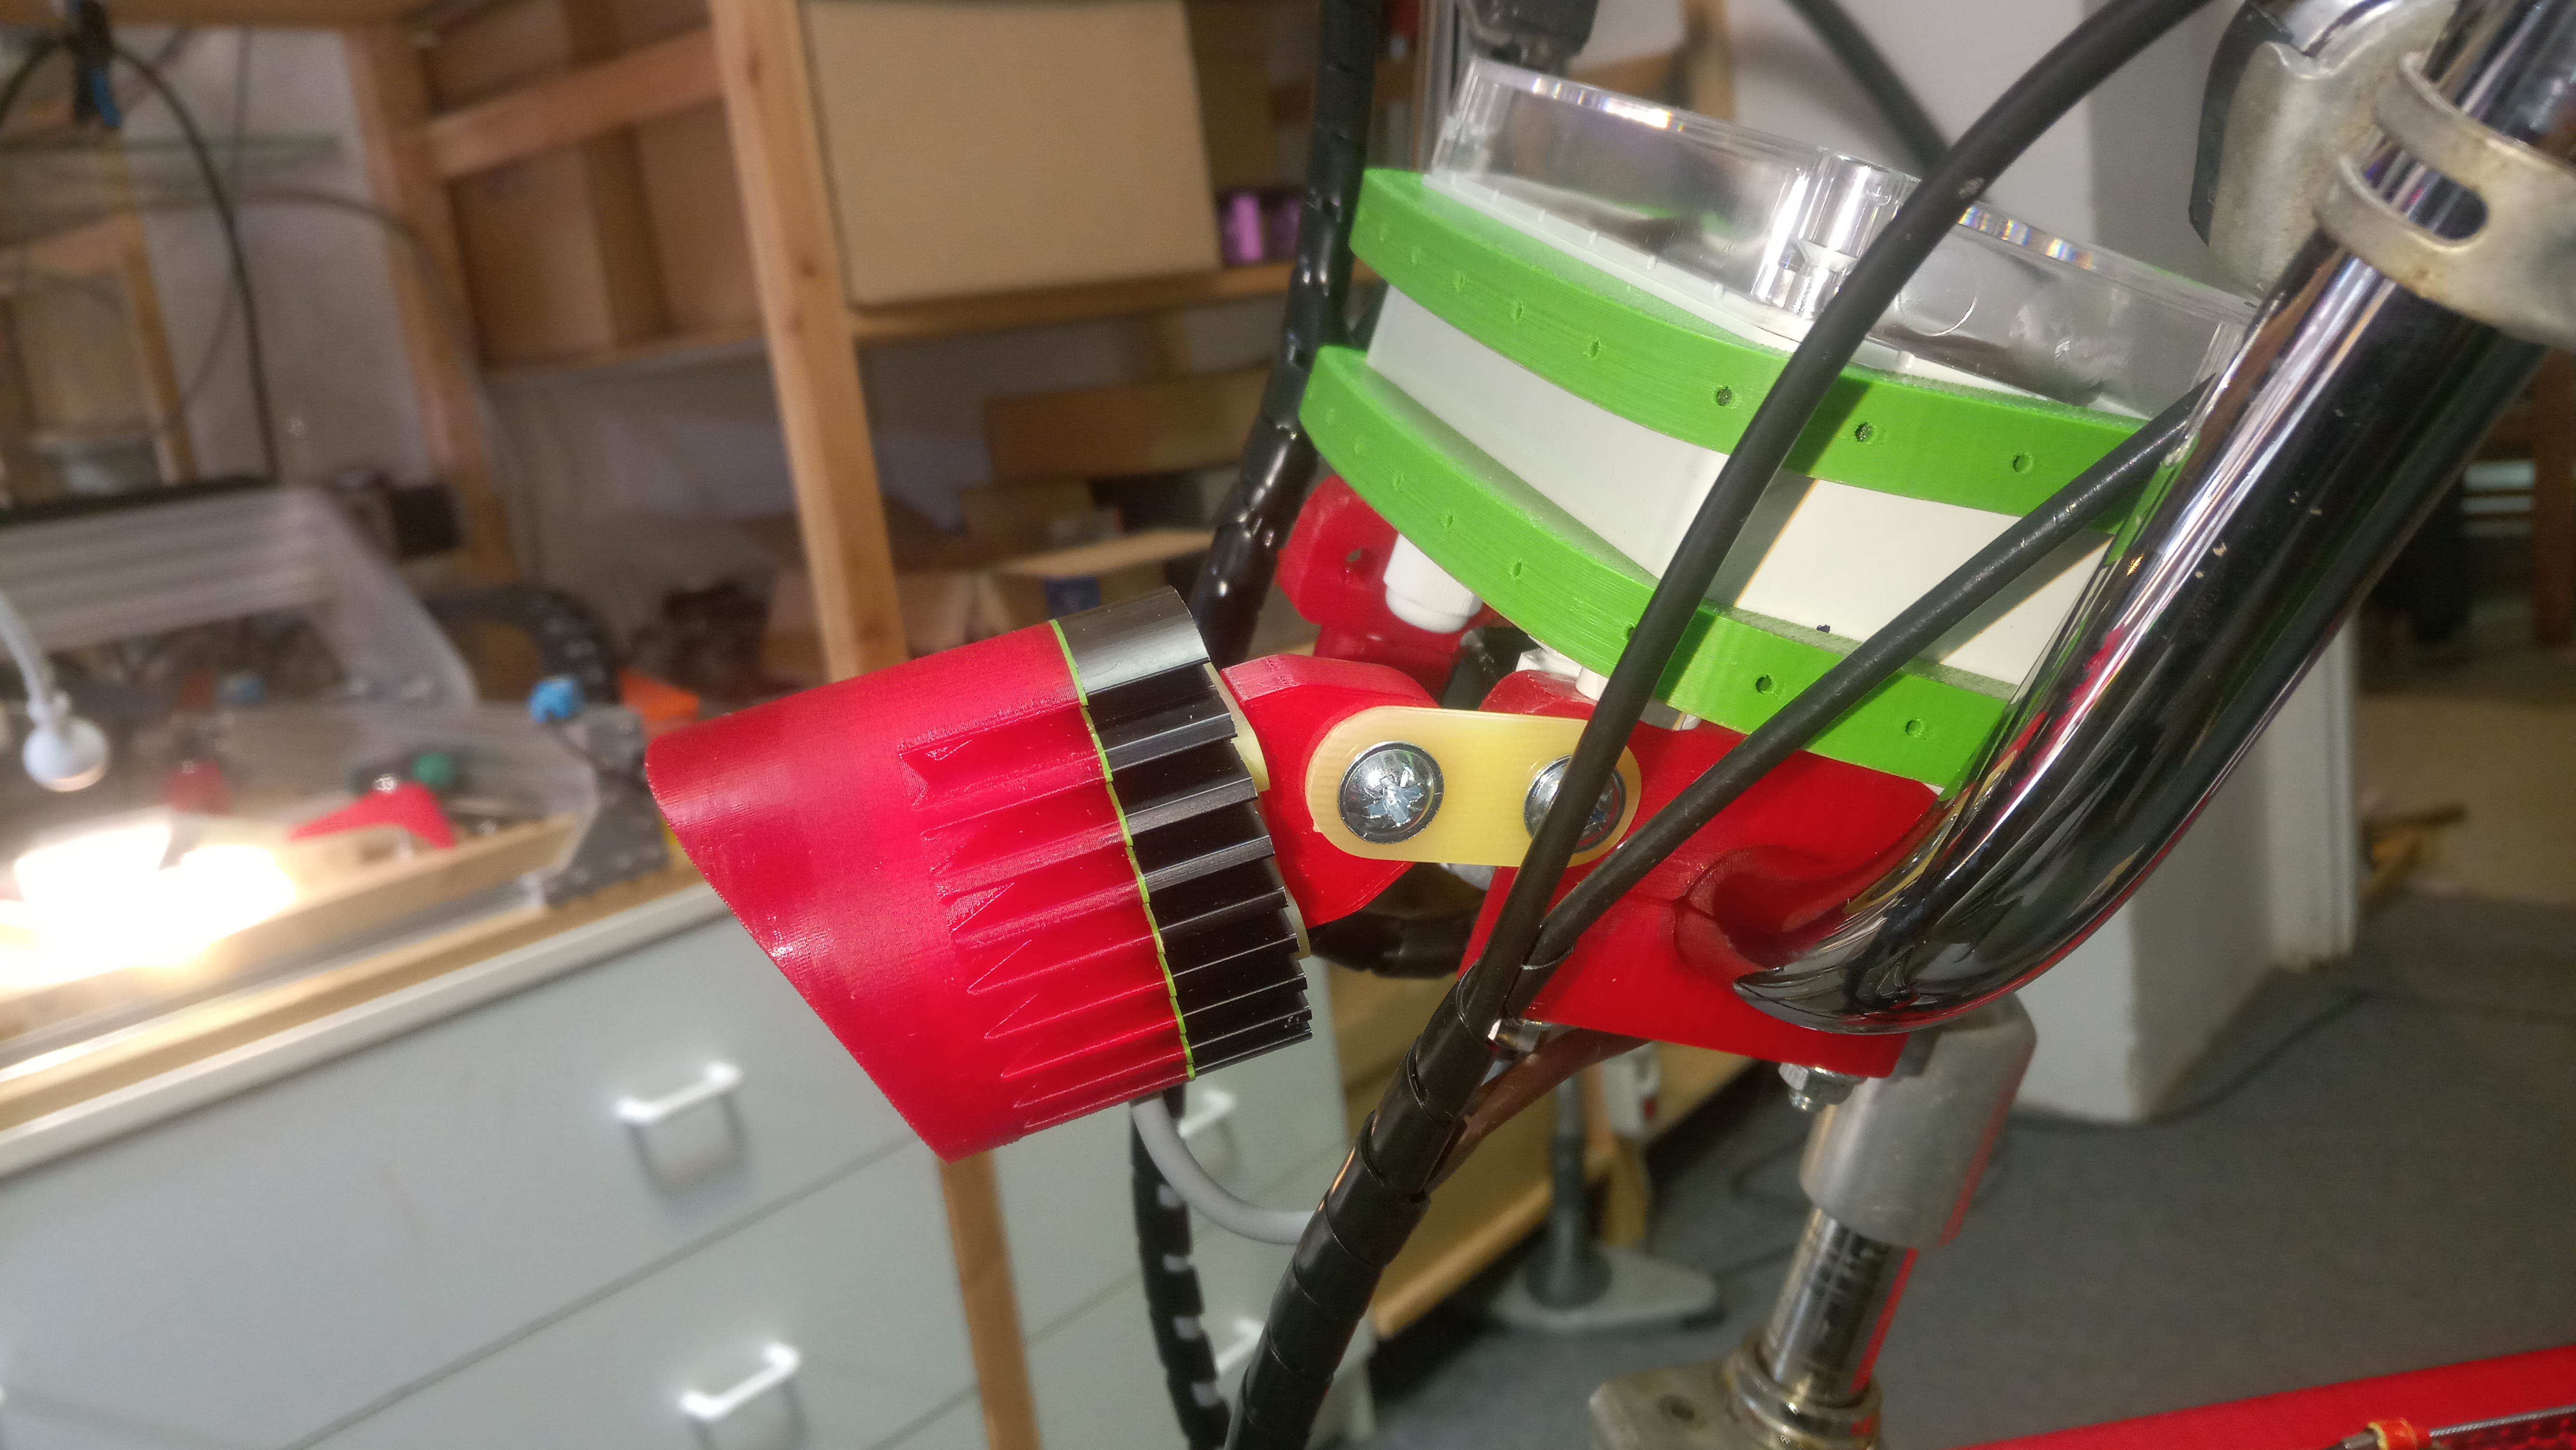
Detail of camera pan mechanism and DJI unit :
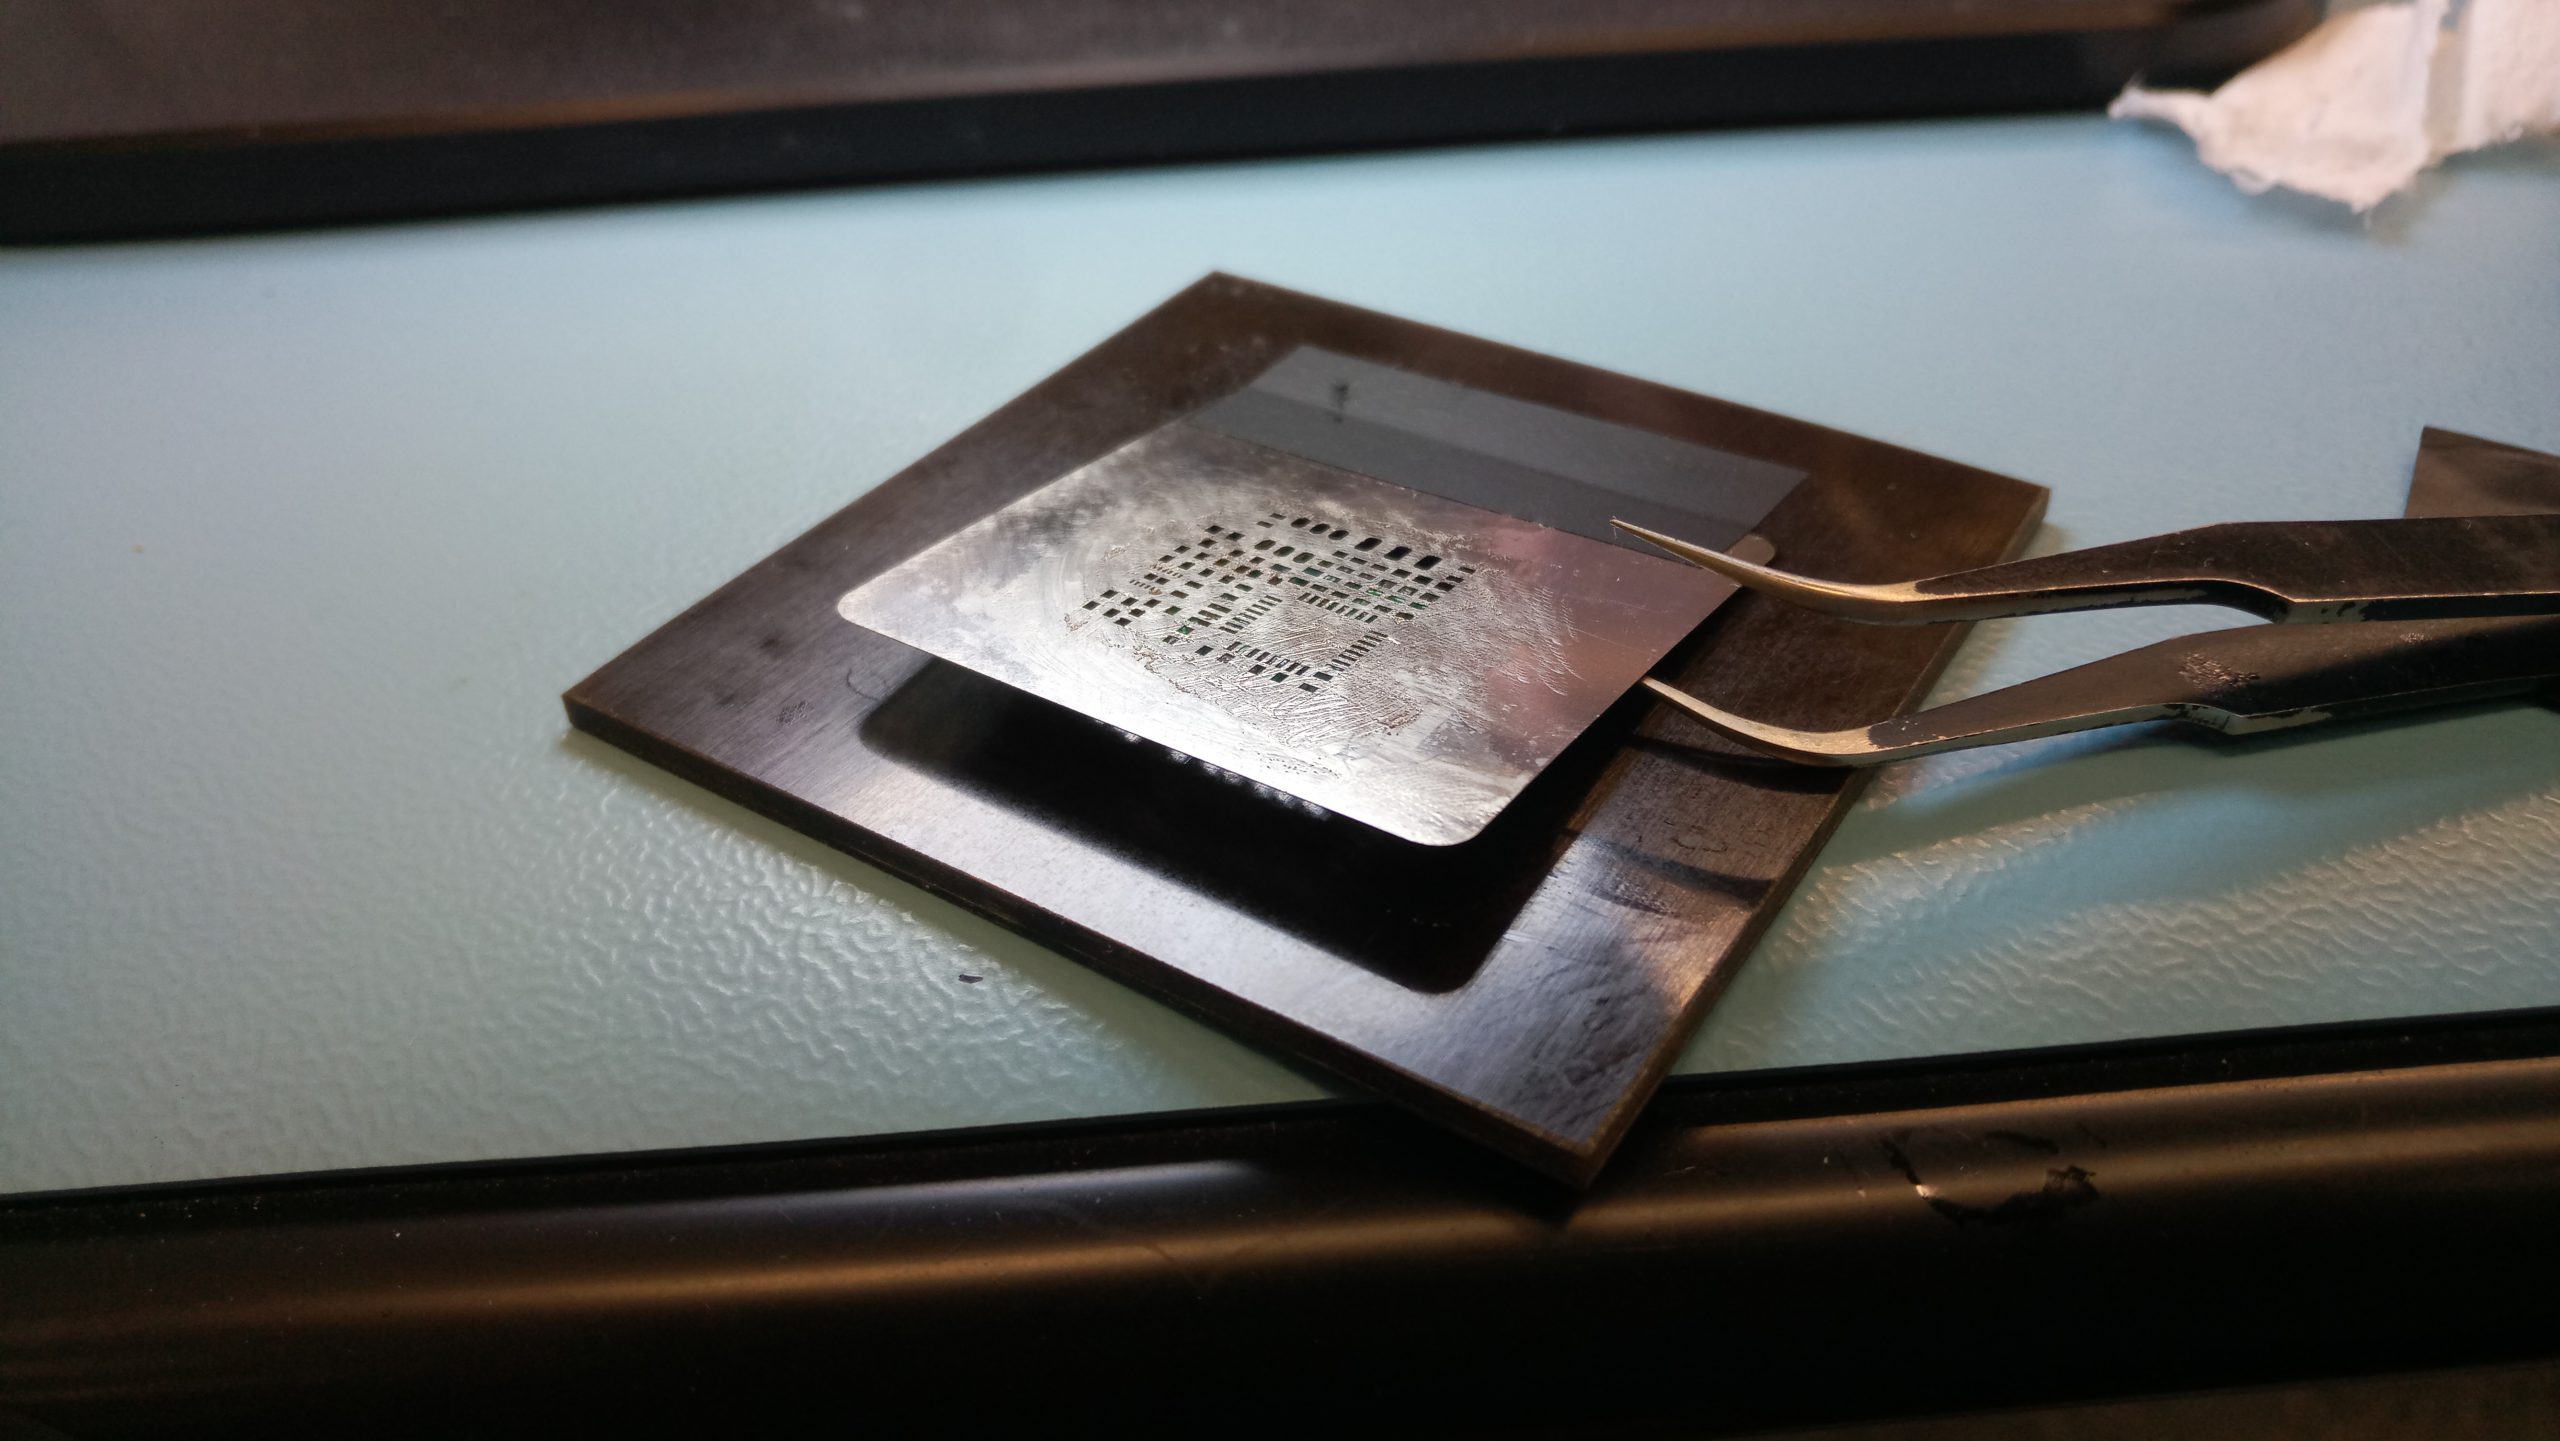
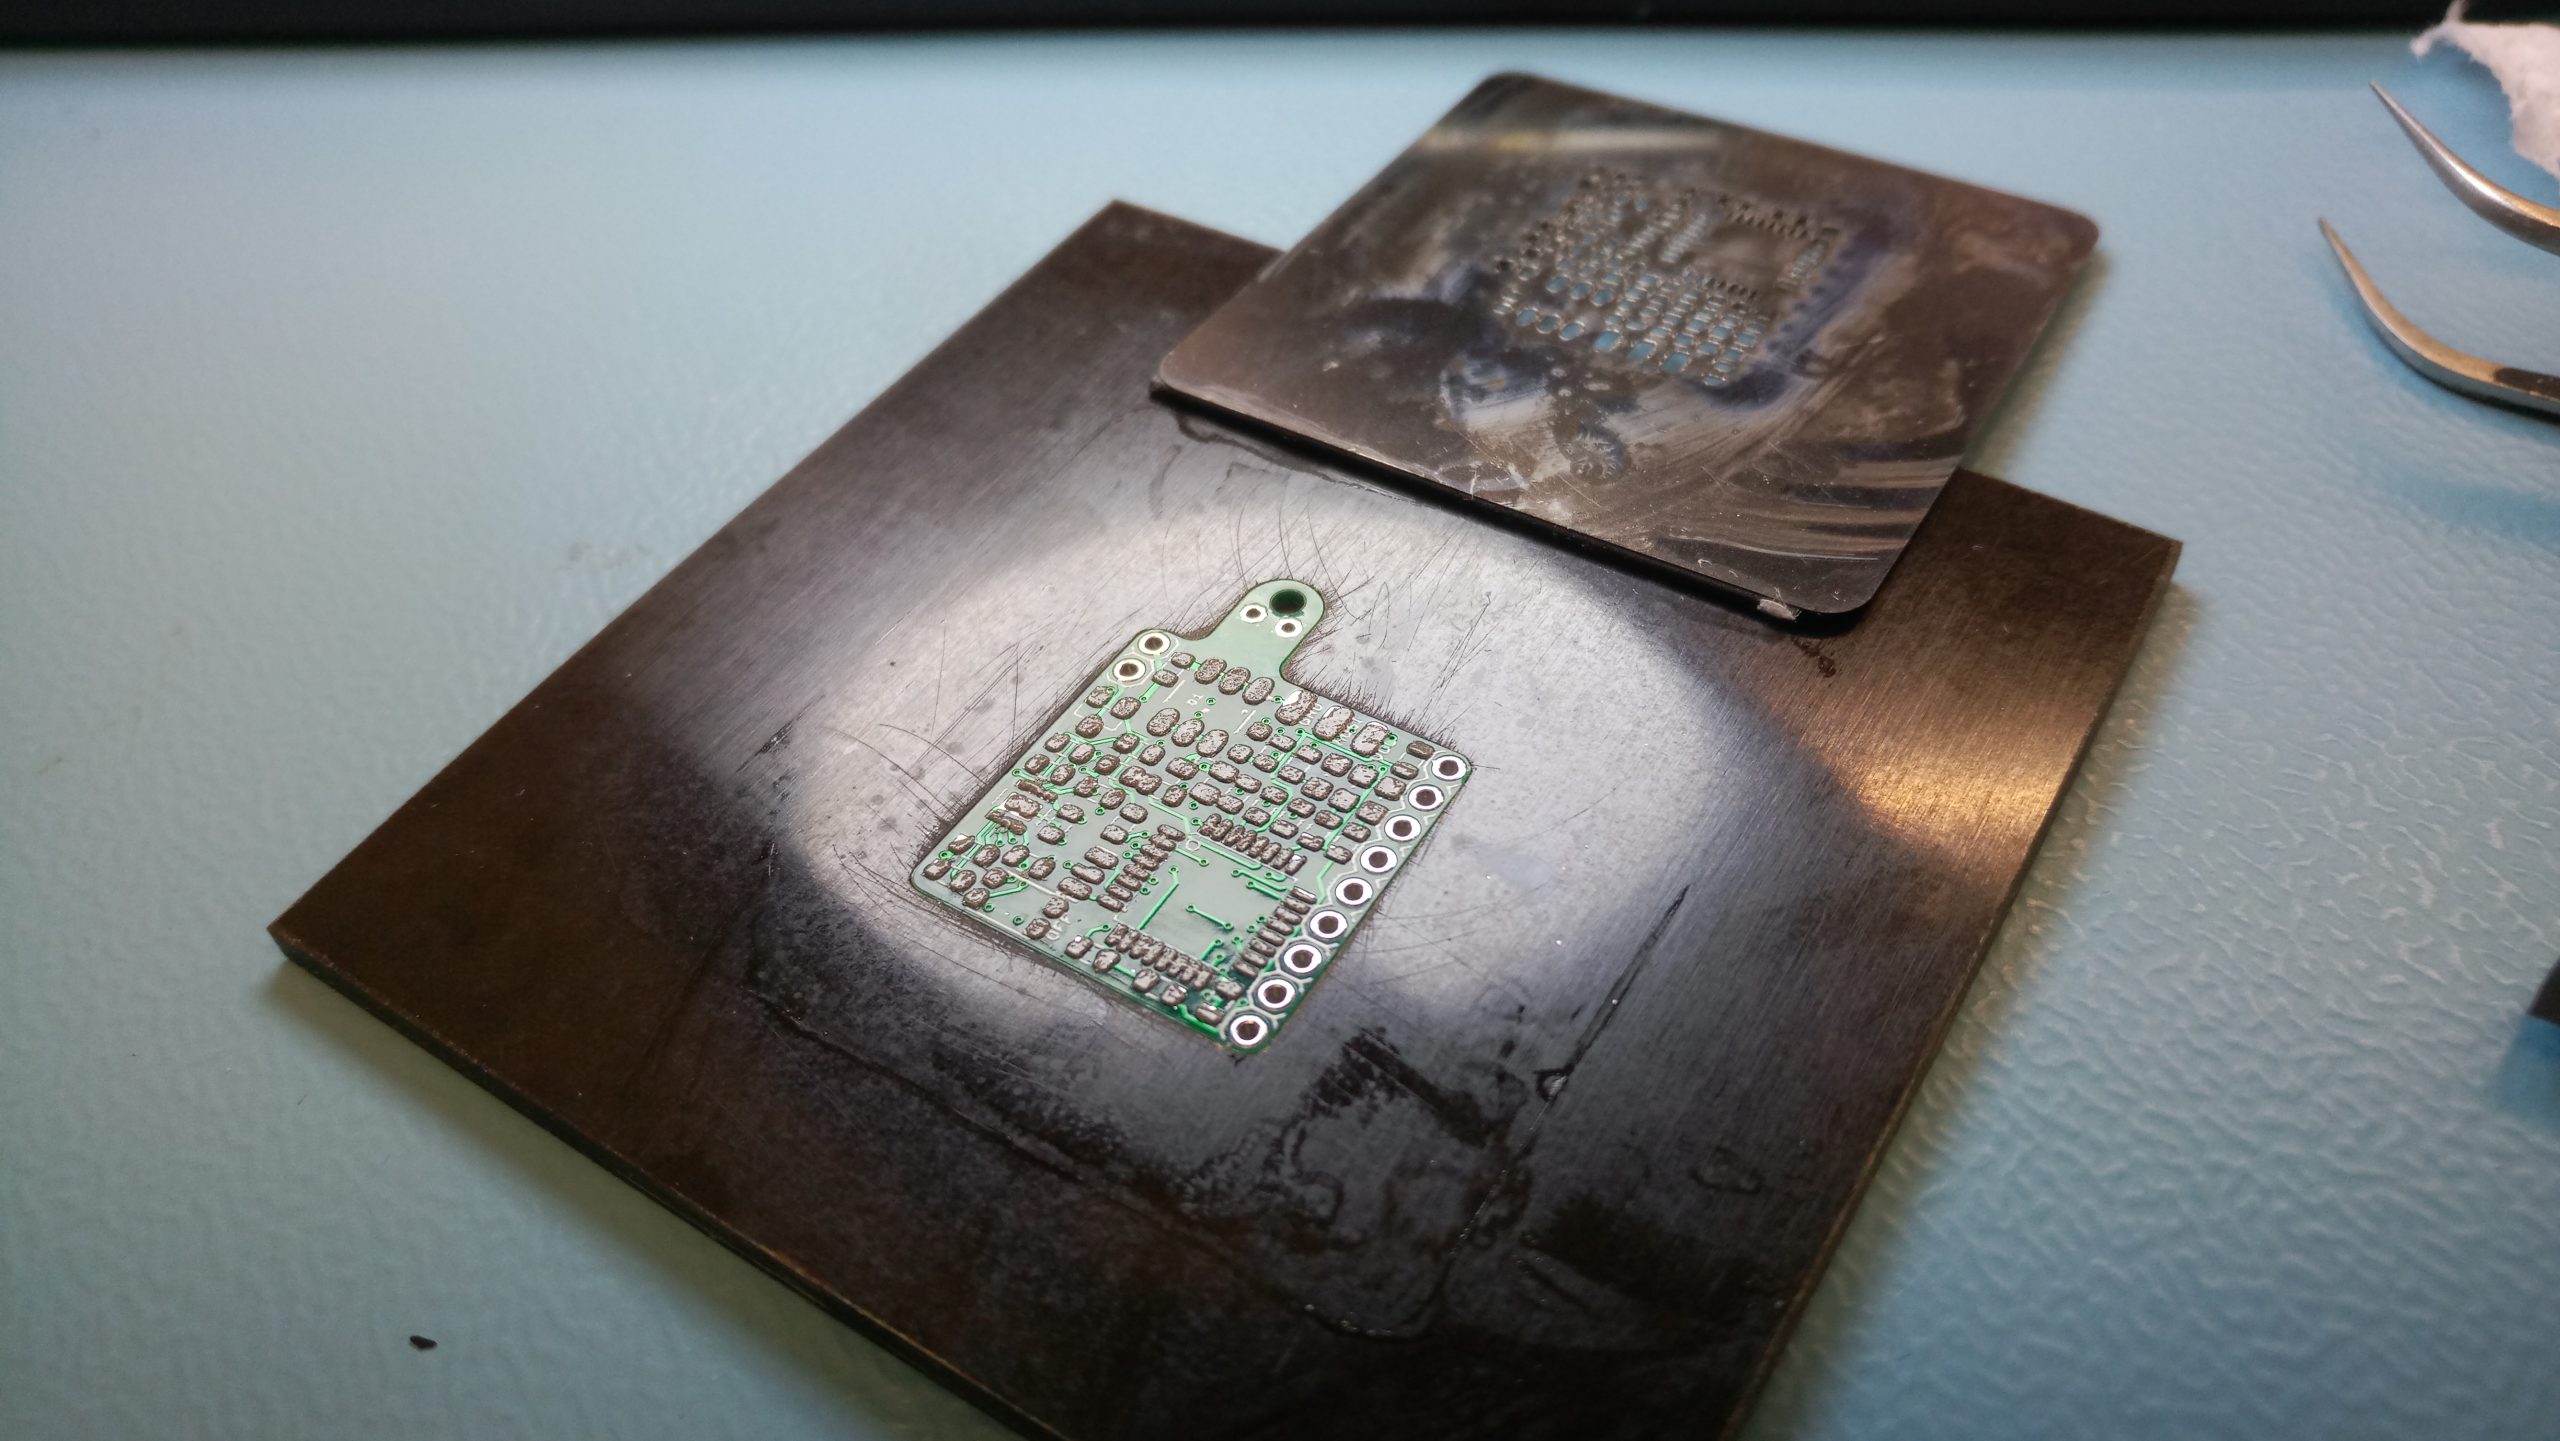
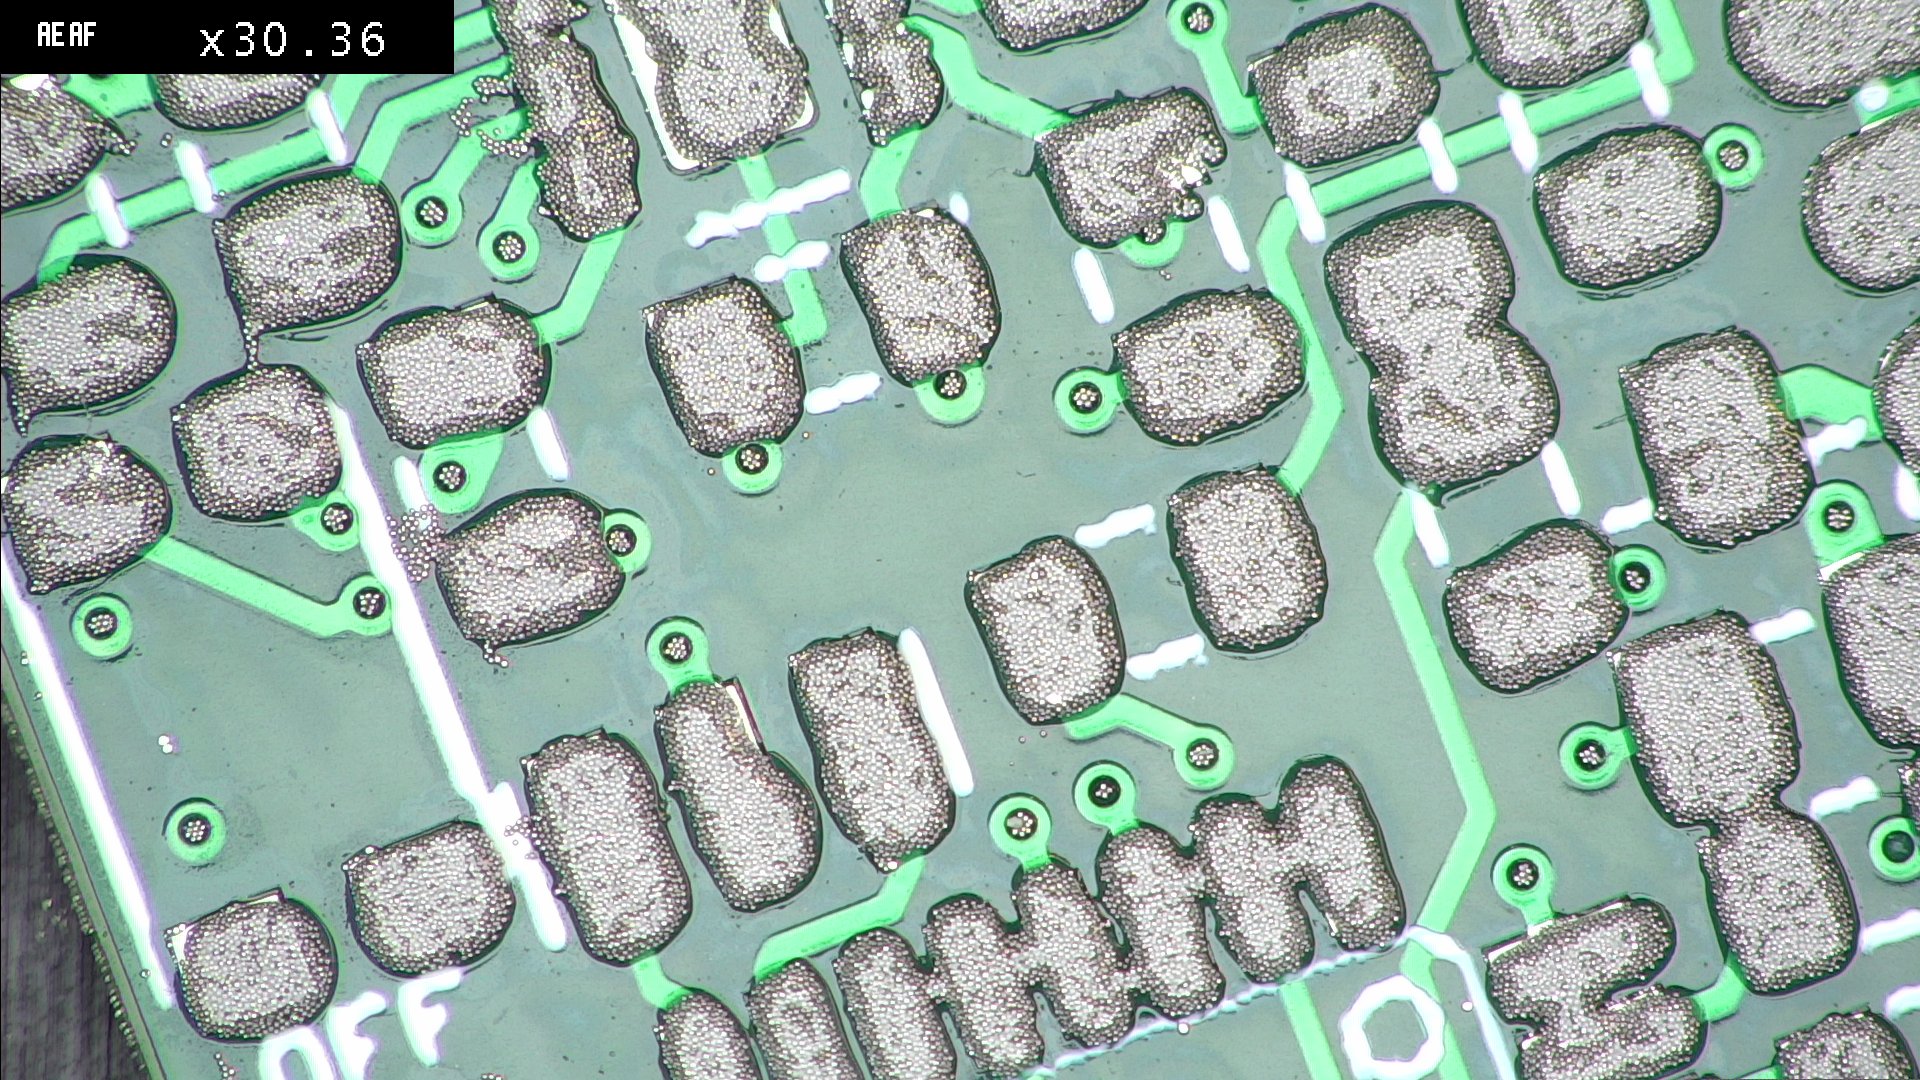
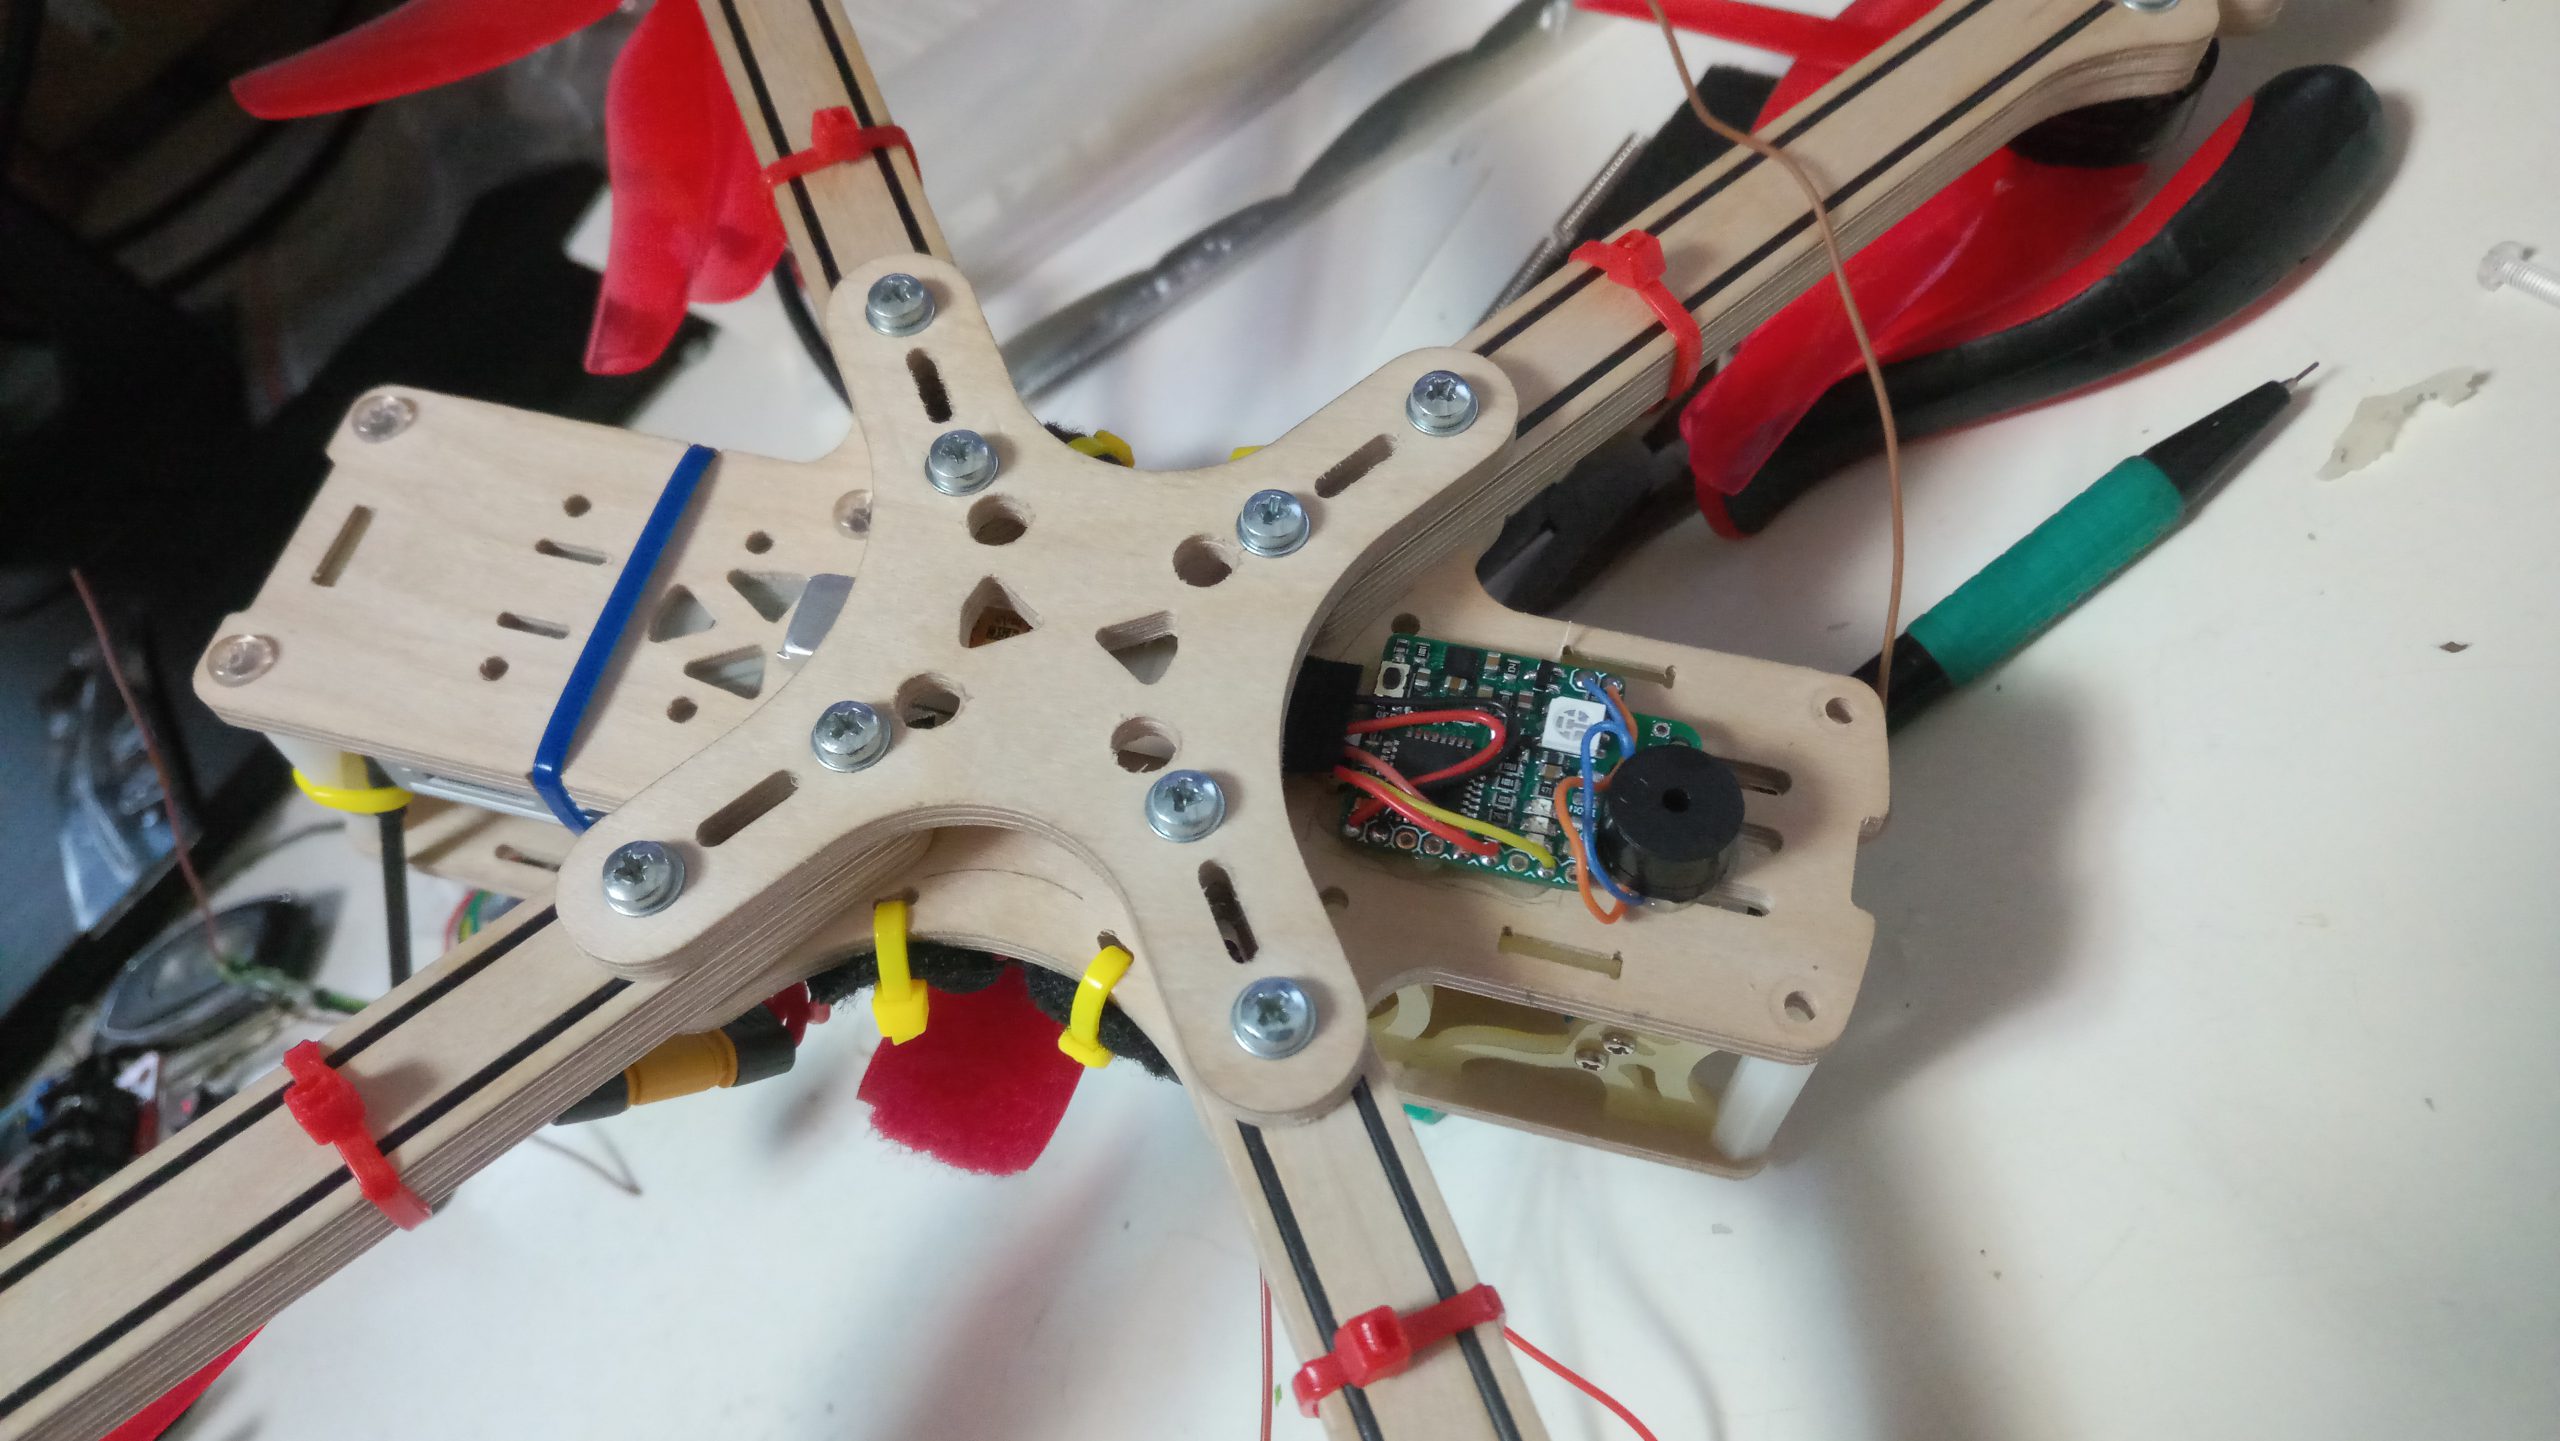
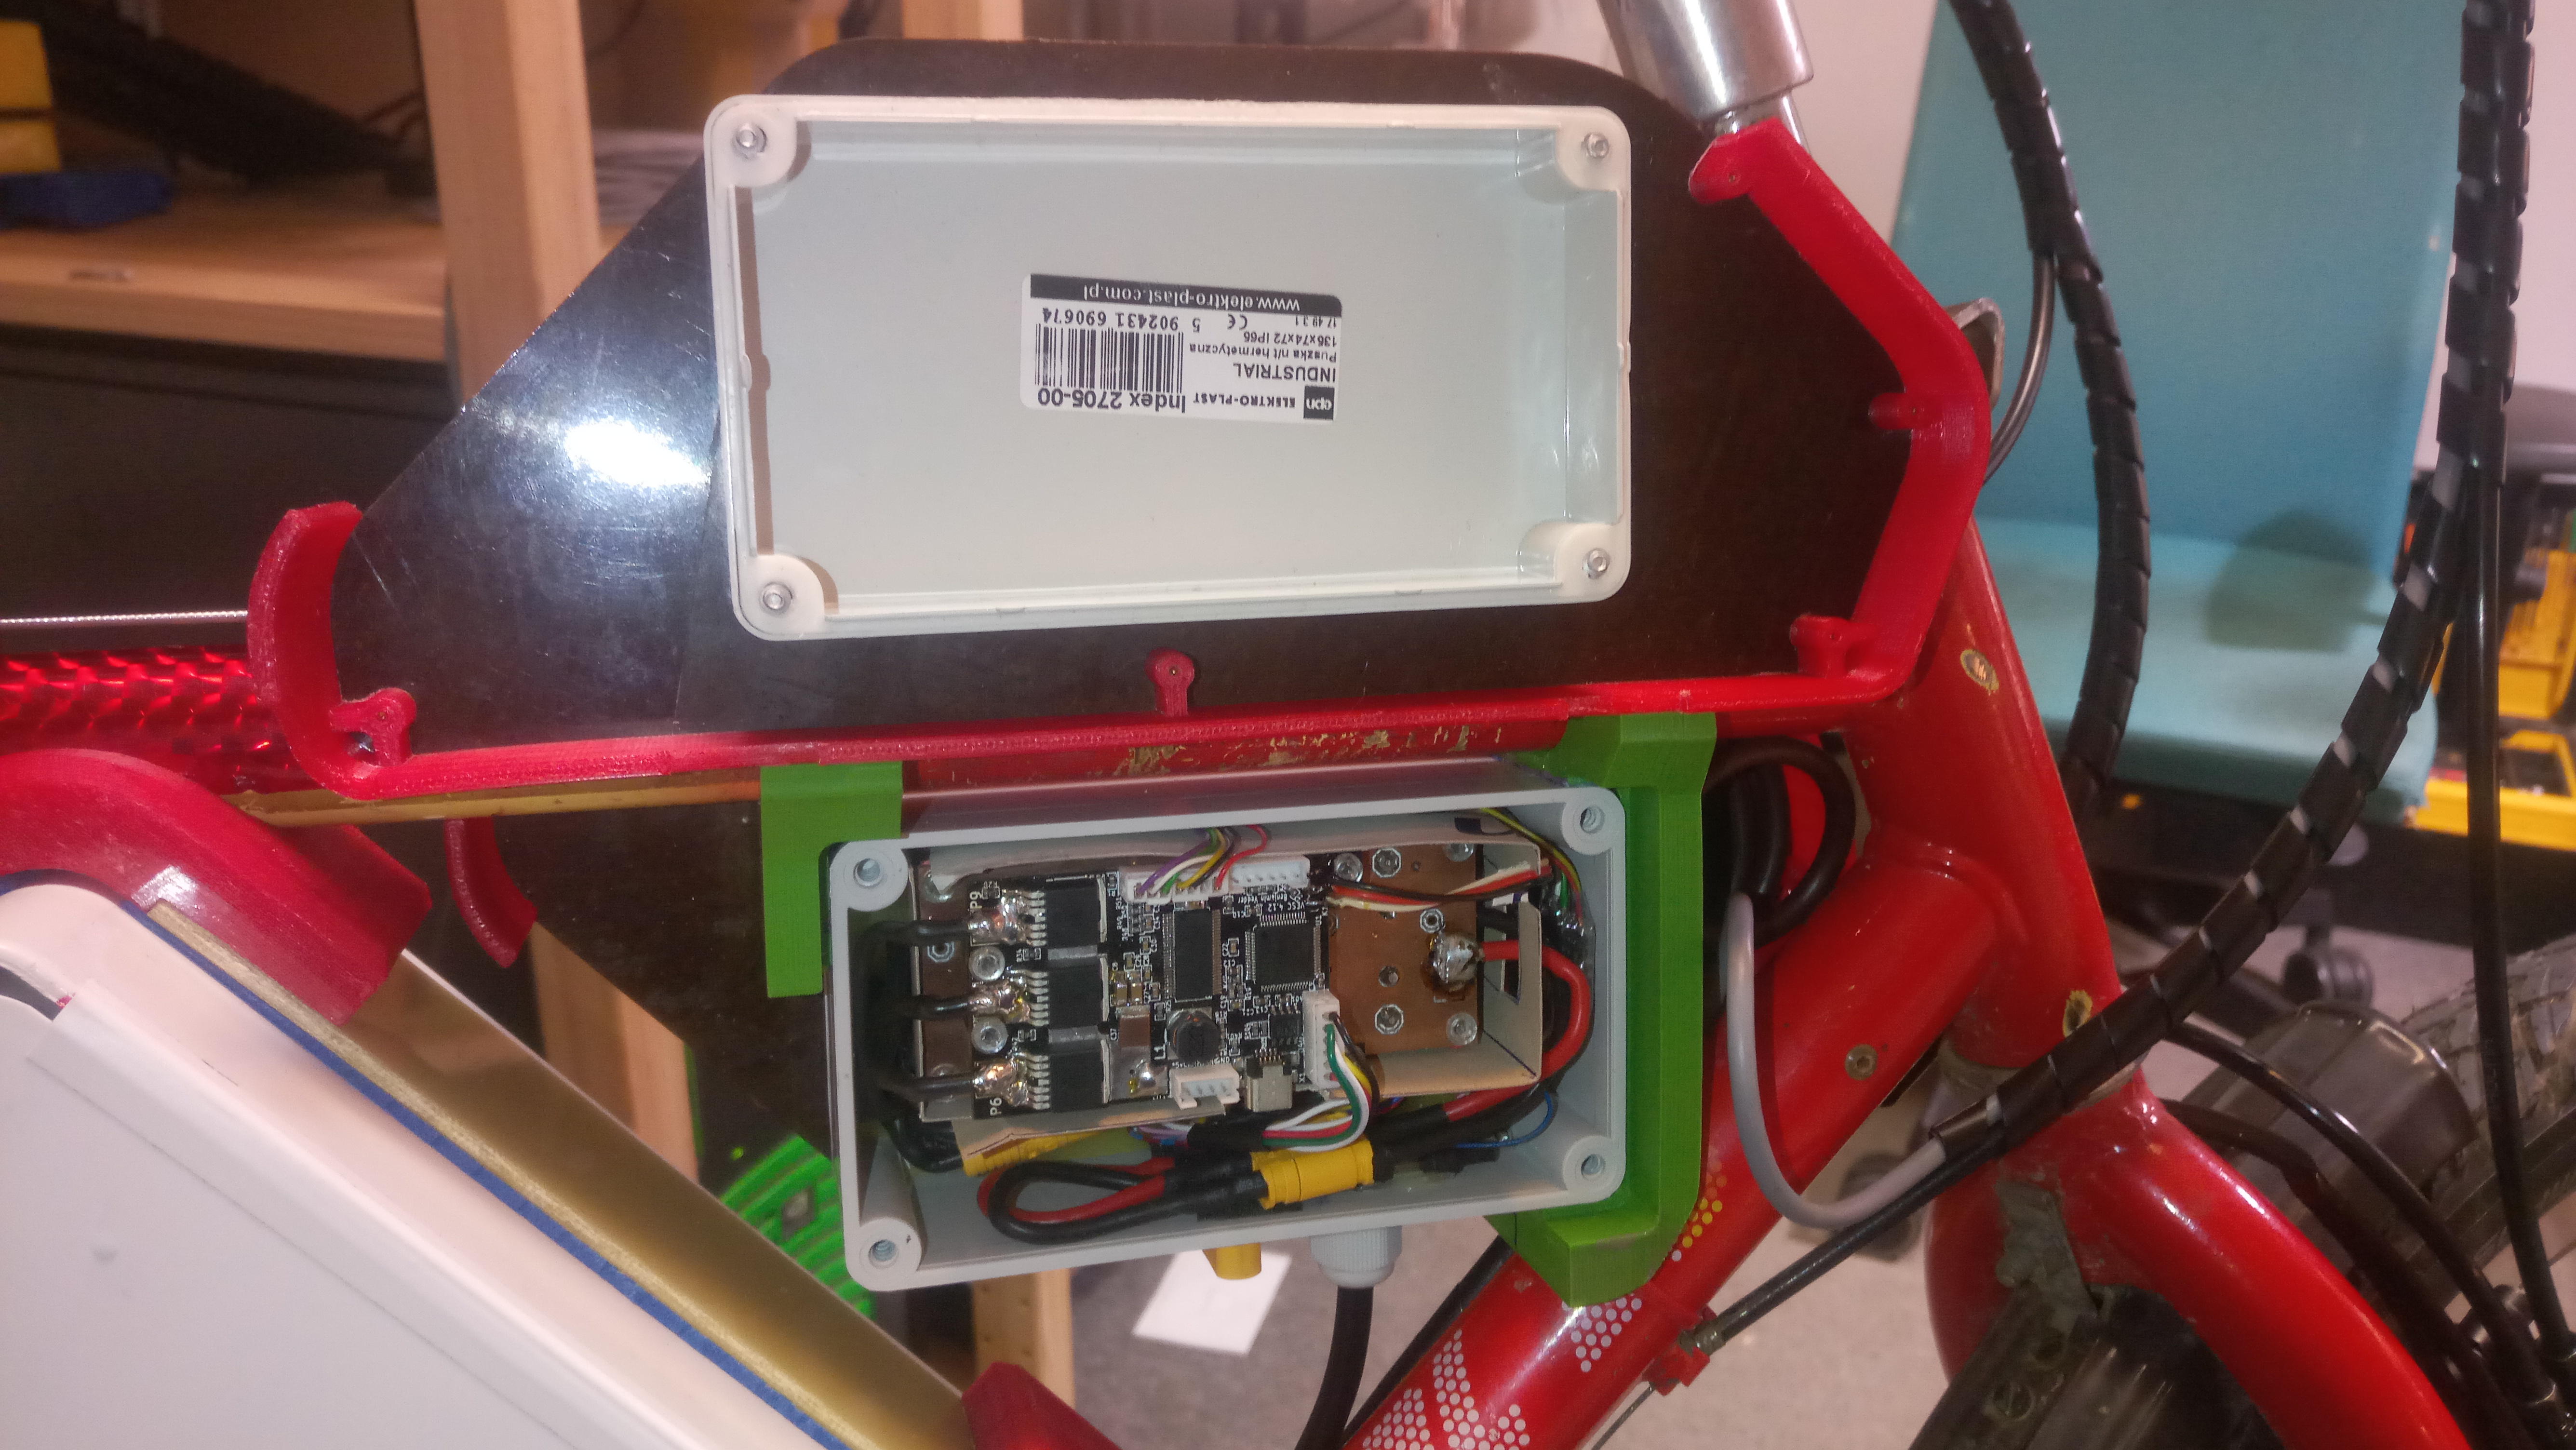
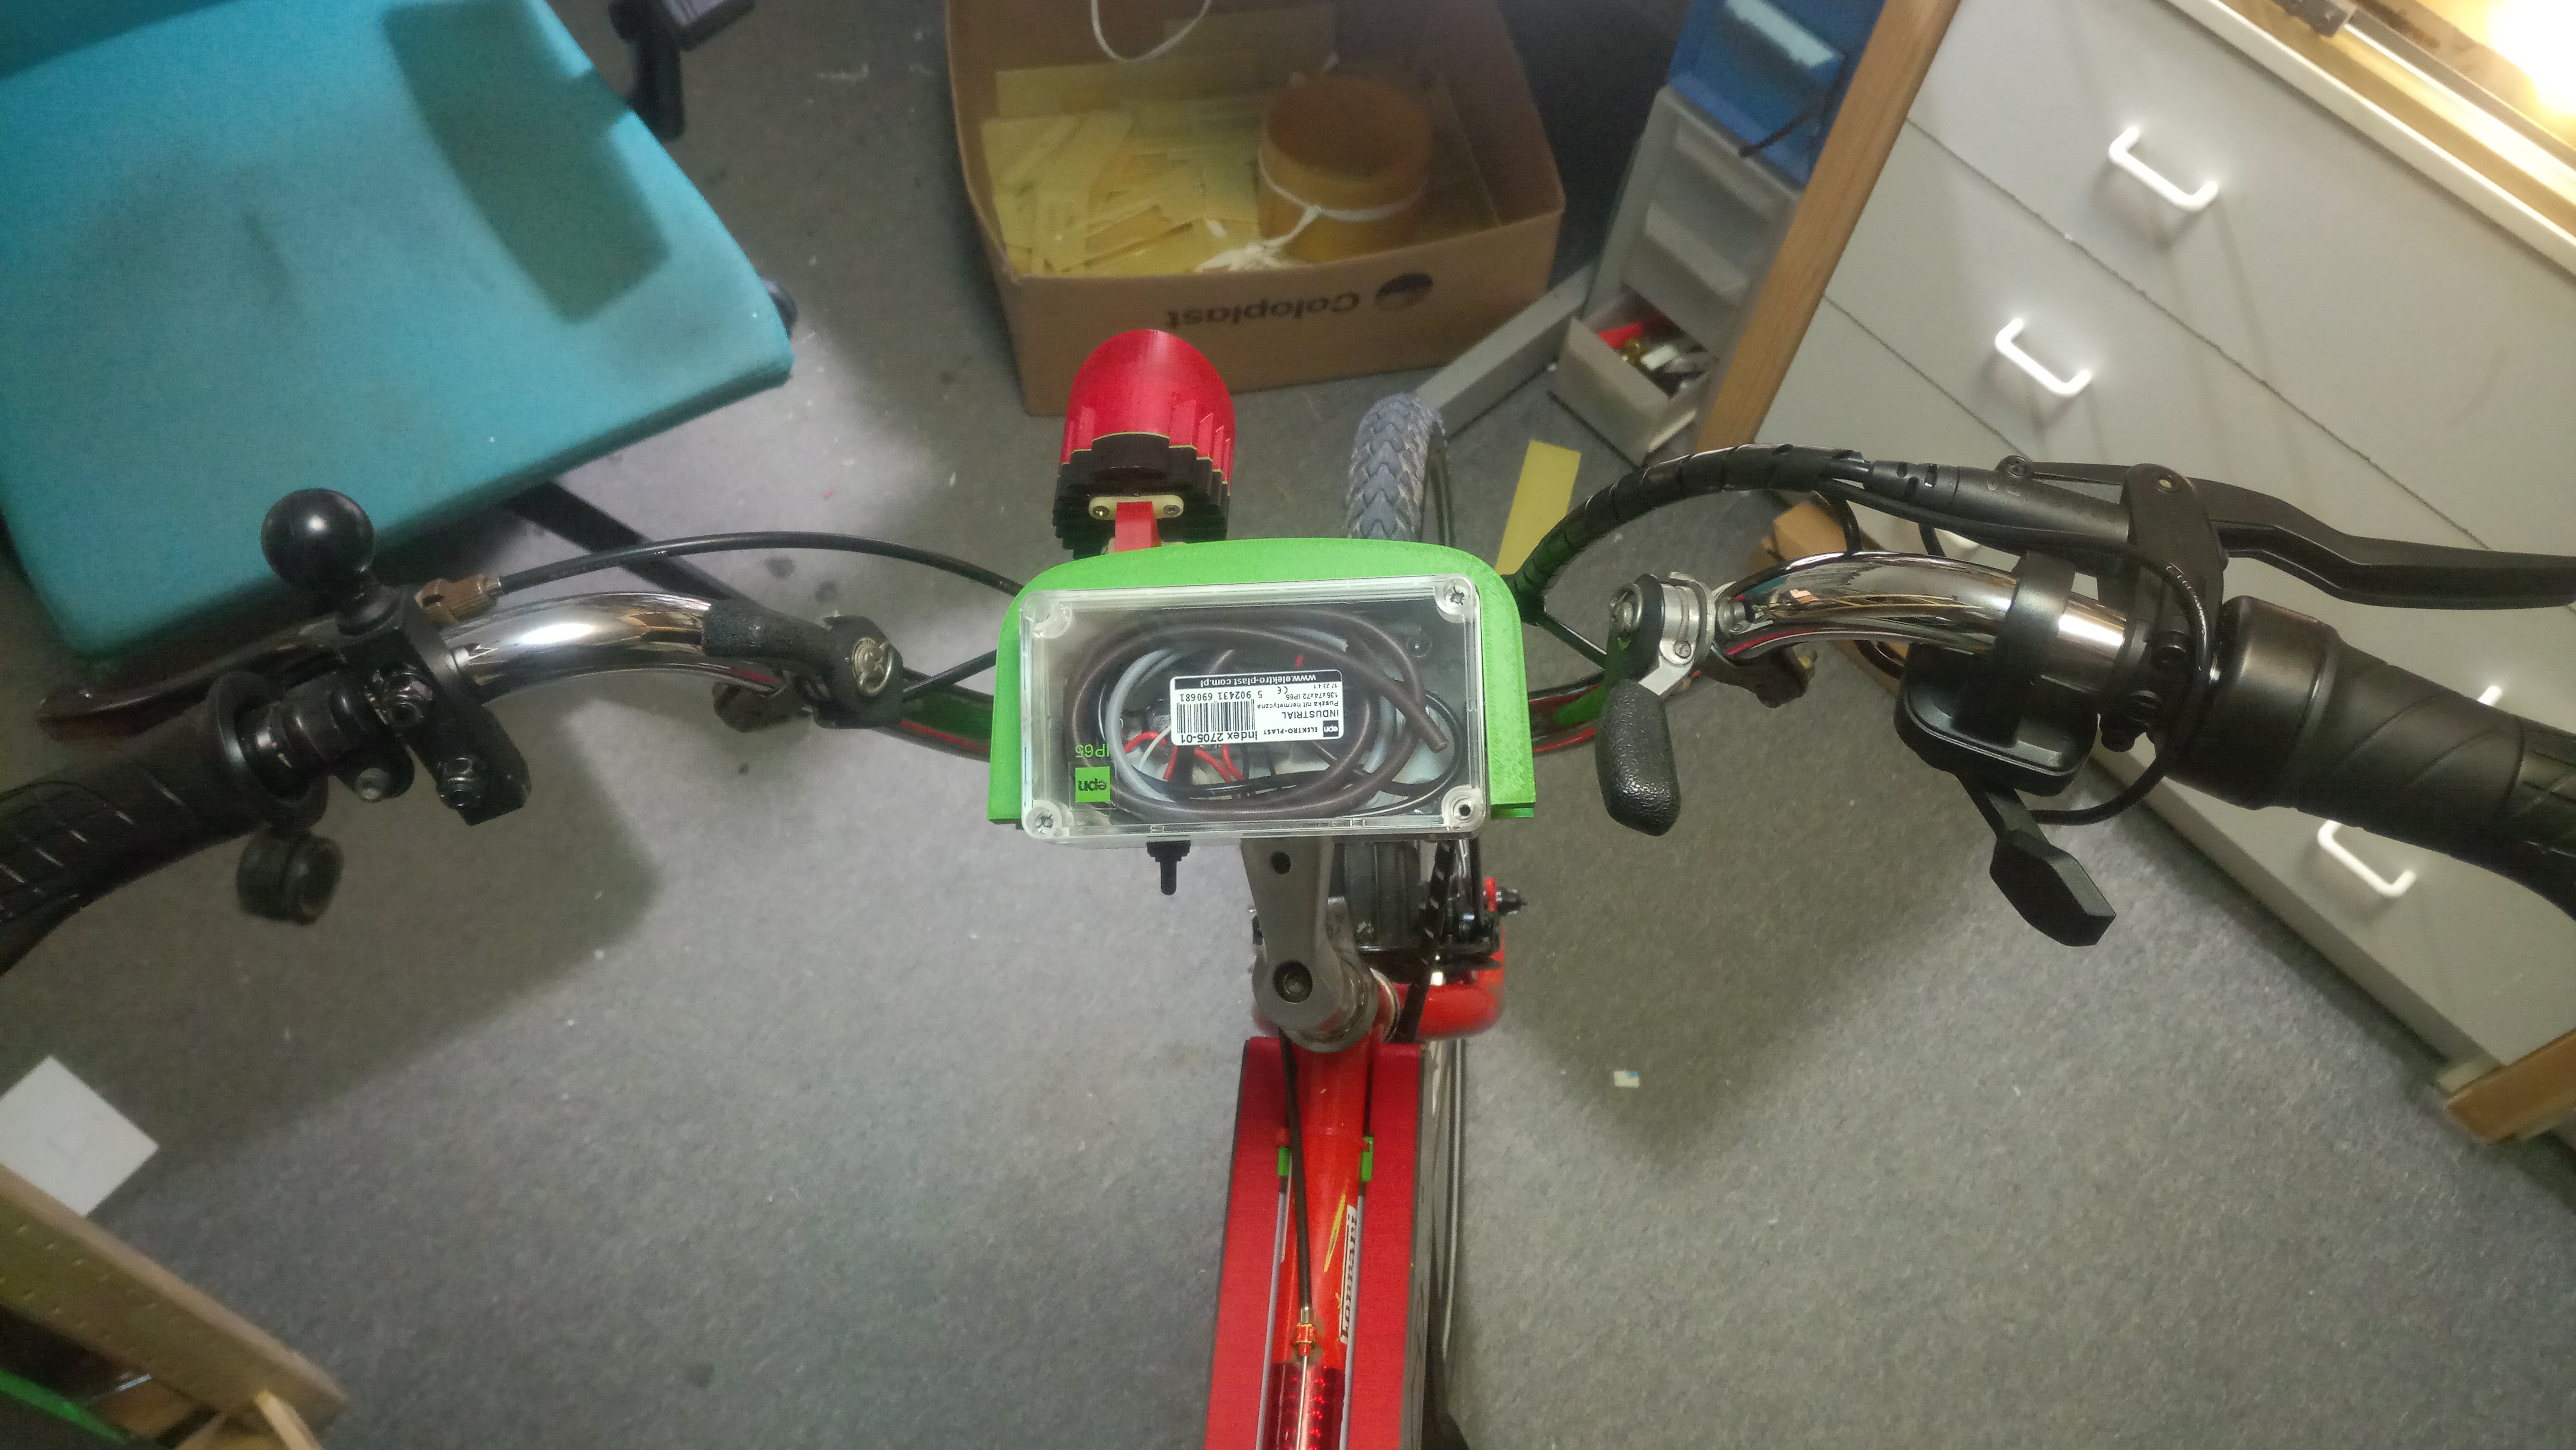
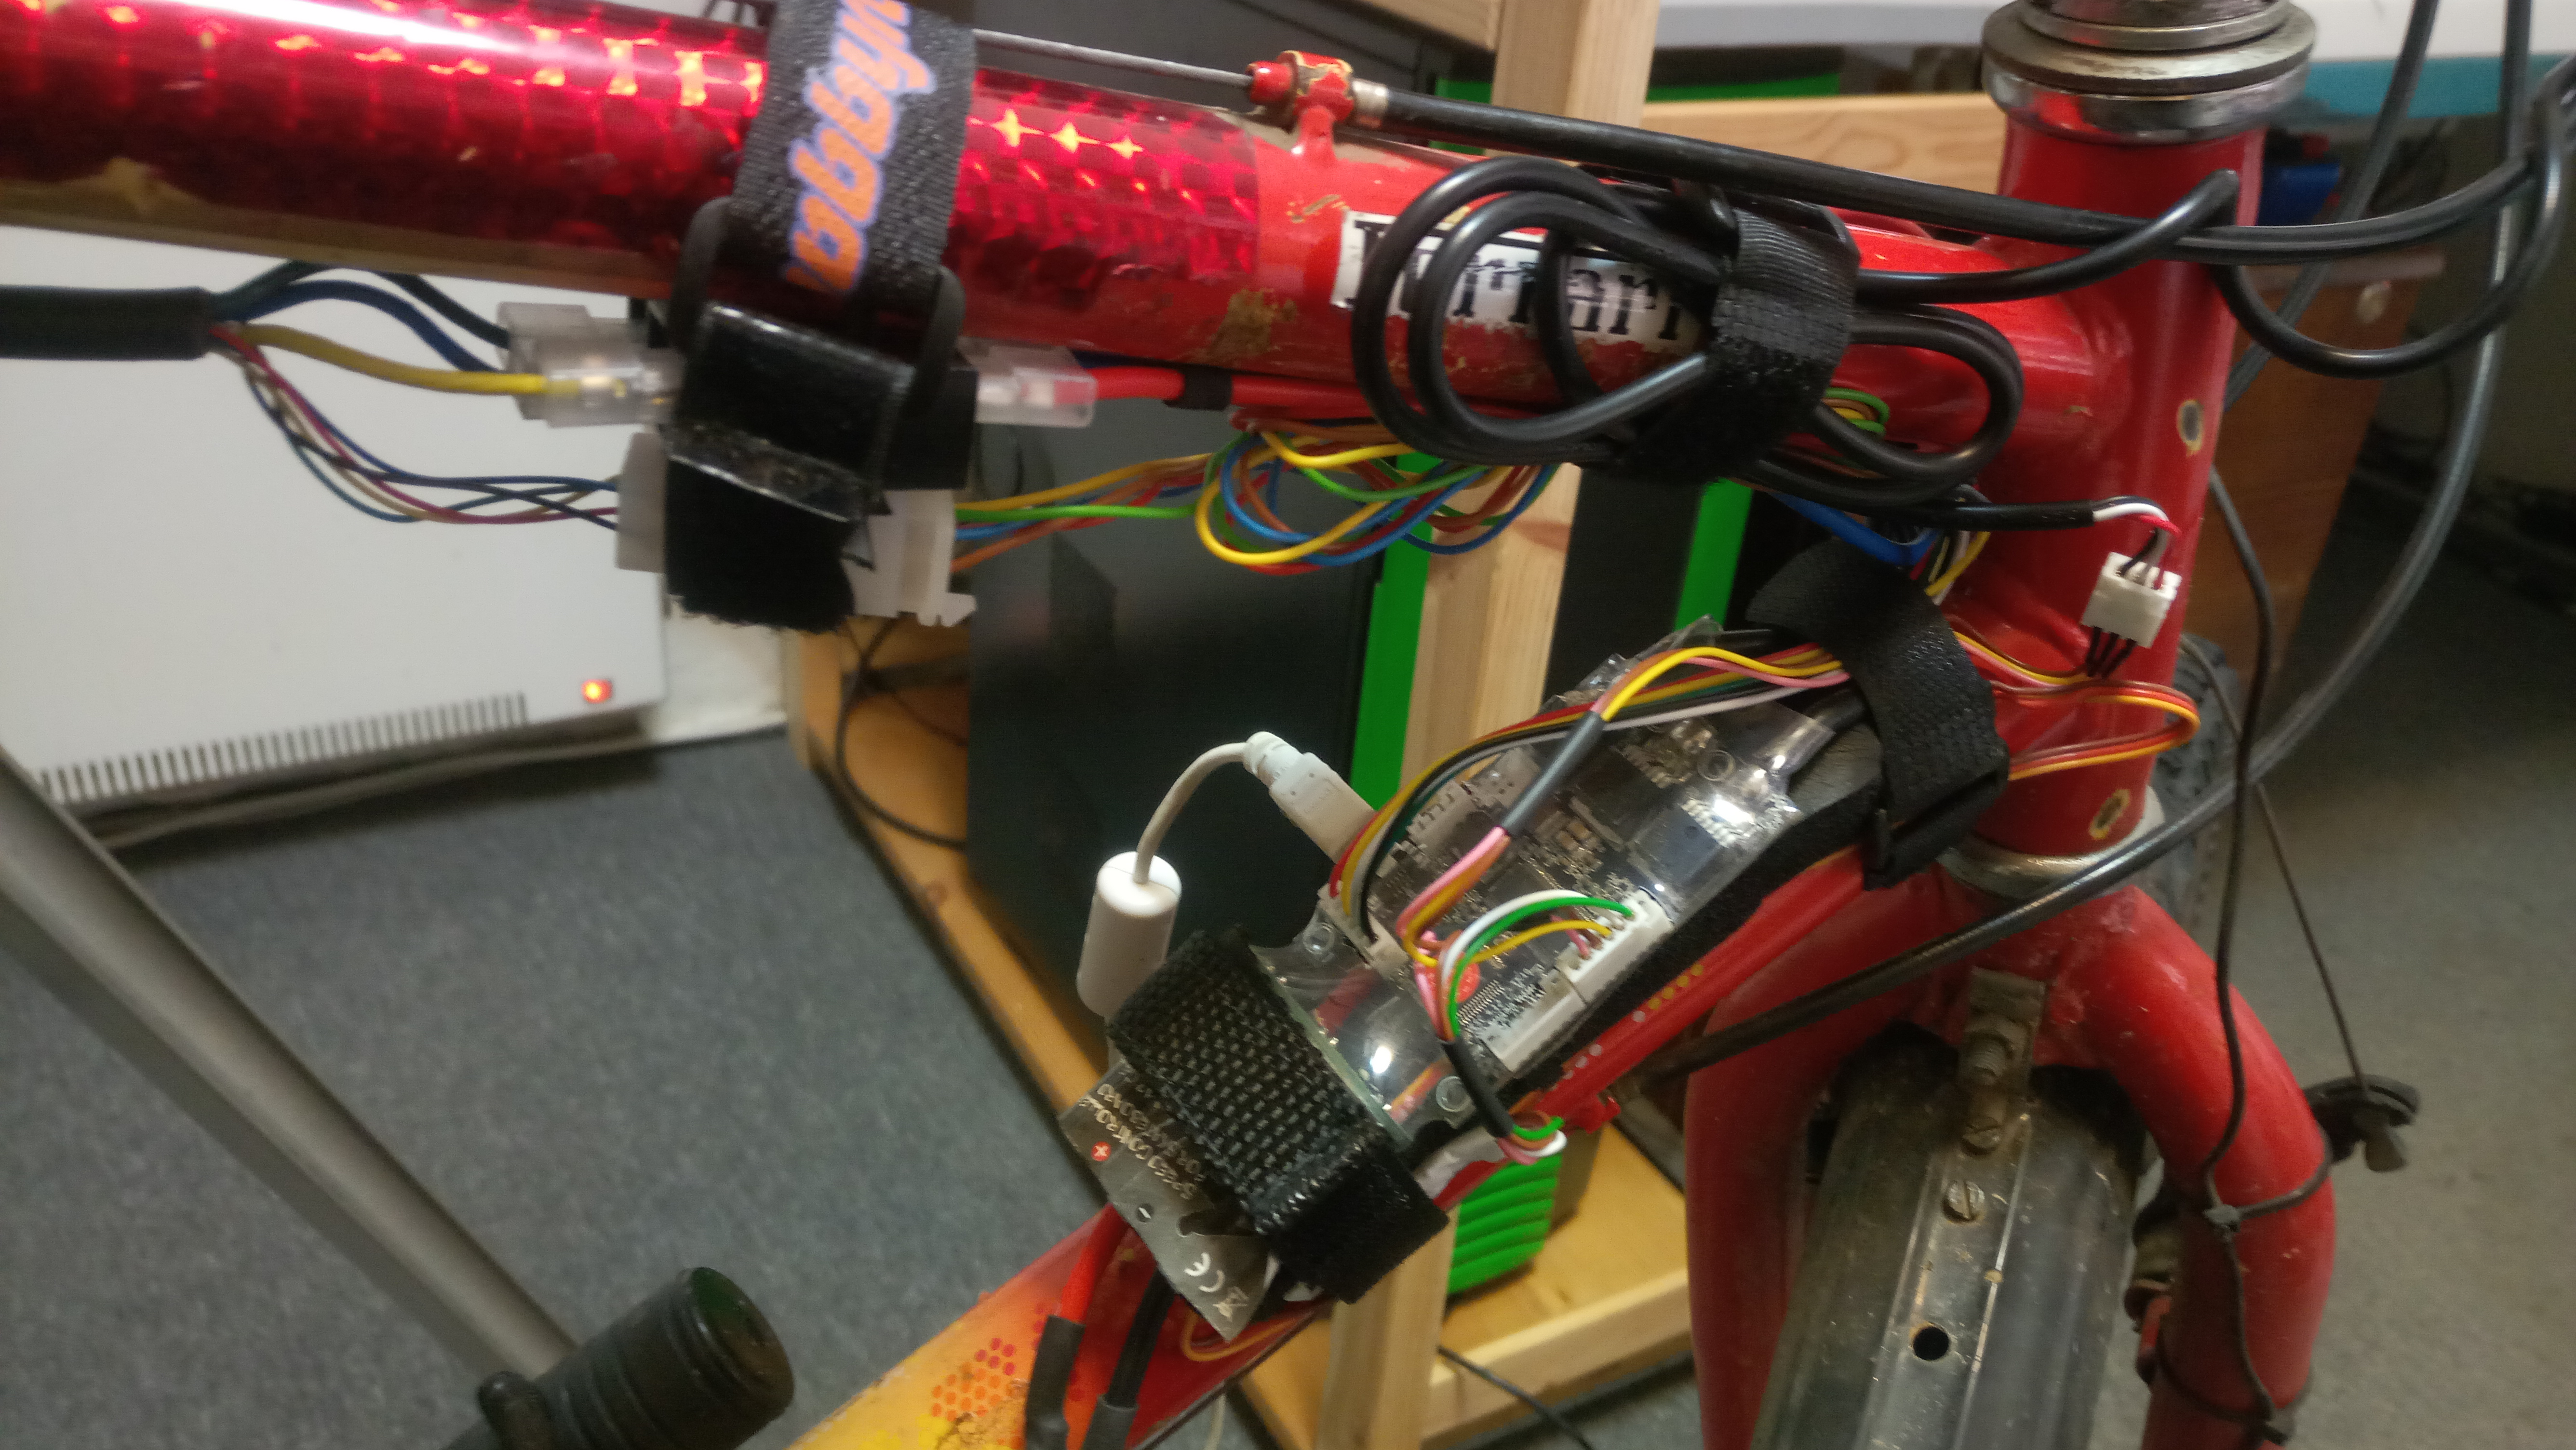
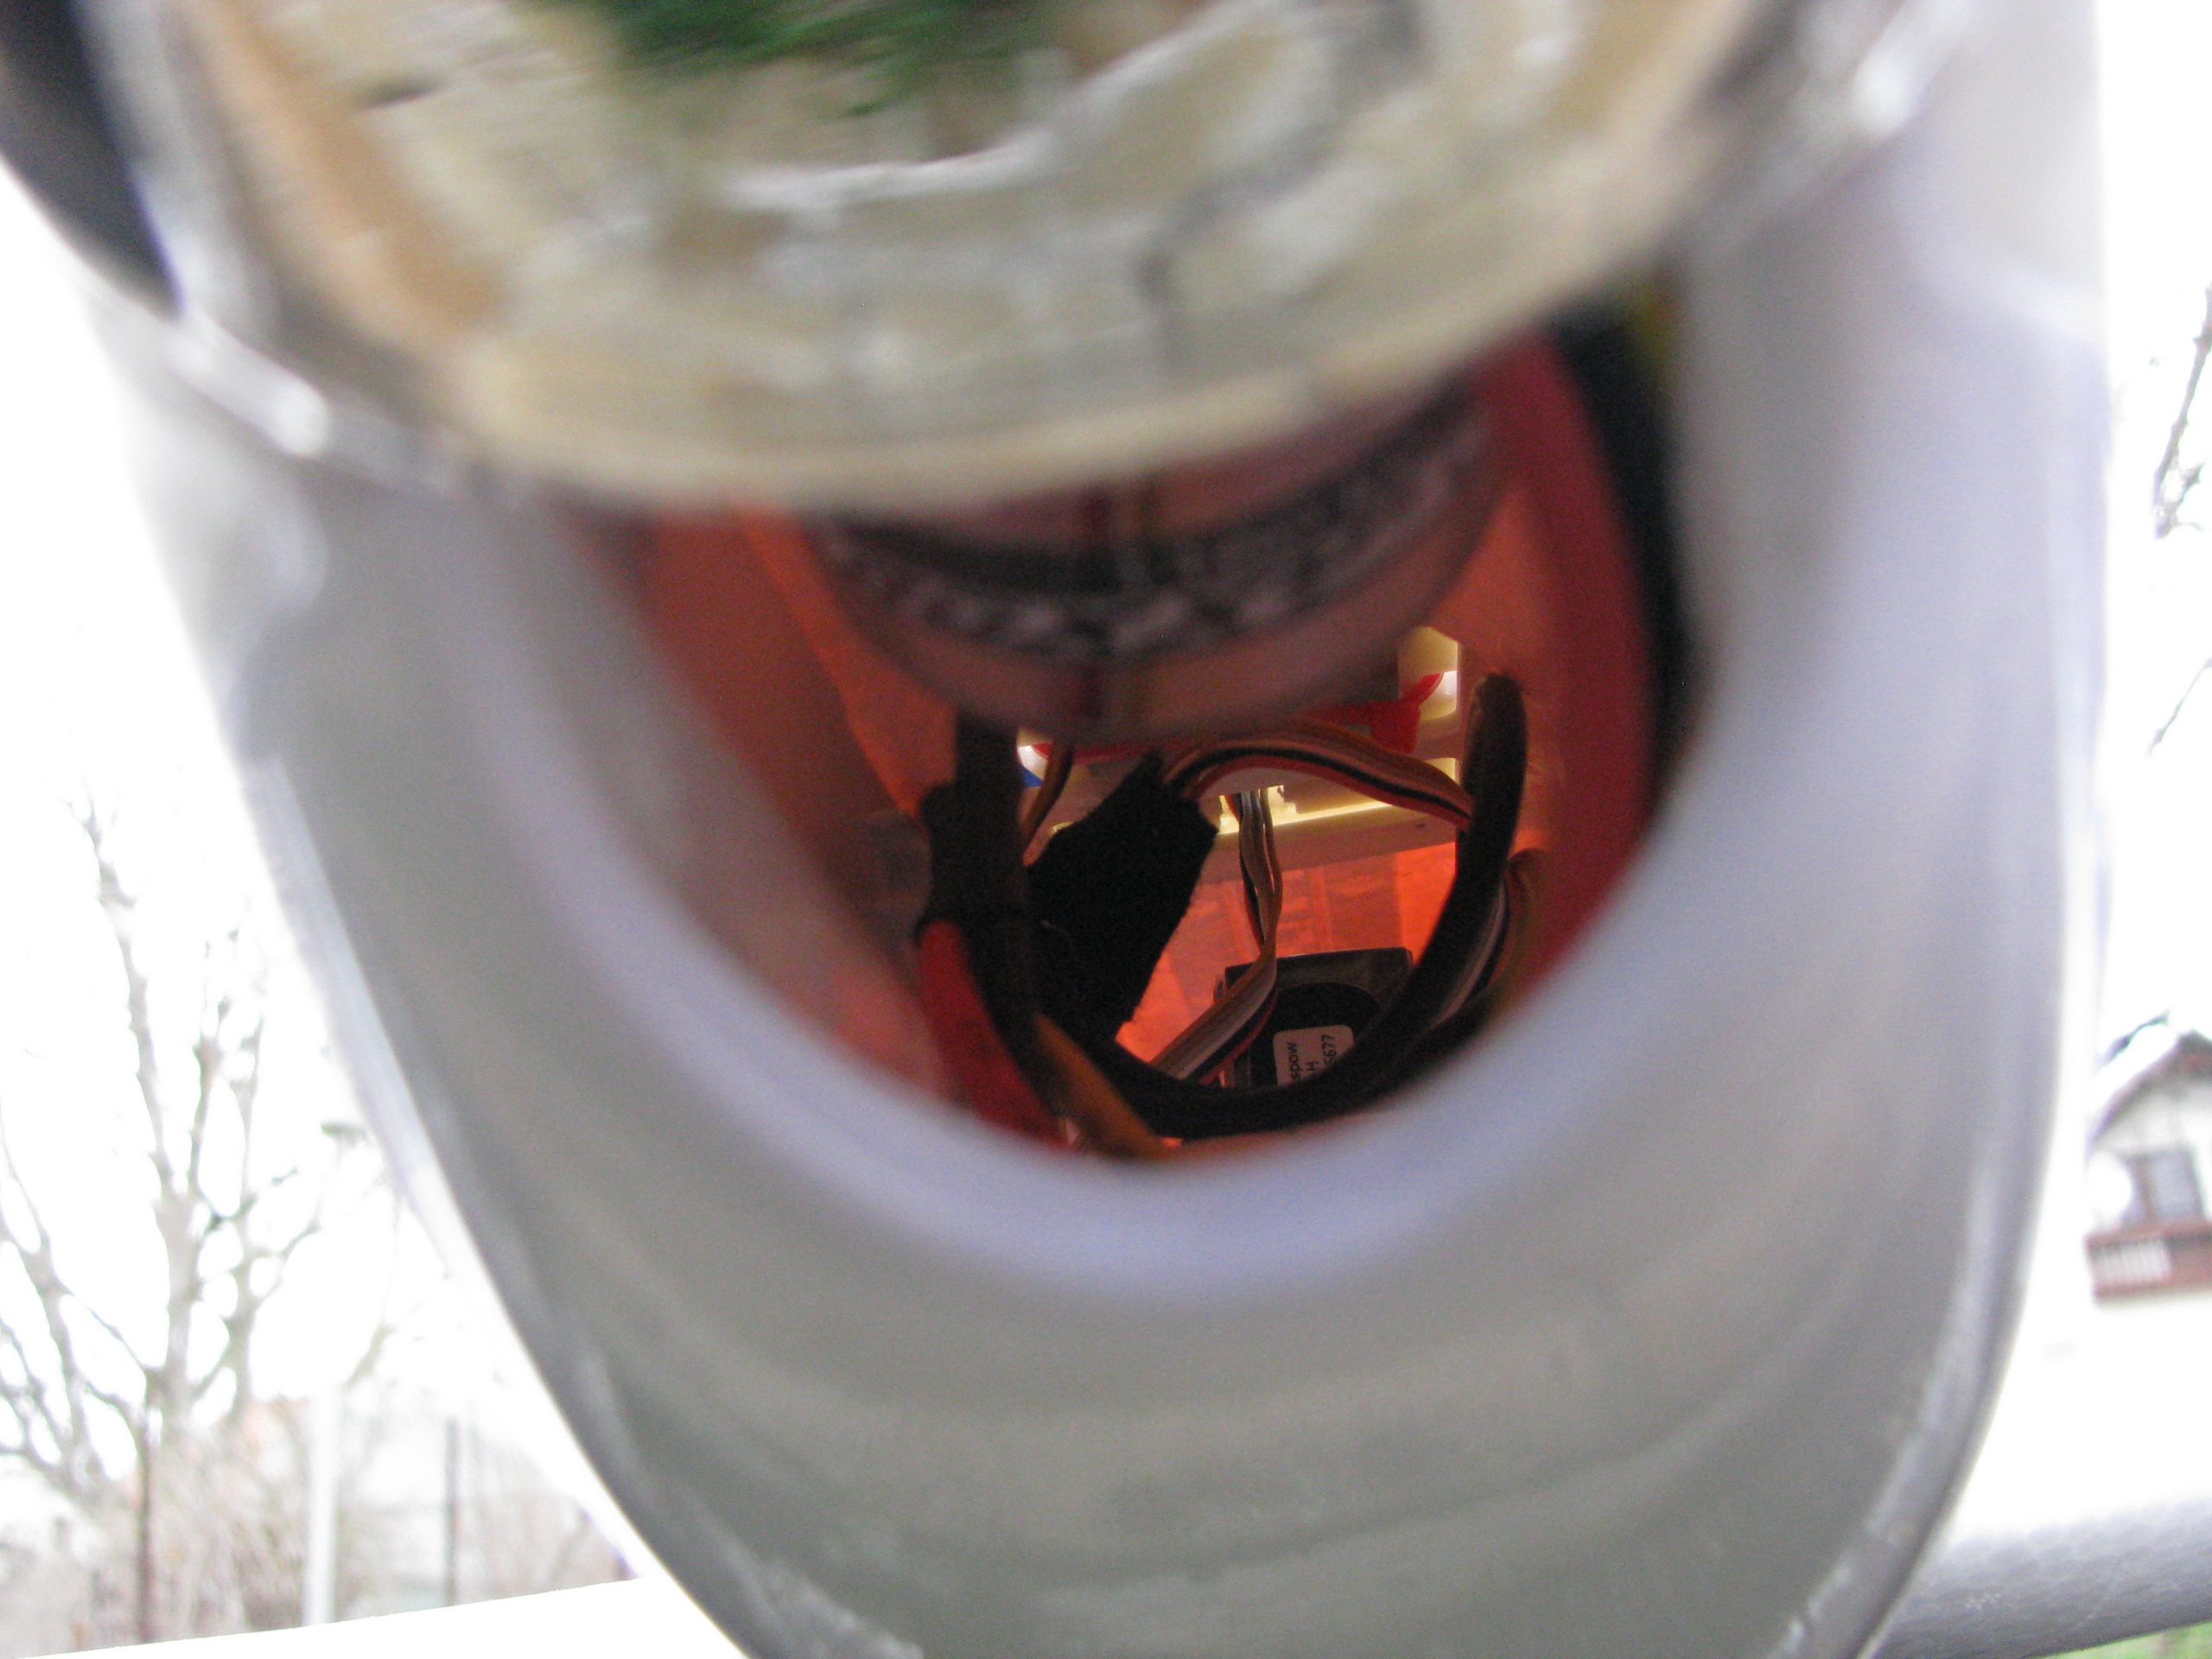
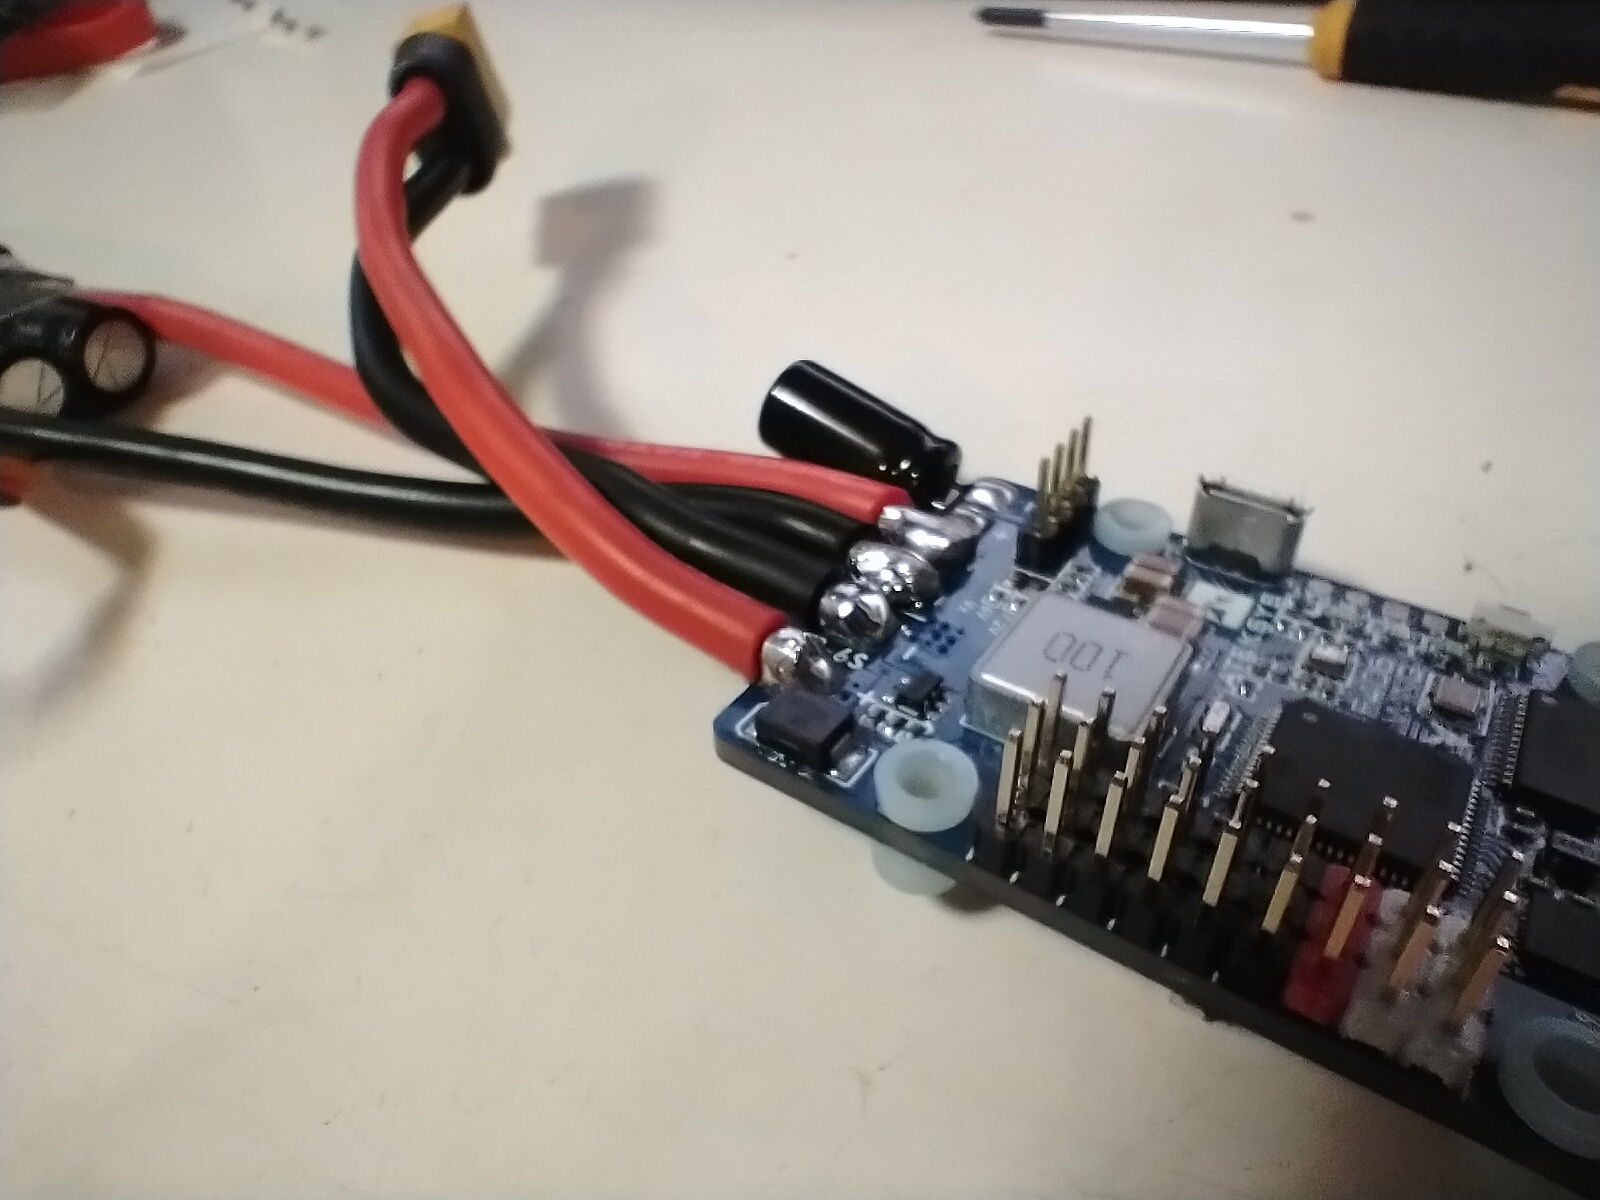
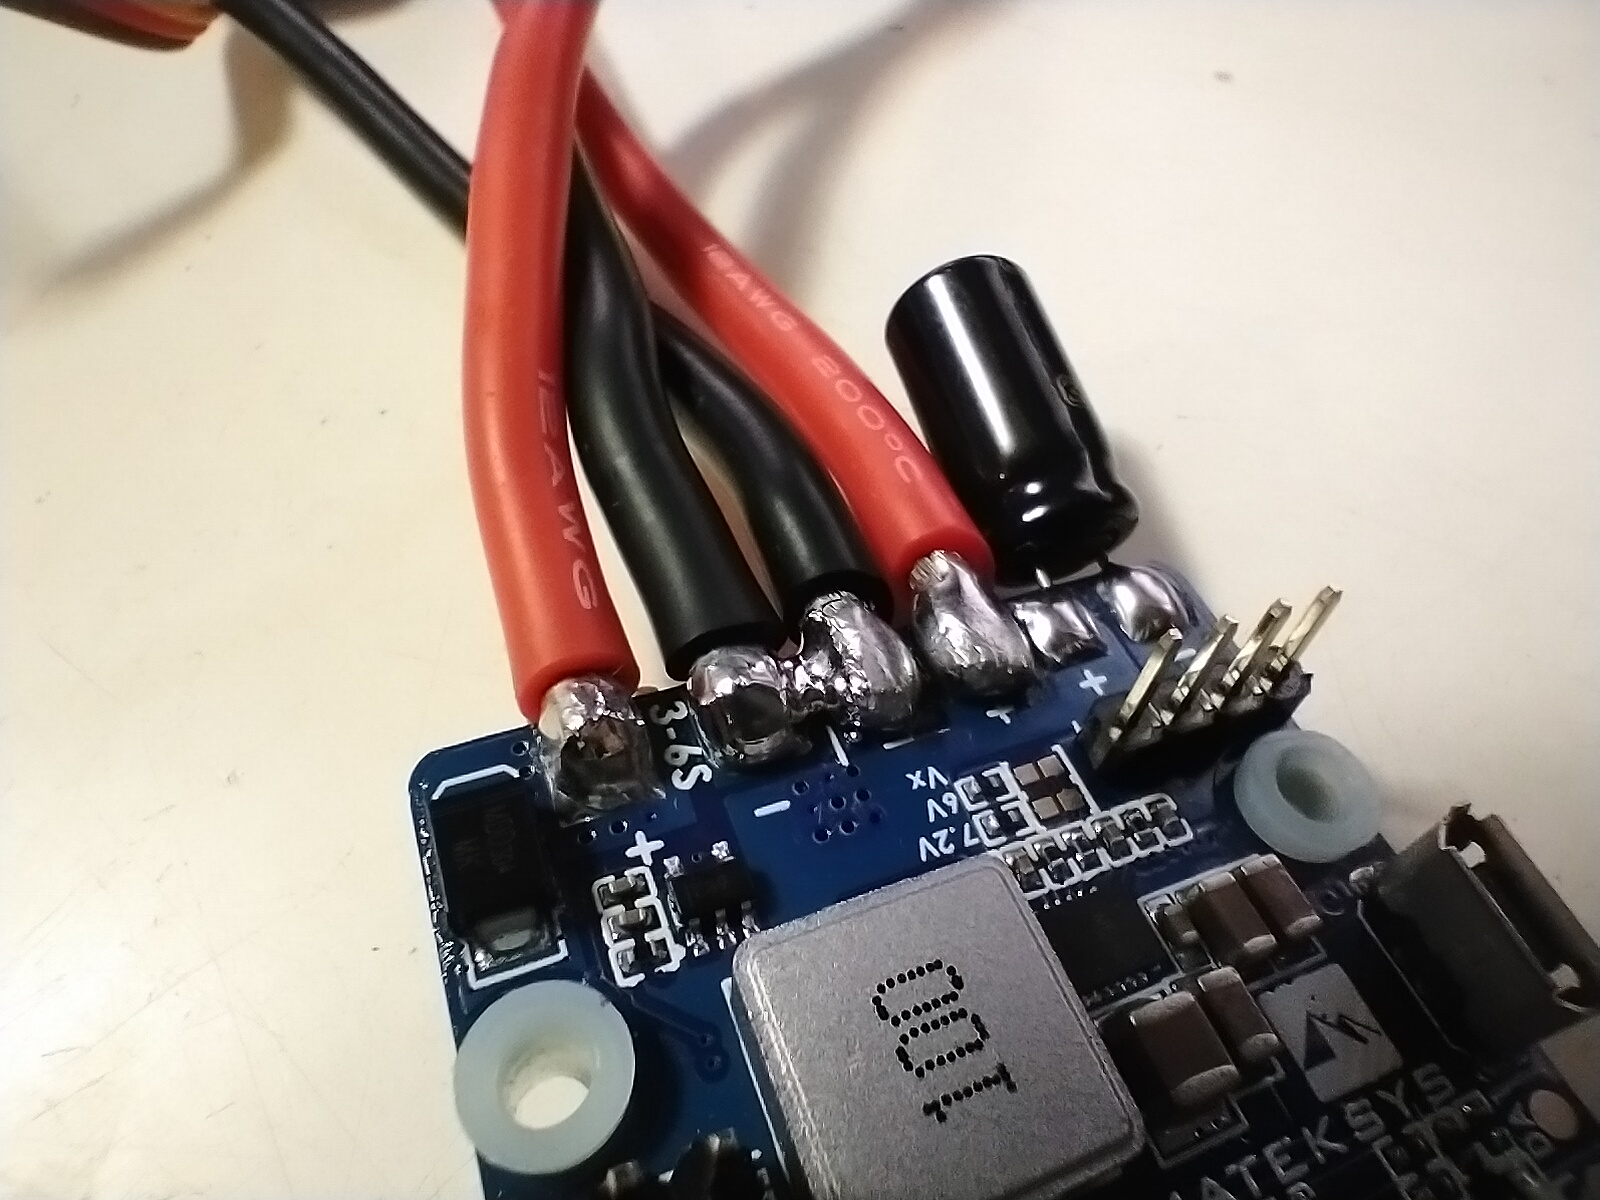
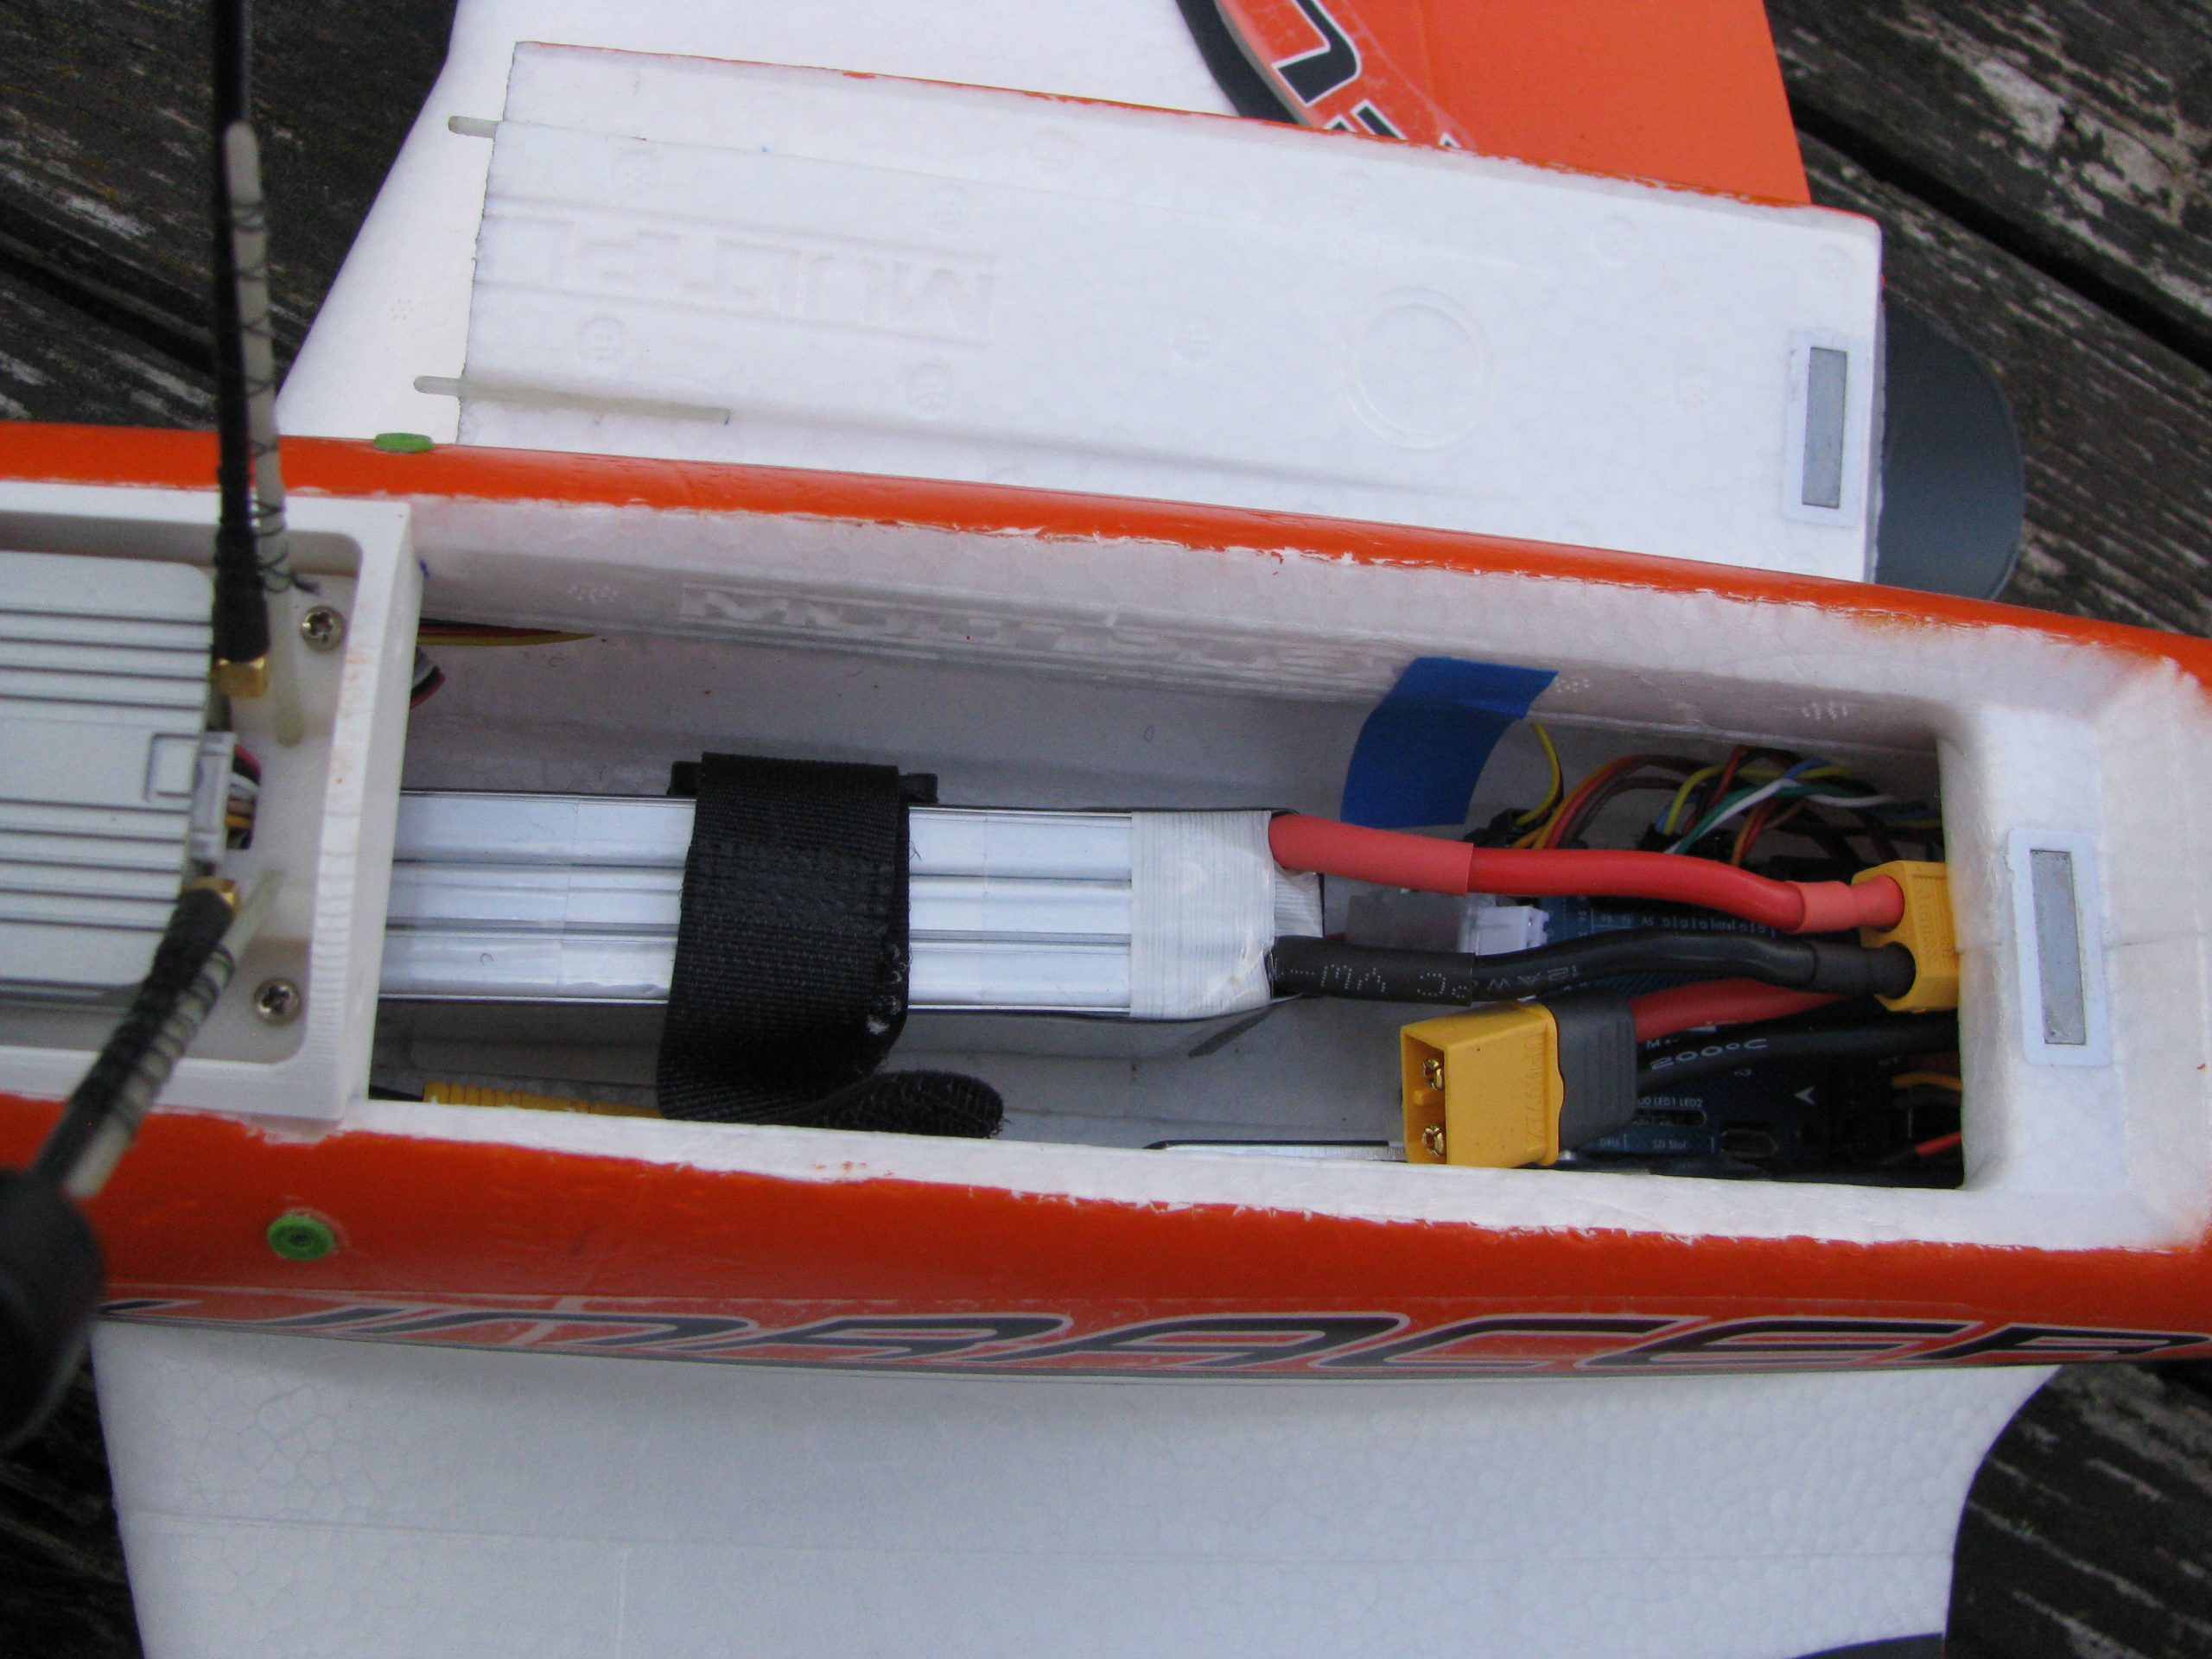
Electronics:
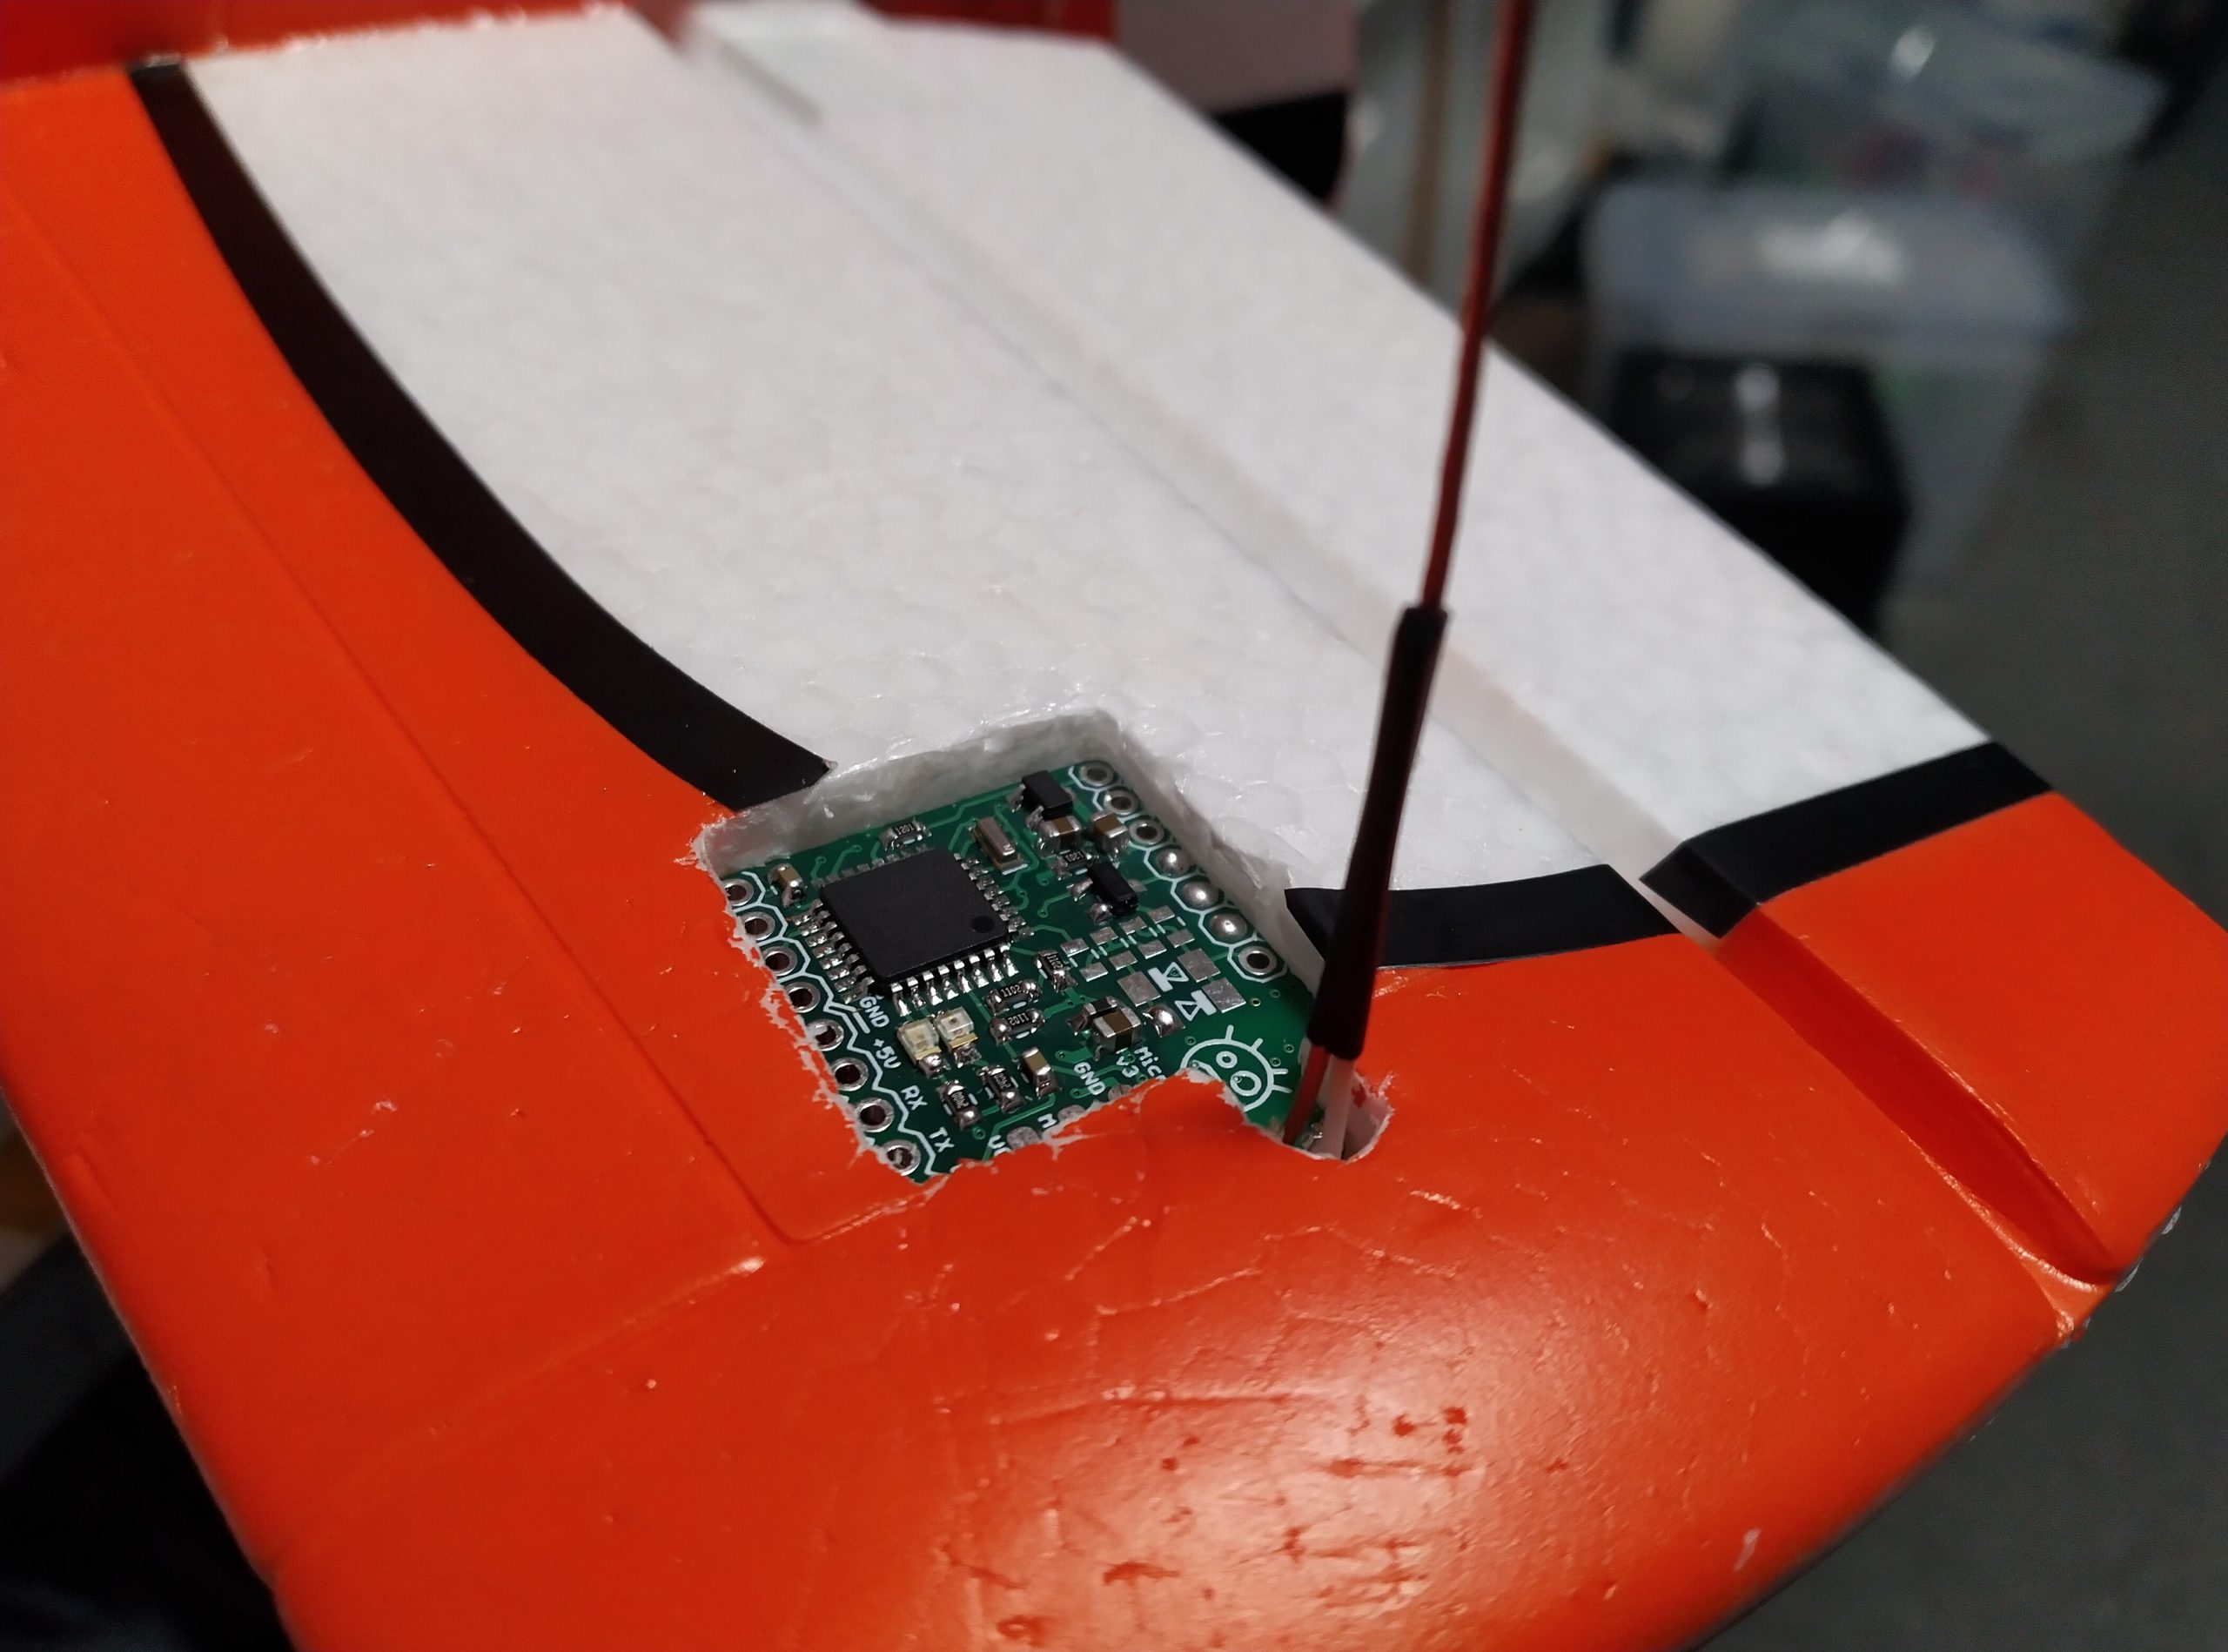
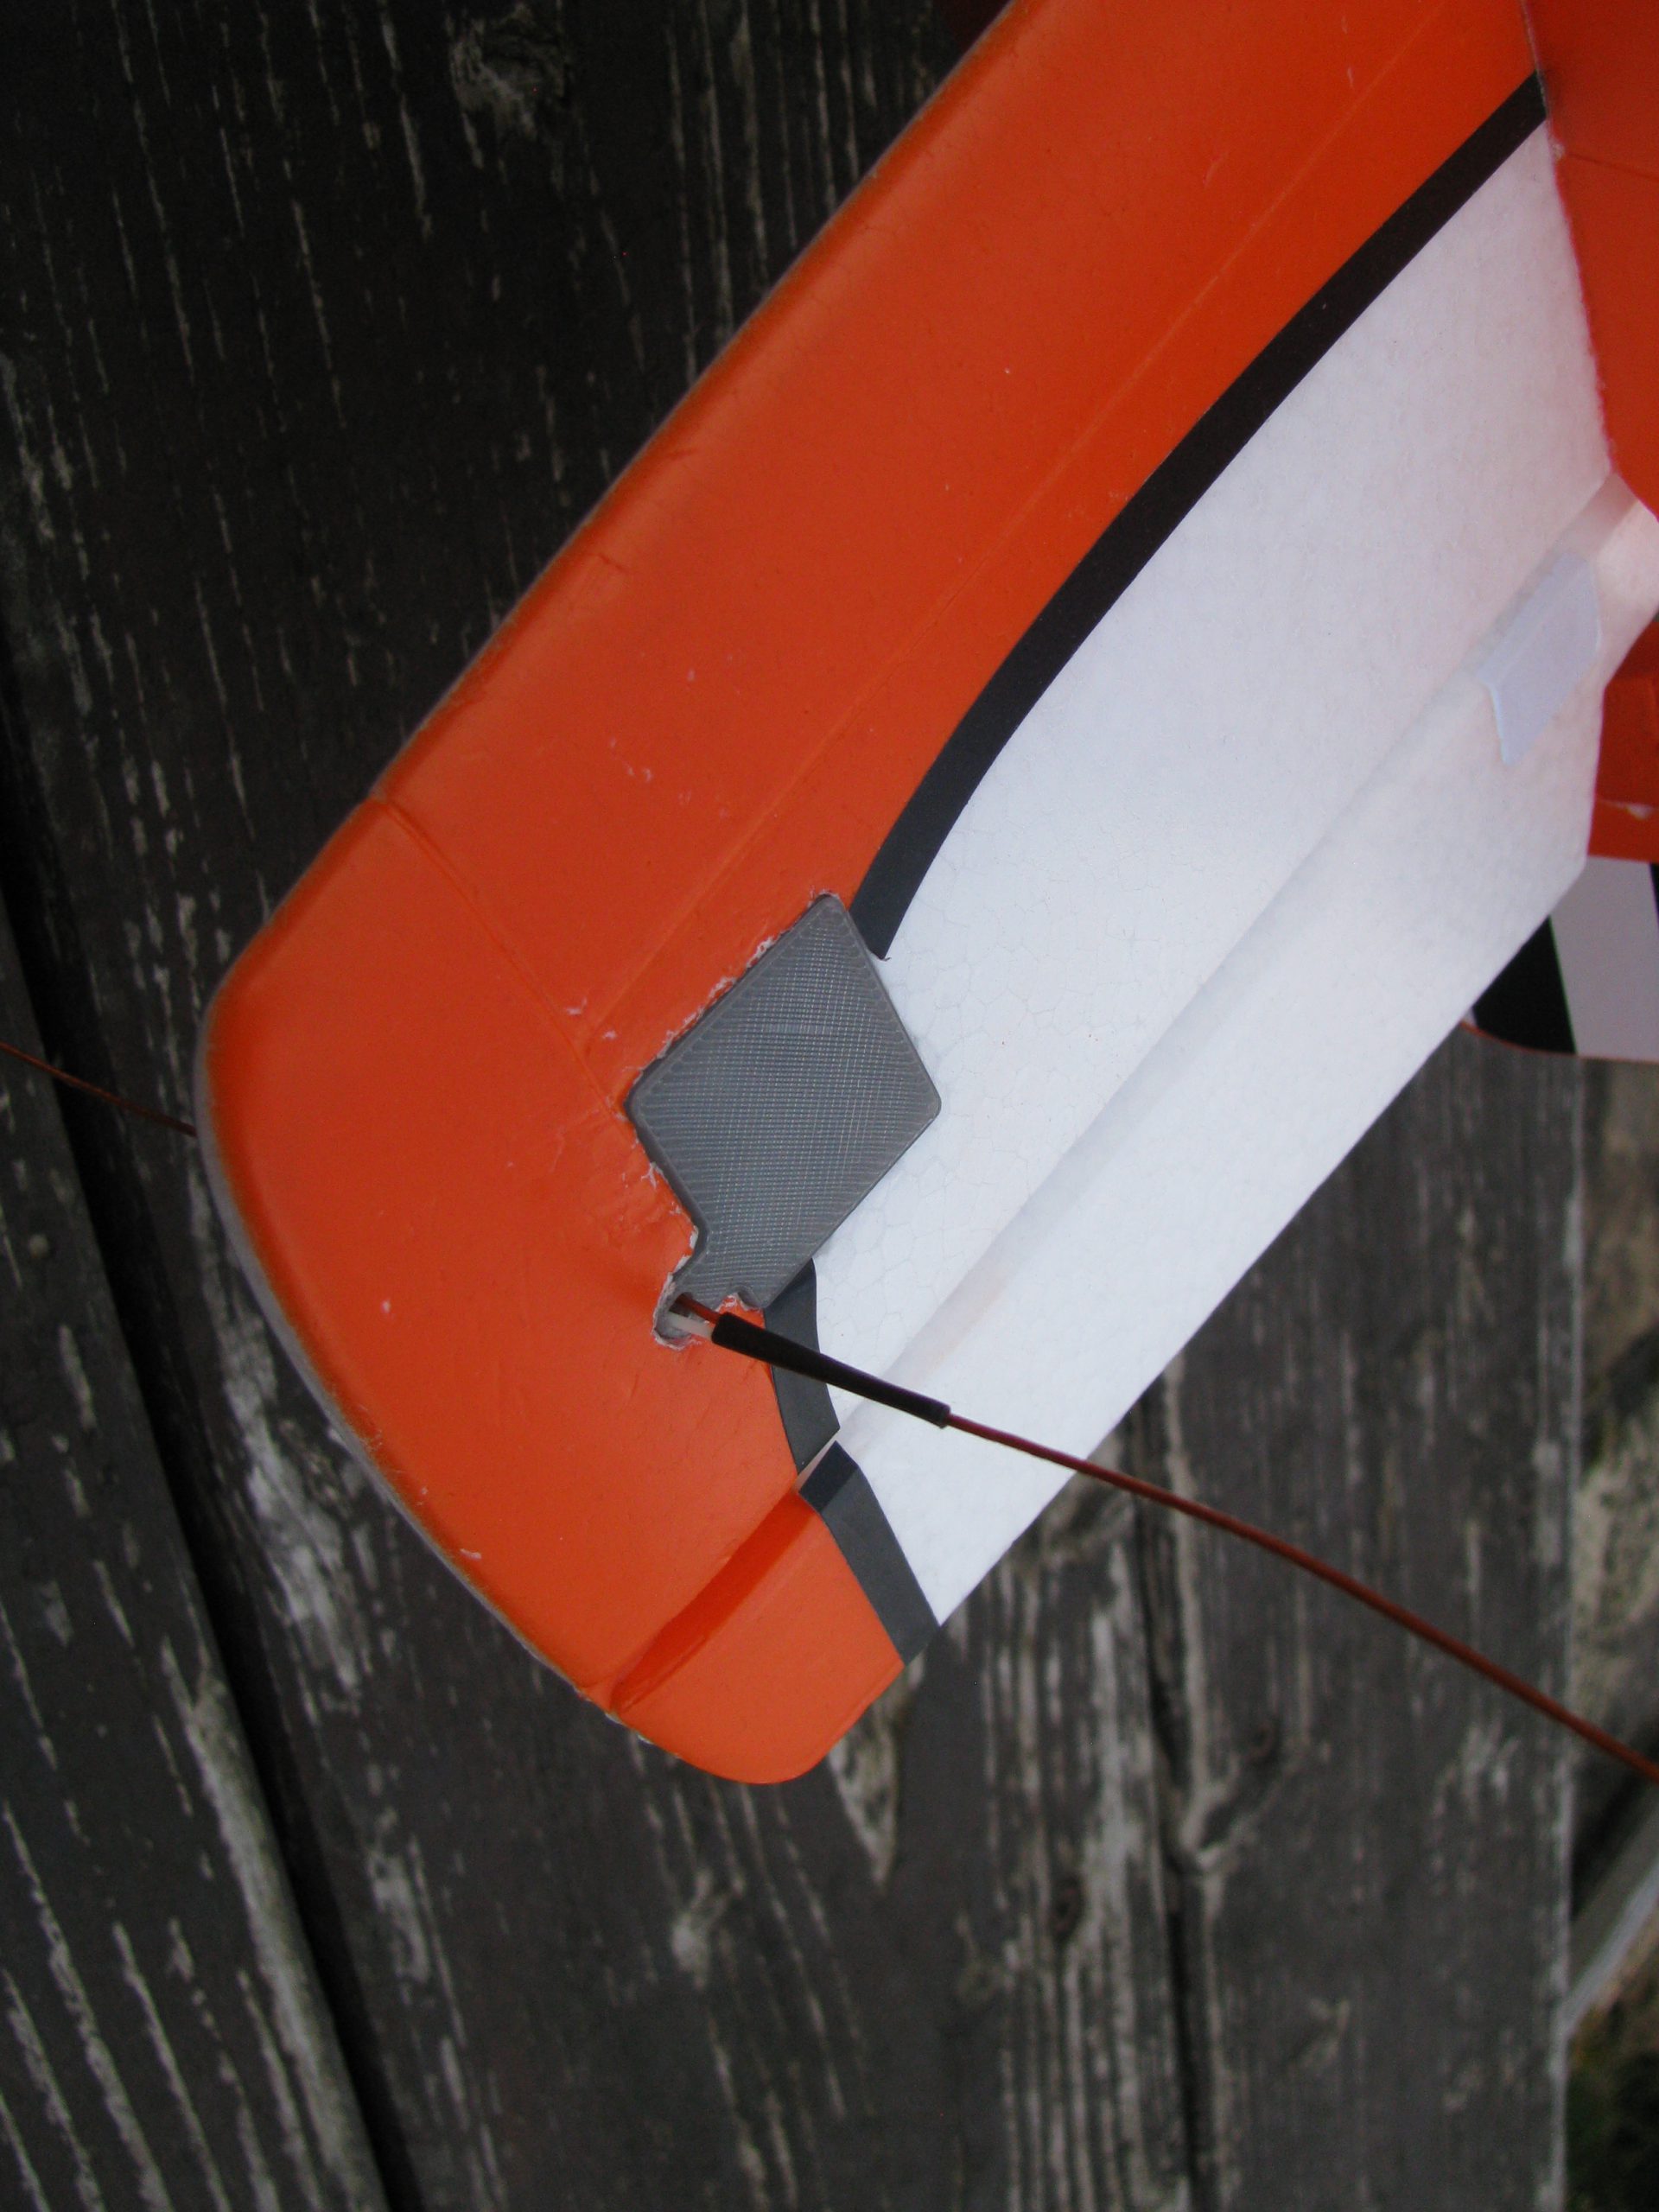
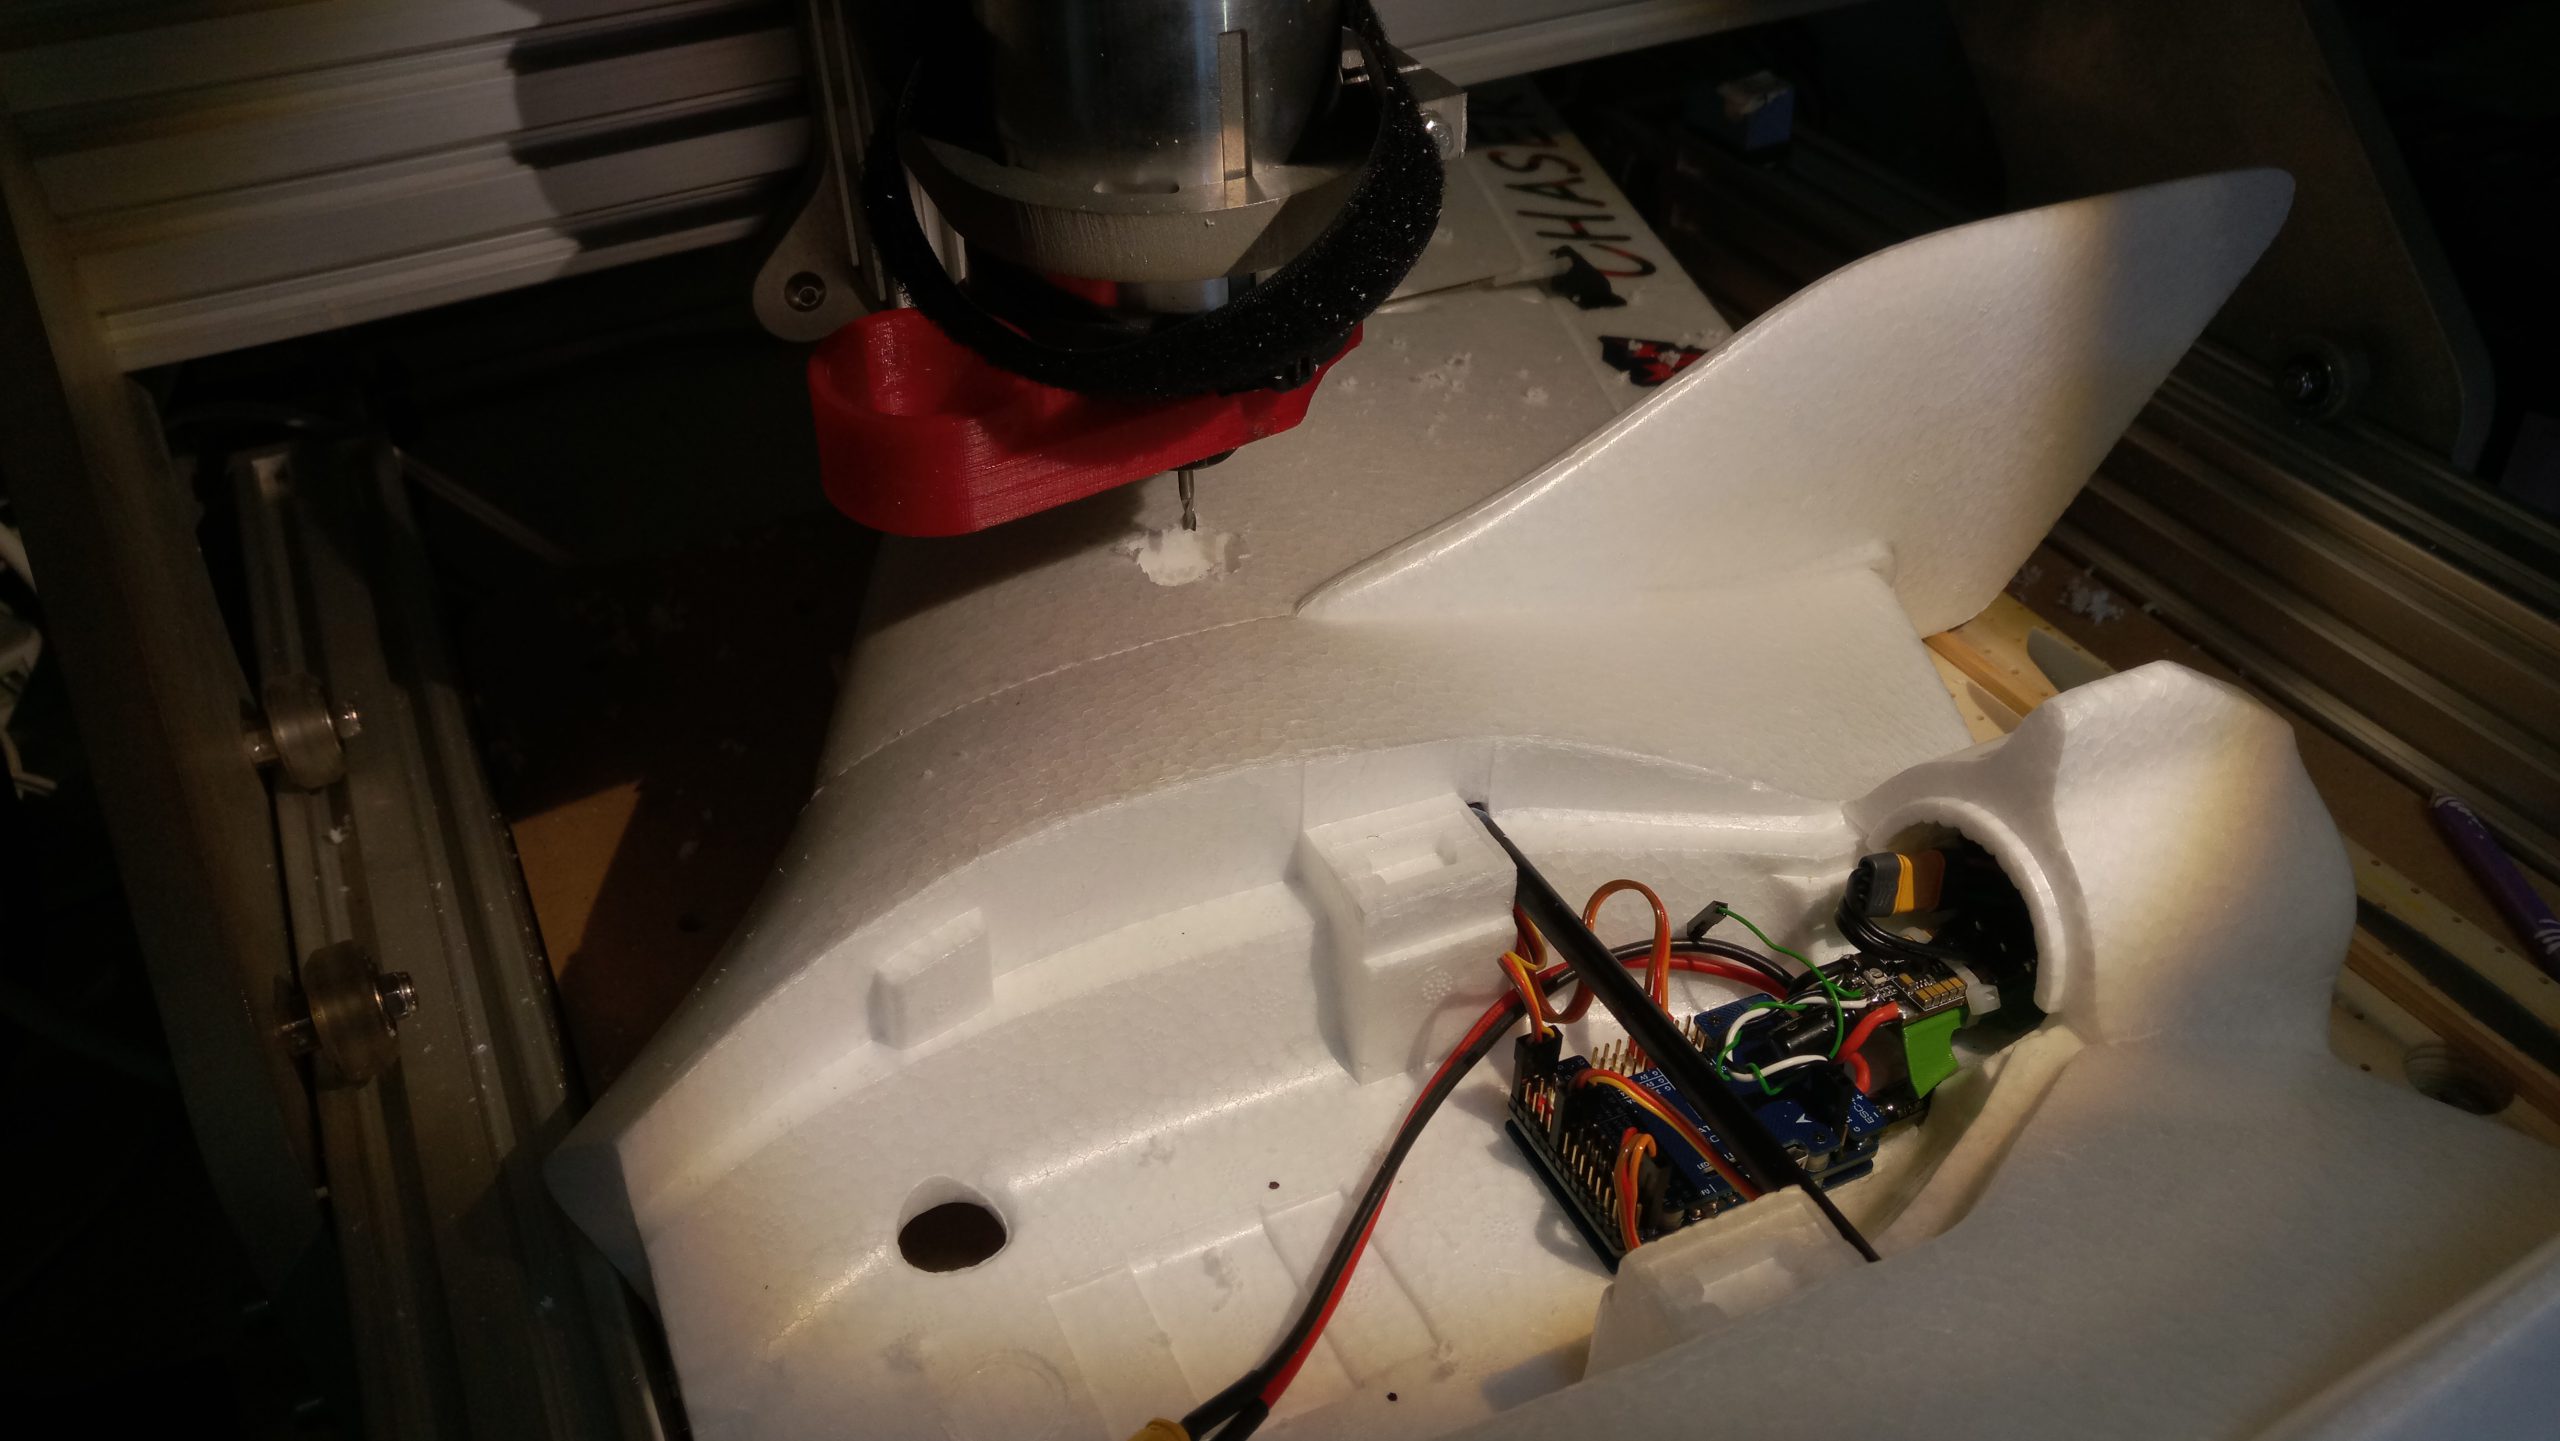
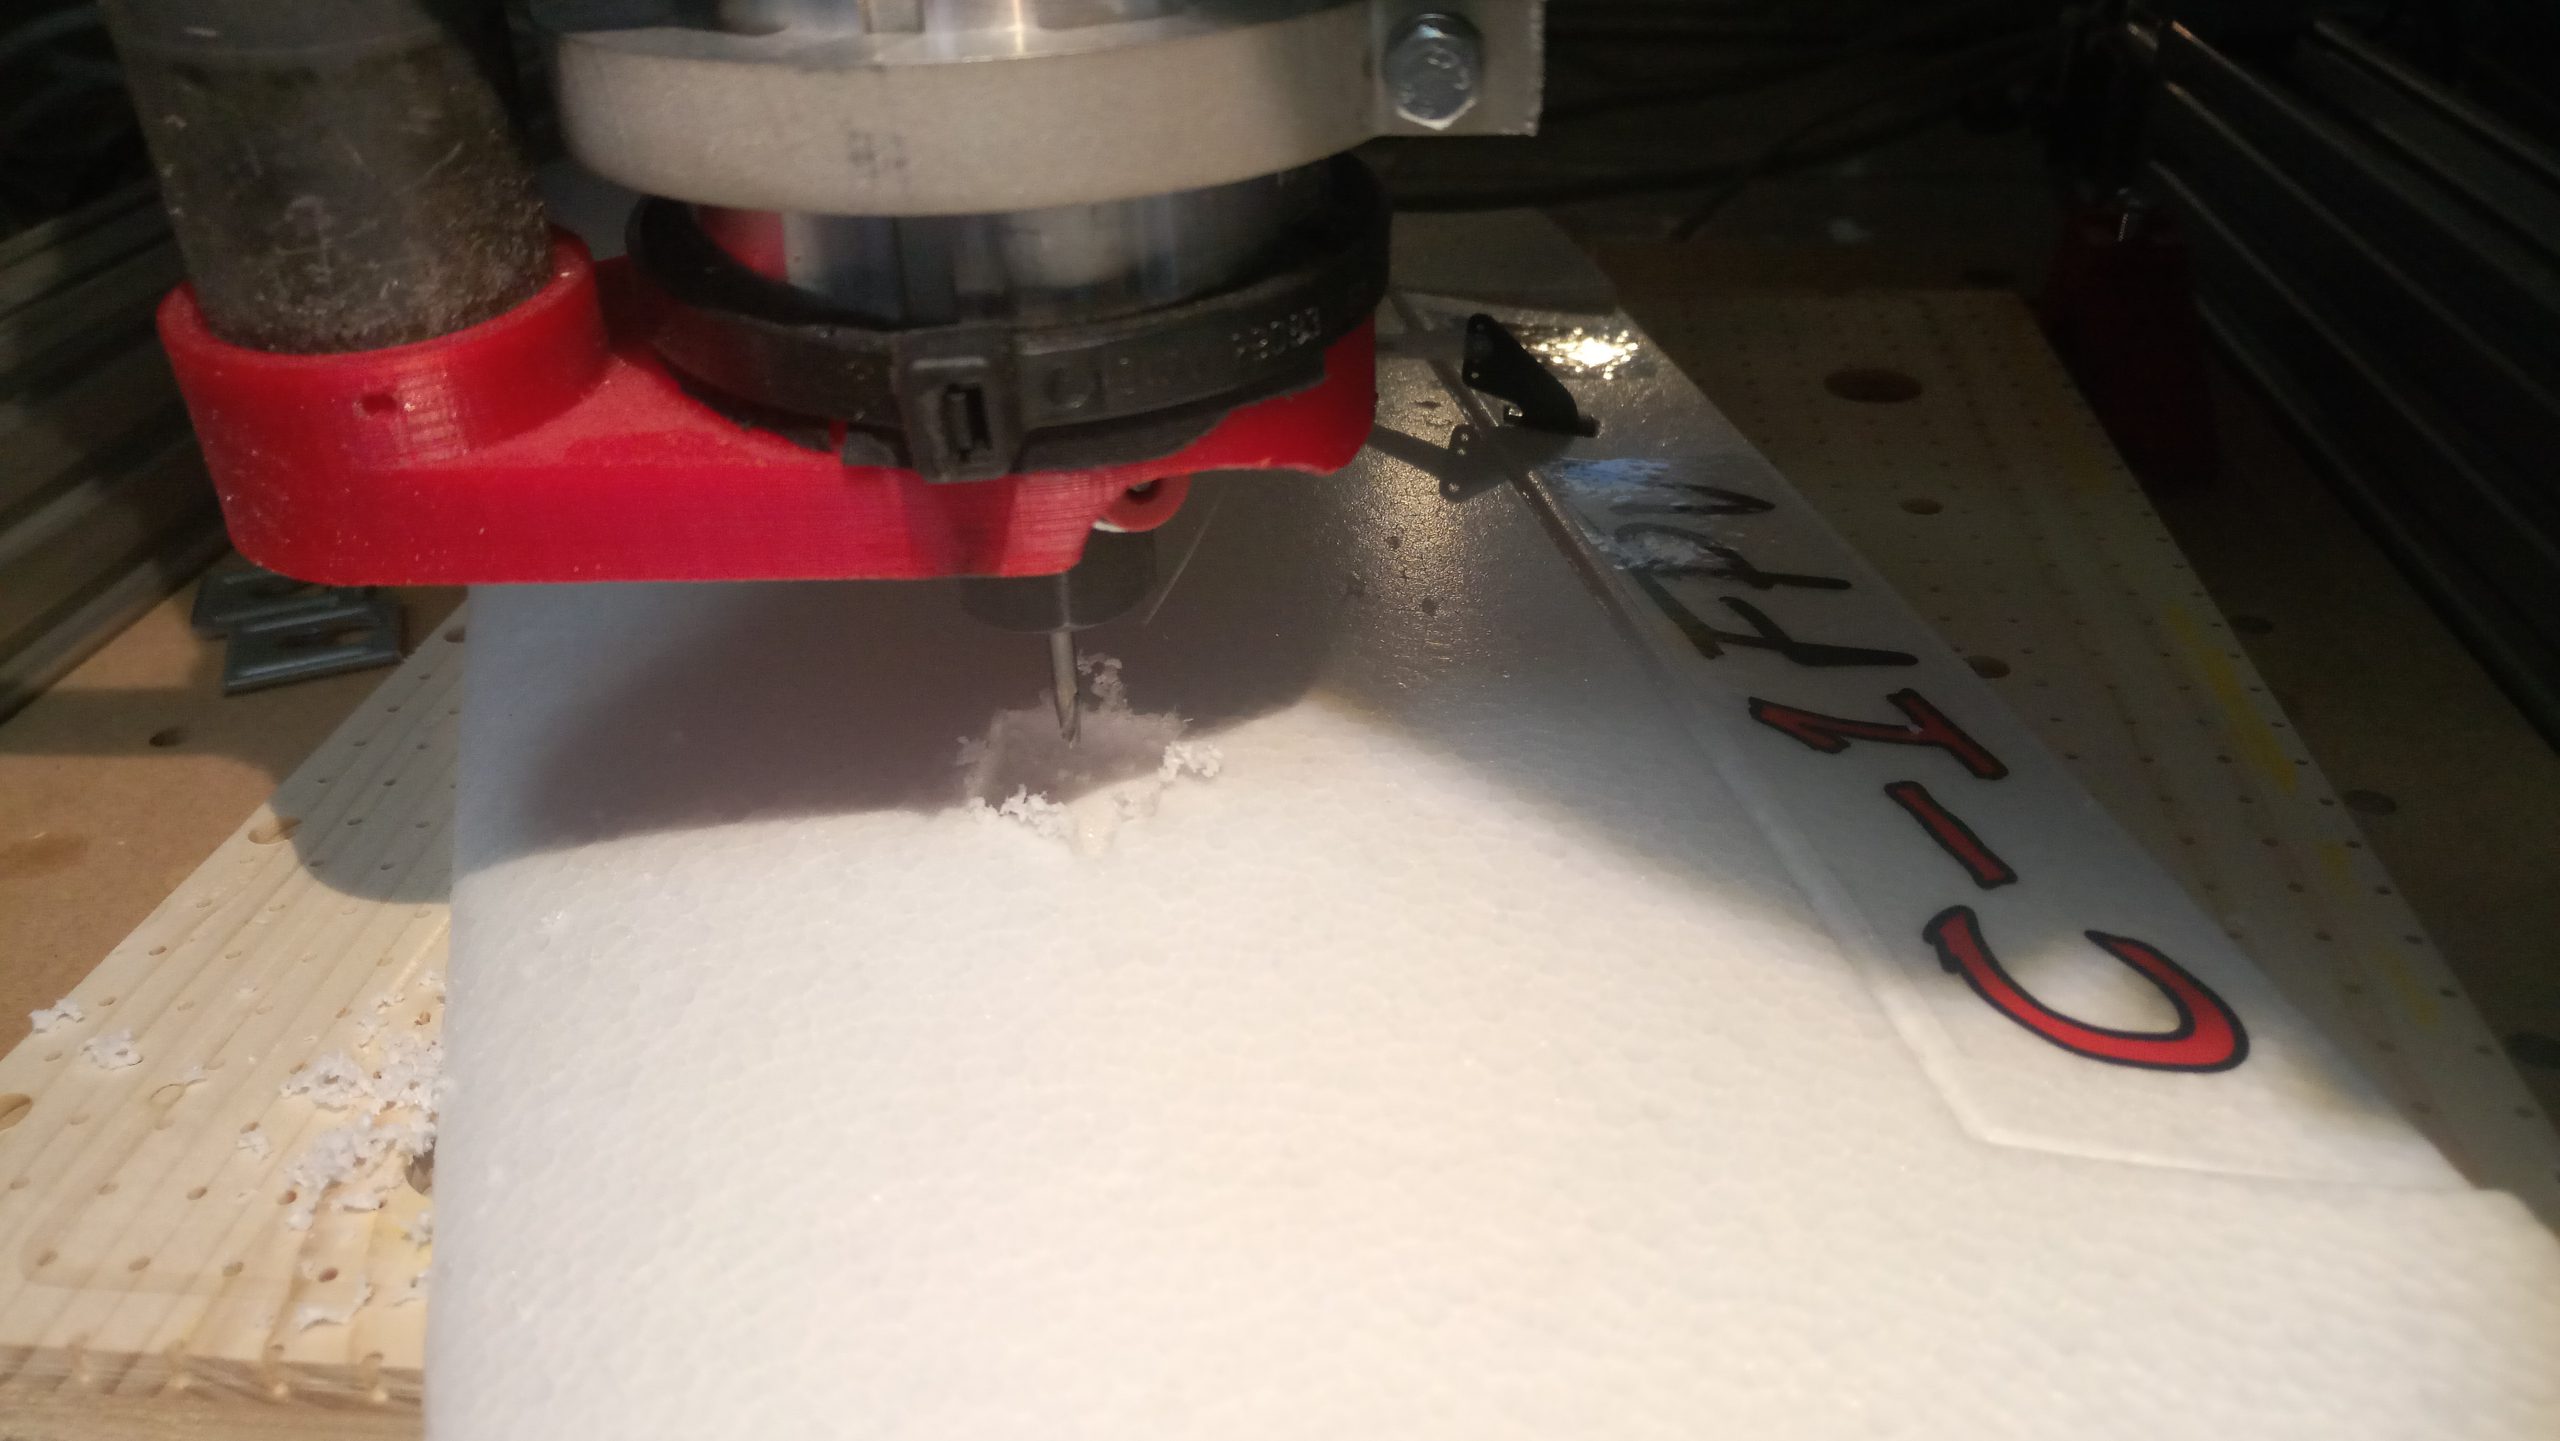
Milling hole for receiver to horizontal stabilizer:

Unoboxing: